Cast-Iron–Pan Chocolate Chip Cookie Bars
Cast-Iron–Pan Chocolate Chip Cookie Bars
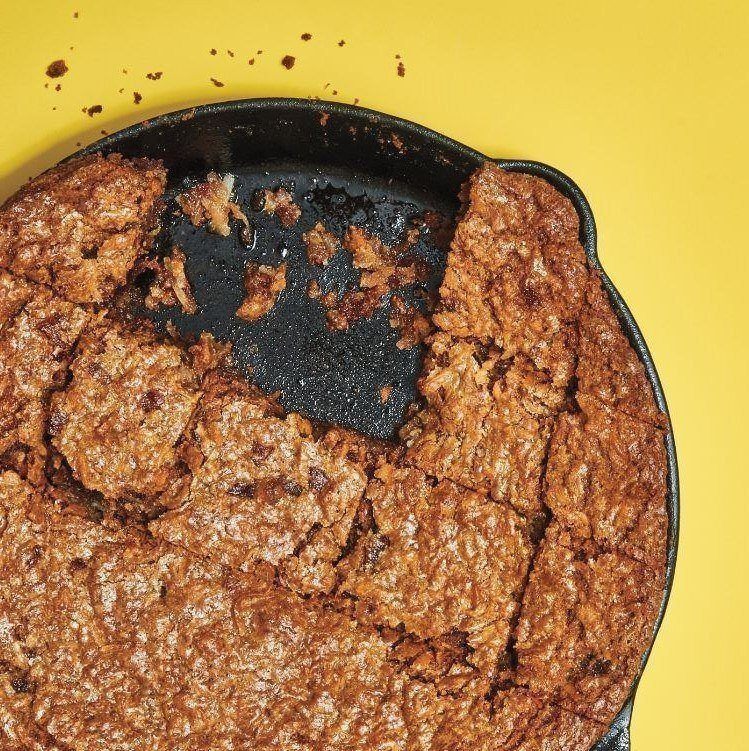
My friend Mark Henry can do anything with steel—and does. While he’s primarily a knife maker, he’s also a pots-and-pans man, crafting beautiful cast-iron pans with materials from Australia, where he was born. Mark’s wife, Natasha, decided to try baking in her husband’s pans and chose my classic chocolate chip cookie as her test. What she made was a gorgeous cookie-cake, something I’d never tried. Yes, I know that the back of every bag of chocolate chips suggests baking the dough in a large rectangular pan (aka a brownie pan), but that never appealed to me. And then along came the cast-iron–pan cookie, and I couldn’t wait to get into the kitchen. Baked this way, the good old choc-chipper becomes something completely different. The long, slow bake in cast iron causes the edges and bottom of the cookie to caramelize. The thickness makes it chewy, especially at the center. And the sheer size of the cookie—9 plus inches in diameter, 1 inch high—with its surface speckled with chips and add-ins—makes it not just alluring, but dramatic, a description rarely applied to an everyday cookie.To celebrate my conversion, I tweaked my recipe, adding lots of chopped chocolate (I like milk chocolate here), coconut and apricots. And because the coconut and apricots are sweet, I cut down the sugar. Bake it big, cut it small, get out the tea and thank Mark and Natasha for turning a standard into a standout.A word on the pan: I use a well-seasoned cast-iron skillet that’s 9 1/2 inches in diameter and a generous 1 1/2 inches high. If you don’t have such a pan, use a 9-inch or, better yet, 10-inch cake pan. You won’t get the same caramelization, but you will get the chew and the flavor. Keep an eye on the baking time; it will be at least 10 minutes less.Recipe excerpted from Dorie Greenspan’s newest cookbook Dorie’s Cookies. Click here to purchase your own copy.
Servings
12
servings
Ingredients
- 1/2 cup (100 grams) snipped or chopped dried apricots
- 1 1/2 cup (204 grams) all-purpose flour
- 1 teaspoon baking soda
- 1 1/2 sticks (12 tablespoons; 6 ounces; 170 grams) unsalted butter, cut into chunks, at room temperature
- 1/2 cup (100 grams) sugar
- 1/2 cup (100 grams) packed light brown sugar
- 1 teaspoon fine sea salt
- 1 large egg, at room temperature
- 1 large egg yolk, at room temperature
- 2 teaspoon pure vanilla extract
- 2 cup cups (240 grams) shredded sweetened coconut
- 10 ounce (284 grams) milk chocolate, finely chopped (or 1 1/2 cup chips)
Directions
- Center a rack in the oven and preheat it to 325 degrees F. Generously butter a 9 1/2-inch cast-iron skillet and place it on a baking sheet, which will make moving it in and out of the oven easier; or use a deep 9- to 10-inch round cake pan.
- Put the apricots in a bowl of very hot tap water and leave them to plump while you make the dough. When you’re ready for them, drain them well, pressing out as much liquid as you can, and pat them dry.
- Whisk together the flour and baking soda.
- Working with a stand mixer fitted with the paddle attachment, or in a large bowl with a hand mixer, beat the butter, both sugars, and the salt together on medium speed until light and creamy, about 3 minutes; scrape down the sides and bottom of the bowl as needed. Add the egg and then the yolk, beating for 1 minute after each goes in. Beat in the vanilla. Turn off the mixer, add the dry ingredients all at once and pulse to begin the blending, then beat on low speed until the flour is only partially incorporated. Add the coconut, chocolate, and apricots, pulsing after each addition and then, if necessary, beat on low to finish blending everything in. Complete the job by giving the dough a few good turns with a sturdy flexible spatula. Scrape the dough into the pan and use the spatula to coax it into the corners and to smooth the top as best you can.
- Bake the cookie-cake for about 1 hour (45 to 50 minutes if using a cake pan), rotating the pan after 30 minutes, until the top is deeply golden brown, the edges are firmer than the center and the cake is pulling away ever so slightly from the sides of the pan. Transfer the pan to a rack, run a blunt table knife around the edges and allow the cake to cool until it is just warm or reaches room temperature.
- When you’re ready to serve, either cut the cake in half and transfer the pieces to a cutting board or carefully (you don’t want to scratch your skillet) cut the cake into 12 bars in the pan, which will be irregularly shaped.
- Storing: Wrapped well, the bars will keep for up to 3 days at room temperature. You can freeze them, packed airtight, for up to 2 months; thaw in the wrapping.