How To Tell When Your Braised Meat Is Actually Done
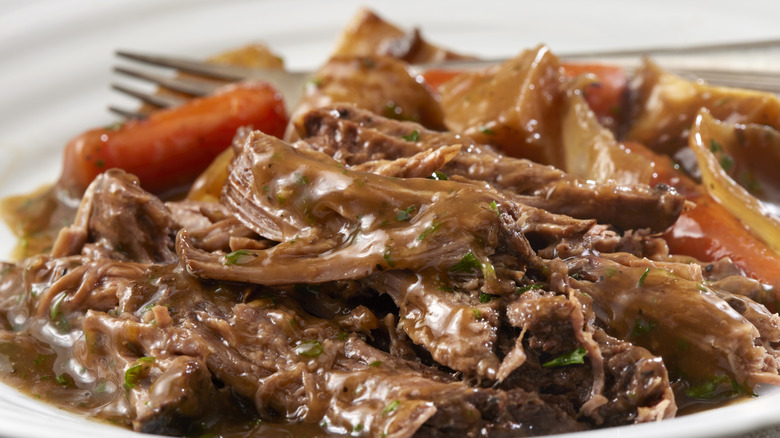
When it comes to easy recipes that taste like they took a lot of work, you can't go wrong with braised meat. From bone-in short ribs to pork shoulder and even leg of lamb, if you've got a crowd to feed, braising is your best friend. It's a great way to cook tougher, larger (and often cheaper) cuts of meat that aren't suited to grilling or sautéing, and all you really need to do is set it up in a slow cooker or Dutch oven and let it cook; it's almost impossible to mess up. However, one of the biggest mistakes people make when braising is knowing how to tell when the meat is cooked. Unlike quick-heated techniques in which meat is cooked to temperature, braised meat is often cooked over several hours, so it's essentially well done. Instead of reaching for a meat thermometer to test your meat, you'll only need a fork or two. The true test of when a piece of braised meat is actually done is if it is "fork tender," which means you should be able to literally pull it apart with a fork.
Most braising recipes will tell you how long it should take to cook your meat, but depending on the type of cut and the temperature of your oven, a recipe isn't always reliable. If you really want to know if your brisket is good to go, it has to pass the fork test.
Perform the fork test
Braising, for anyone unfamiliar, is a method of slowly cooking meat in liquid in a covered dish or pan. The heat and moisture work together to slowly break down the connective tissue in a tough piece of meat, like a big beef chuck roast for pot roast.
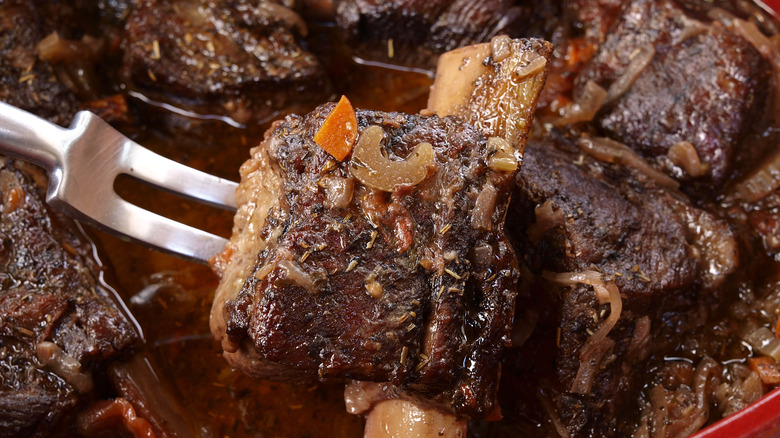
Even if you've set a timer, there's no guarantee that your braised meat will be done in the allotted amount of time. Some cuts of meat are larger or denser than what was used to develop the recipe. Plus, you don't even really need a recipe to braise meat; you just need to brown the outside, fill the pan ⅓ of the way with braising liquid, add seasonings and vegetables, cover the pan, and let it cook. When you think the meat might be done, insert a fork into the side of your roast or ribs and give it a slight twist, or use two forks and gently pull the meat in opposite directions. If the meat easily falls off the bone or comes apart, it's ready. If it resists and seems tough and spongy, let it continue to cook for a while longer.
When you pierce a bit of the meat to check its doneness, you can also take note of the color. Some pinkness is okay, but if it still looks reddish toward the center, it likely needs more time to cook. Since it's not always easy to tell by sight alone, the fork test is critical.
Avoid overcooking
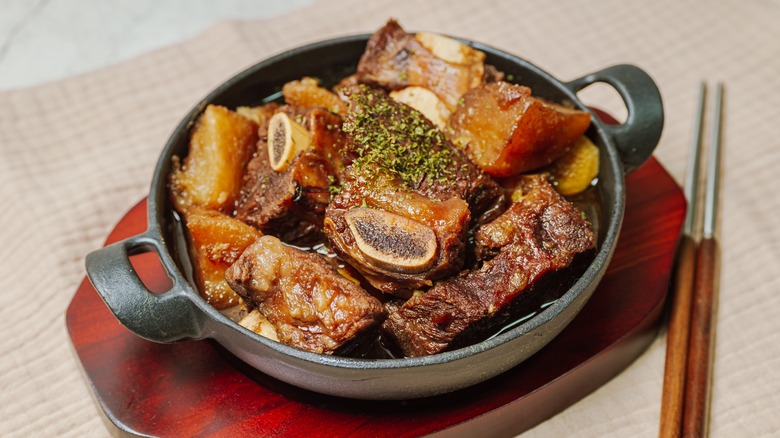
While braising is pretty foolproof, that doesn't mean mistakes can't be made. Braised meats are pretty forgiving, but you don't want to cook them forever, or you'll never get dinner on the table. When it starts to get close to the time when the recipe says the meat should be done, you should periodically use your fork test to observe the progress. If the meat needs an extra 30 minutes or so, that's okay, you just want to avoid cooking it until it becomes dry. Yes, even though you're cooking the meat in liquid, it can come out dry because all the fat in the marbling will render out if it's left to cook too long. You also don't want the meat to completely fall apart when you remove it from the oven or slow cooker. You should be able to slice it with a sharp knife, or in the case of stew, stab it with a fork, and it'll stay together.
If you're not sure when your braised feast will be ready, check on your meat every 20 to 30 minutes once the timer goes off using a fork to test. With a bit of know-how, you'll be there right when it's time to pull the meat out of the braising liquid and serve it up.