When Making Your Own Beer, Sanitation Is Key
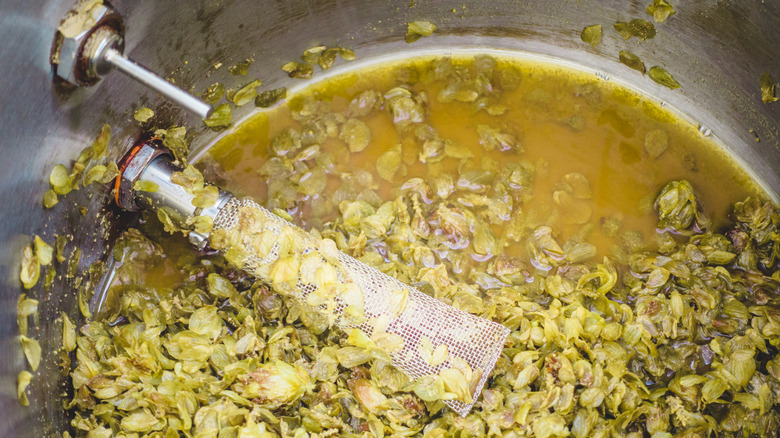
Making your own beer can be a very rewarding process. Doing so leaves nearly endless opportunities for creativity and customization. In addition to traditional ales and lagers, homebrewers have been known to create flavored beers by experimenting with everything from fruits like raspberries and grapefruit to chocolate, pumpkin, and even spicy peppers. But regardless of what kind of beer you're brewing up, one important aspect must be given the utmost attention: sanitation.
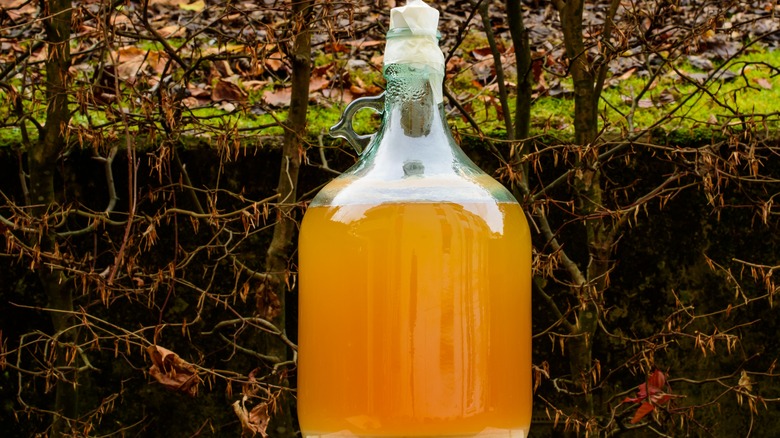
Whether it's just a basic ale made from extracts, or a full-grain recipe complete with specialty hops and unique flavor adjuncts, there's nothing worse than waiting weeks for the brew to ferment only to find a layer of mold floating on the surface of the carboy, or cracking open that first bottle — ready to toast your buddies — and getting a mouthful of the slimy stuff (or even just a whiff of something that isn't quite right). Fortunately, it's easy to avoid these disasters by prioritizing sanitation, starting with everything that comes in contact with your wort and continuing until the beer is safely sealed in its individual bottles.
Give it a good wash first
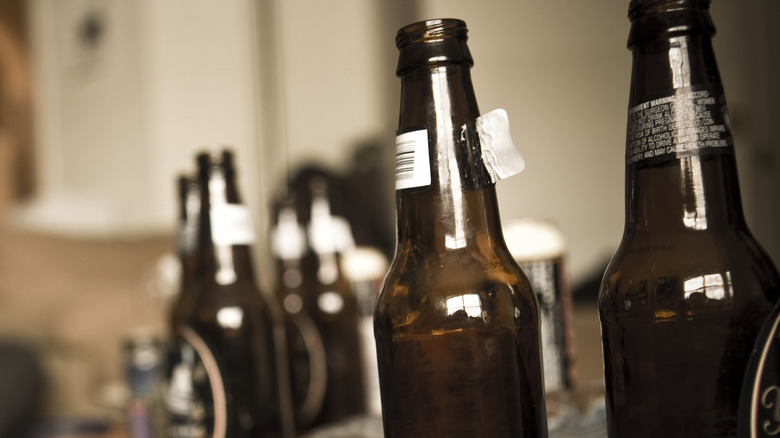
The importance of sanitation at every step cannot be overstated. But before you sanitize, you'll want to ensure that everything that touches your brew has been thoroughly washed. That includes the brew kettle, ladles, strainers, funnels, carboys or other fermentors, airlocks, overflow hoses, buckets, testing equipment, bottles, bottle caps, and the bottle capper itself — absolutely everything! While regular dish soap is excellent for removing grime, the risk of residue makes it a bad choice. In fact, professional brewers never use soap. Instead, the experts from Northern Brewer recommend an alkaline-based cleaner for making your own beer, which can be purchased online or at your local homebrew shop.
It's important to clean your equipment immediately after brewing to avoid any scummy buildup. Soaking is best, but use soft towels and sponges where necessary, as abrasive materials can scratch plastic surfaces and give bacteria a great place to hide. As tempting as it might be to throw used bottles into the dishwasher, it's a better idea to clean them by hand using a bottle brush to be sure any gunk stuck at the bottom is successfully removed. Always allow brewing equipment to air dry, too, as hand towels can leave lint and trace amounts of dirt behind.
Sanitize at every step
The goal here is not complete sterilization. Instead, the purpose of sanitation is to kill off the bulk of those pesky microbes that will destroy your beer if given the opportunity.
A bleach solution can be an effective sanitizer, but it can also leave behind remnants that will affect the flavor of your beer. Again, you will want to turn to a homebrew supply shop for quality chemicals. Per Bader Beer and Wine Supply, Star San is the gold standard for brewing sanitation, but other options are available. Different solutions will require differing amounts of time to activate, but most should be no-rinse, with a limited amount of time needed to air dry. Be sure to follow the package directions to a T no matter what you use.
Everything that will touch your wort after it has boiled needs to be sanitized. The warm, sugary environment creates the perfect conditions for living microbes, so pay special attention to your fermentors, funnels, airlocks, and the overflow hose when it comes time to switch out the airlock. Don't forget your hands and the outside of yeast packets, either! Bottles, bottle caps, and the bottle capper will also need to be sanitized carefully before they're used. But don't do it ahead of time. When brewing your own beer, sanitize equipment directly before use to keep it safe from the mold, bacteria, and wild yeast that could ruin it.