The Low-Cost Hack You Need For An Instant Stand Mixer Splash Guard
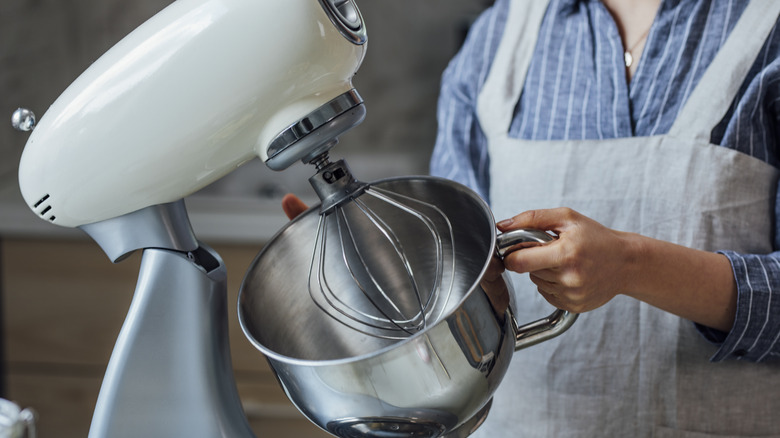
An afternoon spent baking in the kitchen is meant to be a relaxing solace for deliciously creative expression. Whether you're embarking on a project to make a two-layer chocolate cake or trying your hand at making homemade French macarons, nothing throws a wrench in a baking session like that dreaded moment when you turn your stand mixer on and accidentally splash your precisely measured ingredients all over the place.
For simple baking endeavors, you can sometimes skip the stand mixer and opt for a good old mixing bowl and whisk or hand-held mixer. However, most true bakers know the ease and satisfaction of using a stand mixer to seamlessly incorporate ingredients for a variety of baking feats, without all the extra muscle it takes to mix manually.
Luckily, worrying about a mess doesn't have to hold you back from this prized and efficient kitchen equipment. While KitchenAid and other retailers make specific stand mixer covers or splash guards with pouring compartments, the cost of these additional pieces can add up. The good news is, there's a way you can make your own stand mixer splash guard using something you likely already have on hand: a Tupperware lid. All you need to do is cut a hole in the top of a round plastic lid with scissors, and then use it as a cover to mix away — mess-free.
How to make your own splash cover
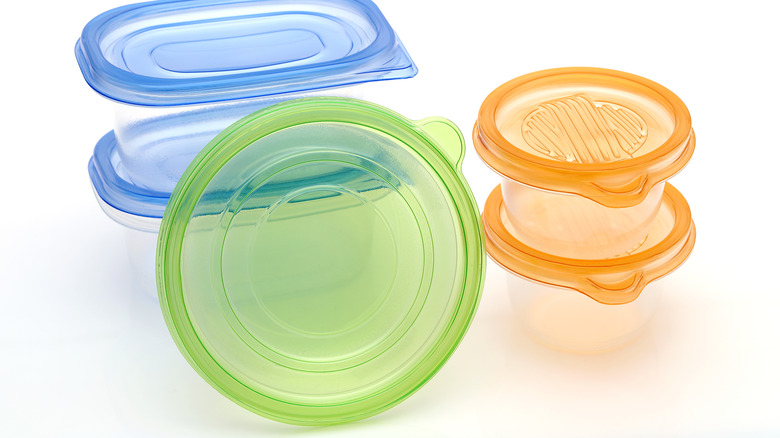
To make your own cost-effective splash guard at home, simply find a circular Tupperware or other plastic container lid (like those on stackable bowls) that's large enough to cover the top of your mixing bowl — and contain any ingredients that may splatter as you mix. Once you've located the right size lid, use scissors or a box cutter to cut a hole in the middle of the lid, just large enough to make space for the top of your mixer's whisk or paddle attachment to fit. Then, cut a seam from the outer edge of the lid to the circle cut-out, so you can easily slide your DIY splash guard on top of your mixer bowl.
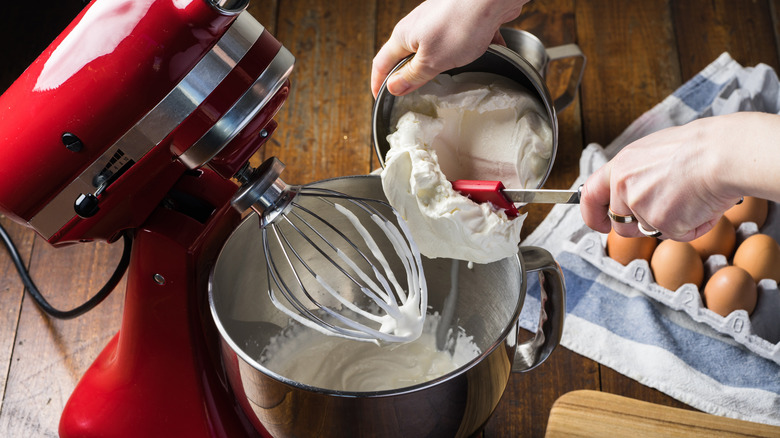
Once you've done this easy prep, which takes mere minutes (and certainly less investment than the manufacturer's splash guard), you'll be ready to mix with your homemade protective splash barrier. Just add your ingredients to the mixer, and top your bowl with the cover. As you mix, you'll want to make sure to hold the lid with one hand to keep it in place, as it likely won't seal around the edges of your mixing bowl.
Additional ways to mix without the clean-up
Once you try this homemade splash guard hack, you'll find that your baking projects become far less messy. All your ingredients will stay in the bowl, instead of all over your clothes, which is less frustrating and also means that your baking measurements will stay precise (no need to worry about how much flour you just lost in that puff of powdery stuff when you turned on your mixer).
In addition to a splash cover, it's also important to start your mixer gently. When adding your sifted or whisked blend of flour and other dry ingredients to the wet ingredients, add in your dry mix, place the plastic lid splash guard on top of the bowl, then begin mixing on the lowest setting, gradually increasing the speed as your ingredients come together. The same goes for whipping liquid ingredients — like the egg whites used to make a luxurious Swiss meringue.
Even with the protection of your Tupperware lid splash guard, you'll want to add ingredients to the bowl in small increments, scraping down the bowl and inside surface of the splash guard between additions, and covering the bowl with your splash guard as you mix. Best of all, you can throw your splash cover right in the dishwasher so you can reuse it the next time you bake, all while keeping your kitchen sparkling clean.