13 Mistakes You Need To Avoid When Frying Chicken
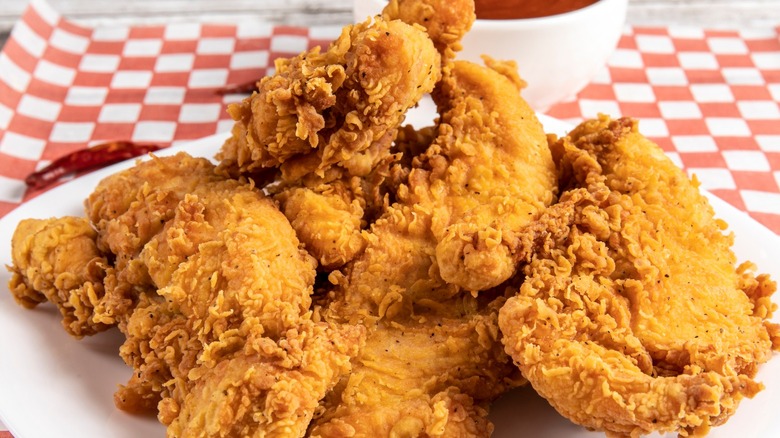
The mere mention of fried chicken makes stomachs growl with anticipation and nothing compares to homemade fried chicken when it's done right. But it's easy to make mistakes when frying chicken, since there are quite a few steps involved in the process. Red flags that indicate botched preparation include soggy coating, rawness, breading that falls off, and a lack of flavor. There are many different and delicious styles of fried chicken around the world, but perhaps the most legendary is Southern fried chicken. That's the variety being considered here, although some of the tips might apply to other versions.
As with any great entrée, creating crispy, tasty fried chicken requires a bit of prep work and a good deal of patience. Give yourself enough space and time to complete each step and expect to tweak things as you learn the ropes. After you've made it a few times, you'll have the necessary experience and confidence, and that will show in the results. You might even add a few twists of your own, like unusual spices, or serving it with an out-of-the-box dipping sauce. But it's vital that you nail down the basics first by avoiding these common mistakes.
1. Buying the wrong kind of chicken and not storing it properly
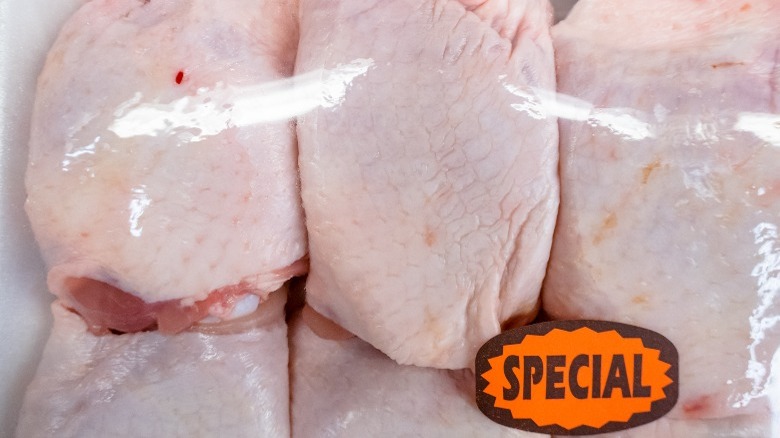
Authentic Southern fried chicken should be made with Grade-A, plump, skin-on, bone-in chicken pieces. These can be purchased separately or, to save money, a whole chicken can be bought and cut up into eight or ten pieces. Boneless chicken breasts can be fried but they aren't the traditional choice. The optimum weight for a frying chicken is 2-½ to 3 pounds, otherwise, the pieces will take forever to cook through. And be sure to cut the breasts in half, since those generally tend to be pretty large.
The U.S. Department of Agriculture advises consumers to look for chickens with "plump, meaty bodies and clean skin." They should also be "free of bruises, broken bones, feathers, cuts, and discoloration." Check the expiration date, but even when that's fine, the chicken might still smell funny. Never buy chicken with strange odors, and if you're not planning to use it within two days, stick it in a sealed bag and freeze it.
The best way to thaw frozen chicken is in the refrigerator — transfer the package there a day or so before frying. Do not leave poultry products sitting out for more than two hours and never wash chicken with water, because other surfaces can become contaminated. Any bacteria on the chicken will be eliminated when the bird gets cooked.
2. Rushing things
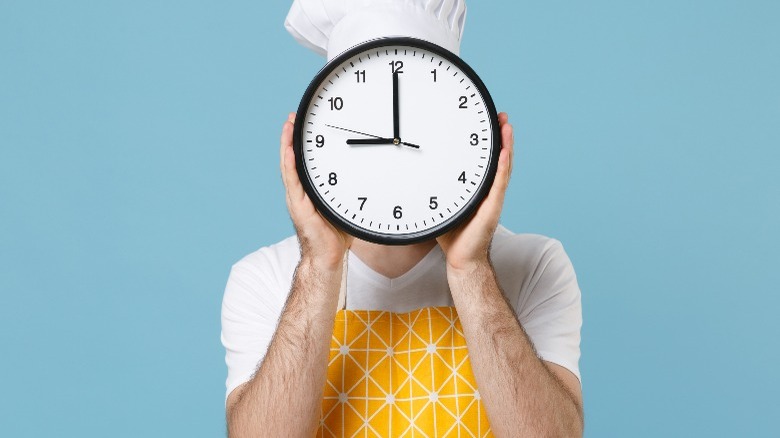
Fried chicken gets prepared in steps and none of them should be rushed. It's best to start early in the day or the night before because the best-tasting Southern-style fried chicken is usually soaked in brine before it's cooked and that takes time. And once it's ready for the next stage, it should be taken out of the fridge and allowed to come to room temperature. Give it 30 minutes and don't worry, because that time can be used to ready the dredging mix and prep station.
It can be hard to get the timing right, so read over the entire recipe before starting to know what to expect. The other steps should also be completed without hurrying too much, but keep an eye on the clock to prevent the opposite problem — when fried chicken is made too far in advance that can also be an issue, but more about that later.
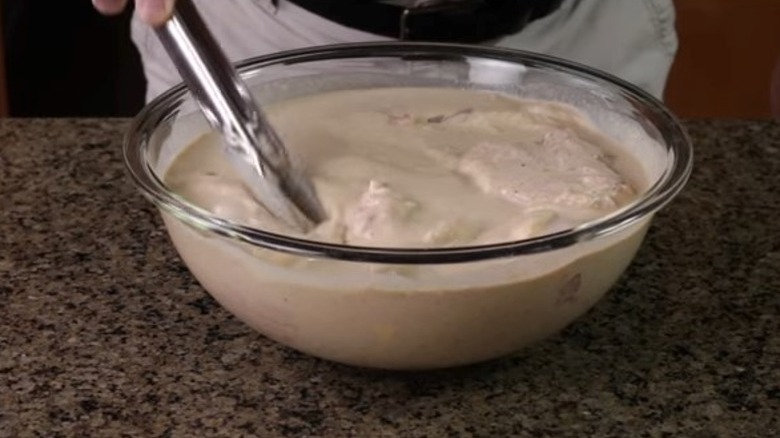
3. Not brining the chicken in buttermilk
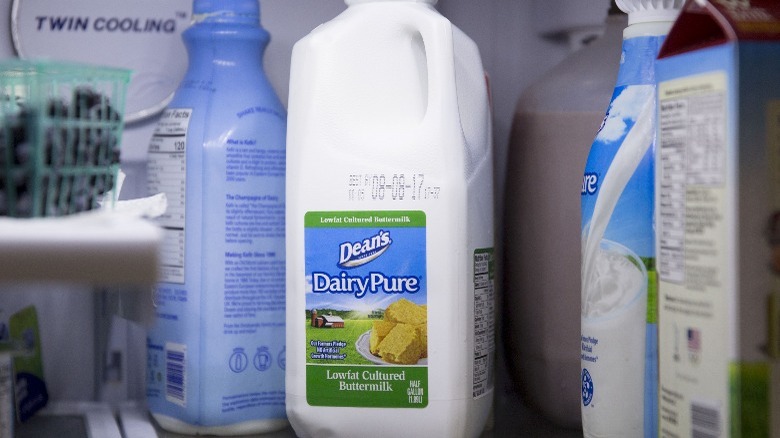
Brining enhances the flavor of fried chicken. You can make a simple one or change things up as long as the base is made from fresh buttermilk and salt. Feel free to add some garlic, pepper, even a touch of sugar, but don't go overboard and complicate things. Cut up the chicken first and then the brine can be prepared. There are two ways to do this, and the easier way will be explained first. Combine one tablespoon of salt and three quarts of buttermilk in a sealable bag or a pot large enough to house that and the chicken pieces. Lower down the chicken pieces, ensuring that they are all submerged. Seal the bag or cover the container and let it soak for about eight hours.
The second method is slightly different. Instead of using buttermilk straight from a container, it gets poured into the pot with the salt and heated on low until it starts to simmer. Then, it can be removed from the heat and refrigerated until cooled before the chicken is added. This method allows the salt to dissolve into the liquid. Just be aware that if you're using salt that's more coarse (such as kosher or sea salt) the ratio will differ. You're aiming for around 30g of salt per liter of water, so employ a scale if you're not sure.
4. Forgetting to add things to the flour
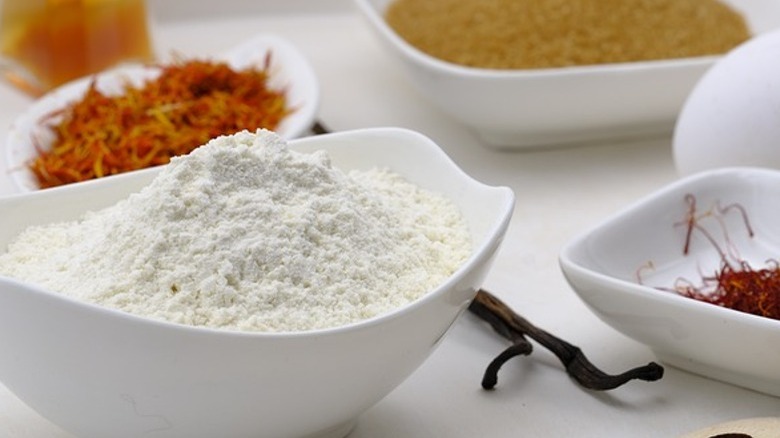
Fried chicken coating won't be crispy without flour but that alone won't achieve that sought-after, perfect texture. That's why so many recipes add cornstarch into the flour dredging mix. This white, flavorless powder works like magic because it prevents the coating from absorbing too much oil. It can actually be substituted for flour, but the result might be on the gummy side and not crunchy enough.
A good ratio for fried chicken dredging mix is 1-½ cups of all-purpose flour to ¼ cup of cornstarch. Once that's combined, add in salt, pepper, garlic powder, paprika, and, for a good kick, ½ to 1 teaspoon of cayenne pepper. And by the way, some chefs also add a few teaspoons of baking powder or baking soda because they feel it makes the coating even crispier. This is something to experiment with, but don't add more than two teaspoons of either to three cups of flour. Whisk all of the ingredients together until smooth in a deep bowl and the mix will be good to go.
5. Not setting up a dredging station
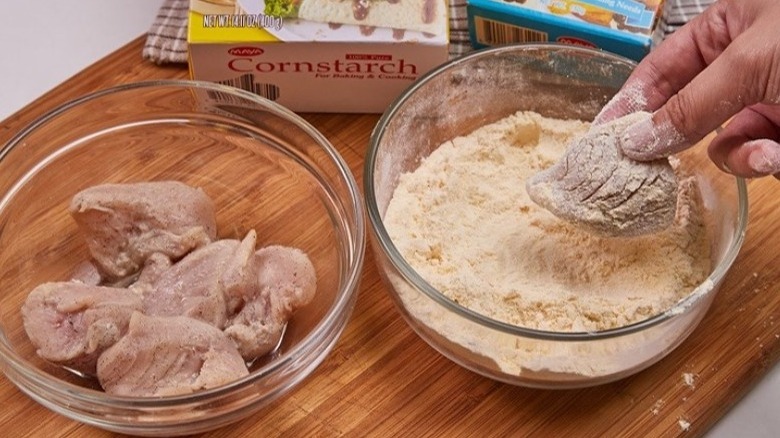
A dredging station can be compared to an assembly line and makes the process much faster, more manageable, and easier to clean up. Once the chicken pieces have soaked long enough, remove the bag or container from the refrigerator. Place that in the sink, and set up the rest of the work area. Place one large bowl filled with the flour mixture on the counter, and put a large plate to its side. Set it up from left to right if you are right-handed and vice-versa if your other hand is the dominant one.
Lift the chicken pieces out of the container one at a time, gently shake off the excess, and dredge them in the flour mixture. Gently tap off excess flour into your trash can because it's hard to clean sinks that are covered with it. Flour becomes gluey when wet and too much can also clog up garbage disposals. Don't neglect to shake off the excess flour or buttermilk, or the breading will probably fall off while the chicken is frying.
Place each coated piece on the large plate, leaving enough breathing space around each to prevent them from sticking to each other. You might need another resting plate if the first one doesn't have enough room, and give the chicken 10 to 15 minutes rest before frying.
6. Misunderstanding the double dips
Double dipping is a social faux pas when sharing chips and salsa, but it is often encouraged when making fried chicken. In this case, it builds up a thicker coating. This is optional, and worth experimenting with. The dredging station needs one more bowl, and you might need to whip up extra flour mixture and have more buttermilk handy. You'll need the large bowl with the flour mixture, a second large bowl, and the plate lined up. Pour the excess buttermilk mixture into that second large bowl and grab a piece of chicken. Dredge it in flour the same way, but then dip it in that extra buttermilk. Dredge it once again, shake it off again, and put it on the large plate.
A whole other type of double dipping can be done with the frying oil to make the coating even crunchier. The trick is to fry it just until the skin starts crisping up, pull it out, and let it cool slightly. Then, it gets placed back in the oil and cooked until finished. How does this work? During that short resting time, moisture evaporates from the chicken skin — the rest goes away in the second dip and the result is super-crisp chicken.
7. Using the wrong kind of oil
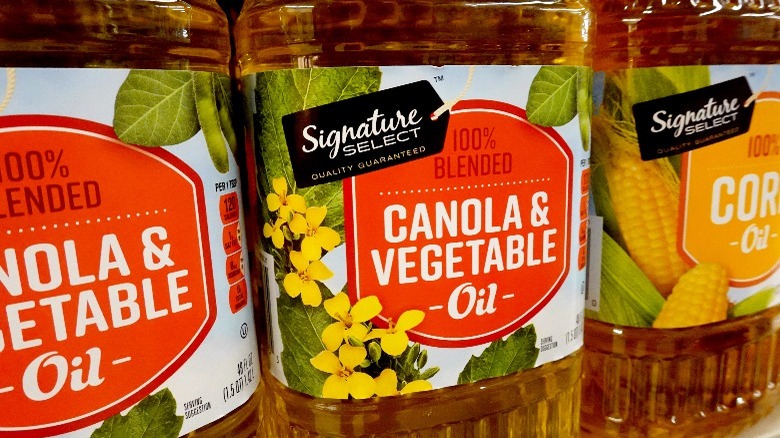
Extra virgin olive oil (EVOO) has a reputation for being healthy because it is less processed than other oils, and is perfectly suited for salad dressings, sauteeing veggies, and making a gourmet pizza. But EVOO should never be used to fry chicken because it will taste disappointingly bitter. This happens because it has a stronger flavor and a low smoke point. It will start burning and smoking at lower temperatures and it changes the flavor of what's being cooked.
Save that more expensive oil for other purposes and use one with a high smoke point when frying chicken. These oils are highly refined and usually don't have unwelcome flavors that can seep into frying chicken. A higher smoke point means that the oil can handle longer cooking times and higher temperatures needed for things like pan-frying. Peanut oil is a good choice unless there are allergy concerns, and other decent options include canola, corn, and sunflower oil. And the chicken doesn't need to be submerged in the oil, either. Just pour in about an inch, ensuring that the pieces are about half-covered.
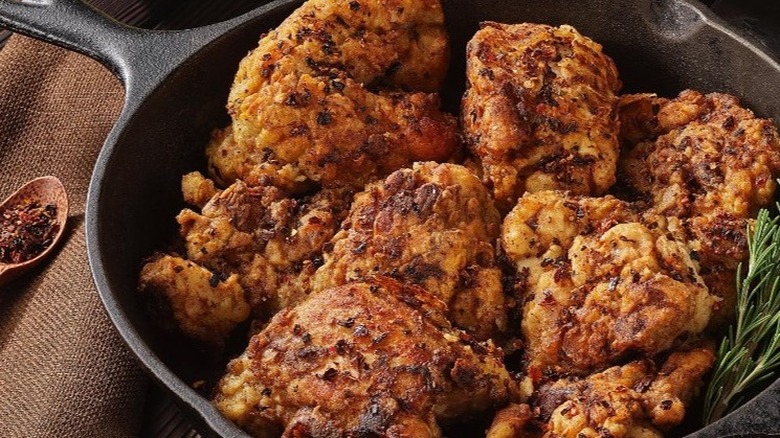
8. Frying it in the wrong cooking vessel
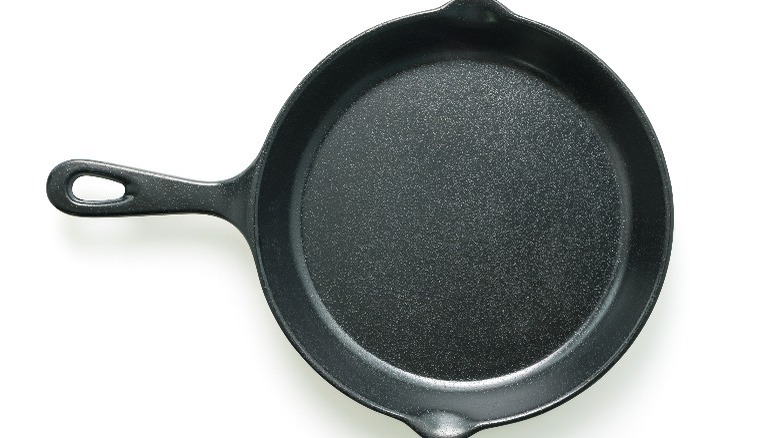
Although fried chicken is cooked in deep pots and vats in commercial kitchens, there's no reason to buy a deep-fat fryer to use at home. A large, sturdy cooking pan is fine, but most chefs agree that one is best — the cast-iron skillet. These versatile cooking tools have deep sides to hold an inch or more of oil, yet are shallow enough to make flipping food easy. The coating sticks better to the chicken in these pans, too.
Cast-iron skillets are known for having good heat distribution so the chicken cooks evenly. However, these skillets are heavier than other kinds and come with a few caveats. Since they are usually made from one piece of metal, the handles can become too hot to touch. This means using a potholder or buying a protective handle cover. Large ones can be harder to store, and all of them must be kept out of the dishwasher. But they're not hard to care for — they can be washed in warm water and a touch of soap, and then oiled before getting put away.
9. Not giving the chicken enough breathing room
This mistake goes back to warnings about rushing the process. Crowding the skillet with too many pieces of chicken at a time is a mistake, but people often do it to save time. Without enough space, there won't be enough air circulation, and the chicken will take longer to cook and could fry unevenly. And not only that, but the cooking oil temperature will decrease. All of these factors will also cause more of the oil to absorb into the chicken and make it soggy instead of crispy. Fried chicken should always be cooked in batches for this very reason. Make sure there's space in between them and that none are up against the sides of the skillet.
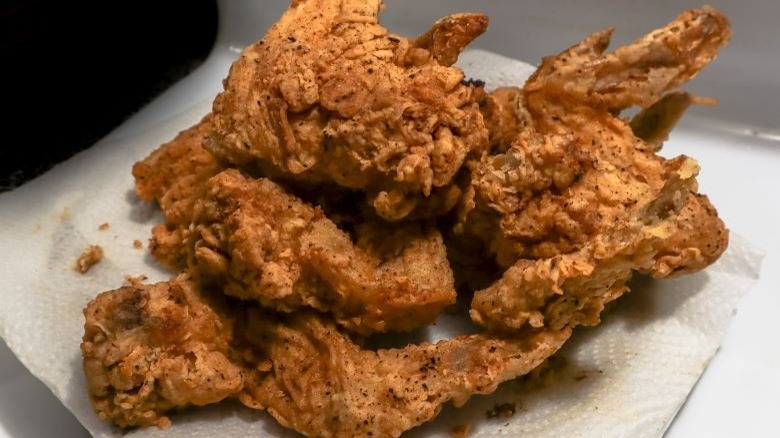
When each piece is cooked, remove it with tongs and place it on plates covered with double paper towels. Arrange the chicken pieces in one layer because if they're touching one another, the oil won't evaporate. Feel free to place extra paper towels or napkins in between the pieces, but don't use kitchen towels for this purpose because all of that excess oil might not come out in the laundry.
10. Not leaving the chicken alone while it's frying
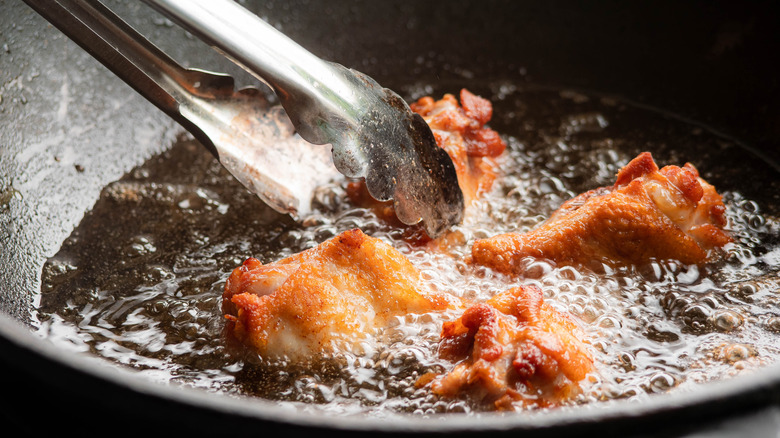
It's hard to resist the temptation to move pieces of fried chicken around and keep flipping them in the skillet while it's cooking, but this is also a mistake. When it's moved around too much, the fragile breading bond can loosen and pieces can fall off into the oil. The chicken will also have bald spots where the meat shows through and no one wants that.
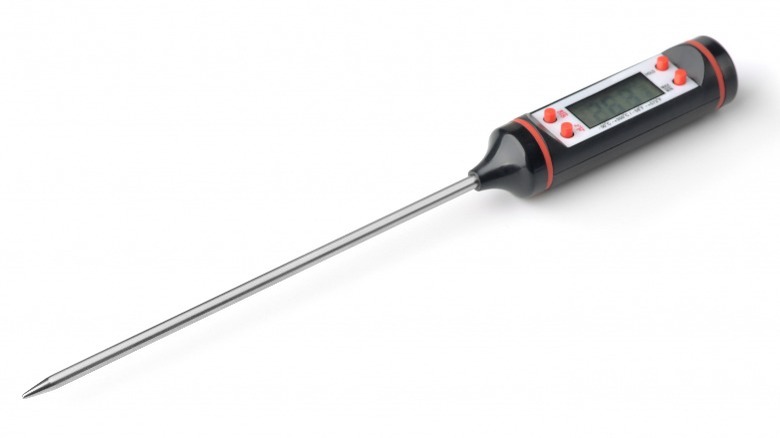
Here's how to fry it the right way: Heat the oil to 350 degrees and carefully lower in the pieces. The chicken will naturally lower the temperature of the oil but it's fine to range from 300 to 350. Use a meat thermometer to check this if you're not sure. Once the breaded chicken is added to the oil, cover the pan without lowering the heat. Give it about five minutes and check to see if the bottoms have browned. Carefully turn them over and repeat the process, removing the pieces and replacing them with uncooked ones until they're all finished.
11. Cooking it for too long or not long enough
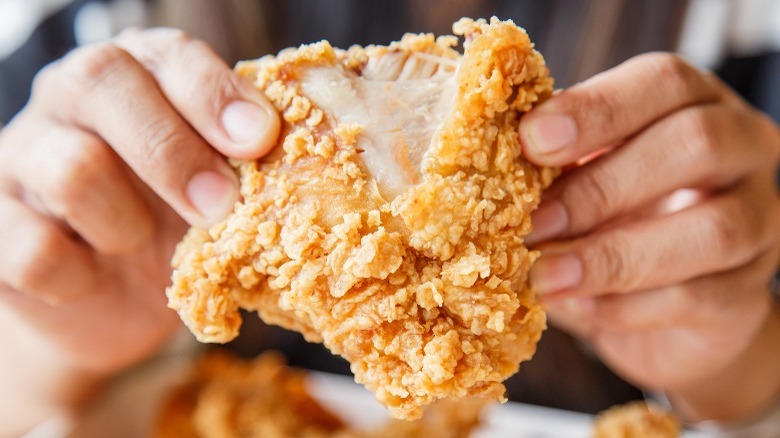
The five-minute-per-side recommended time frame is a guideline since pans and stoves can work differently. Also, a large thigh takes longer to cook than a small wing, so try to cook same-sized pieces together. Perfectly fried chicken should be golden brown on both sides but can still taste great if it's a bit lighter or darker.
It can be hard to tell when the inside is cooked enough, especially when the breading is good and thick. A meat thermometer is useful here since it provides accurate results and the chicken doesn't have to be cut into before serving. The USDA recommends that poultry be cooked to an internal temperature of 165 degrees Fahrenheit, but just remember that food continues to cook for a bit once it's removed from the heat. For safety's sake, check the chicken after it's been taken out of the oil and allowed to rest for a minute or so, and return it to the pan if necessary.
12. Eating it straight from the pan
Nothing smells quite as good as fried chicken and it's pretty much guaranteed that family members will start nosing around when it's almost ready to be served. Resist the urge to let them eat it straight from the pan and never do it yourself — here's why. The chicken may need to finish cooking outside the pan for another few minutes to reach a safe temperature. And, besides that, fresh-from-the-pan hot chicken can also burn your mouth pretty badly.
Ideally it should be left to drain on paper towels for 10 minutes if you can bring yourself to wait that long. A few minutes of rest also gives the juices inside the chicken ample time to redistribute, so each bite will be nice and juicy. So, exercise some self-control, maybe serve a salad — or just kick everyone out of the kitchen. Let the chicken pieces have some peace for just a little while.
13. Waiting too long to eat it
After your fried chicken has cooled down for the allotted amount of time, it should be eaten right away. It only stays hot and crispy for a small window of time, so dig in once the go-ahead is given. Don't wait too long, and don't expect to have leftovers since it's so darn delicious. If you've made a huge batch and there are a few bits left at the end, here's what you should do: Keep leftovers in the refrigerator for up to three days and reheat them at 350 degrees for up to 20 minutes.
Leftovers can also be frozen once they've cooled down and they can actually last for up to six months. When packaging fried chicken for the fridge or freezer, layer the pieces with wax paper or paper towels. This will absorb extra moisture and prevent them from sticking together. Fried chicken is never as crispy the second time around but the chances are better when using an oven instead of a microwave.