The Best Way To Clean Your Blender Is More Simple Than It Seems
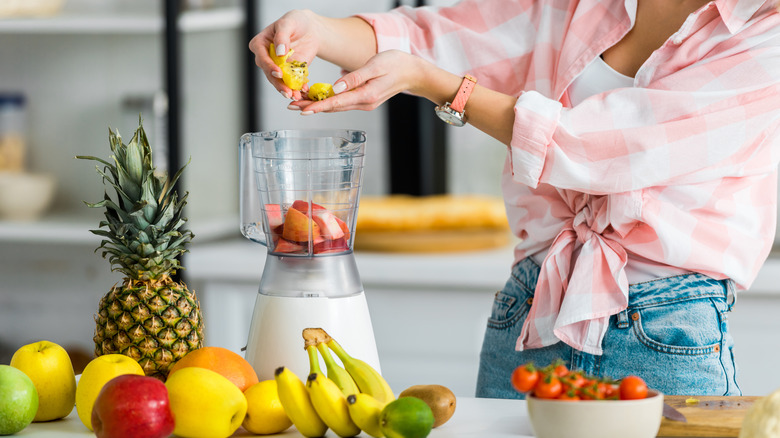
Here's the deal, whether you did a bit of research on the best blenders for smoothie making or inherited a hand-me-down, what you do after pouring your puree can make or break the whole session. You may even ask, why even approach the blender if cleaning is a chore? Ultimately, avoiding the appliance. Well, avoid no more.
When it comes to your blender canister, which is the glass or plastic jar the blades spin inside, a simple trick can speed up the cleaning routine and save hands in the process. Sticking your precious digits near razors is dangerous anyway. Skip that. Respect the machine and let it do the work for you, as it should and always could.
The invention of the blender is often credited to Polish-American Stephen Poplawski, who patented the first design in 1922, changing the course of malt milkshakes and smoothie history. Though Poplawski did not explicitly design the blender with self-cleaning in mind, it is possible.
Cleaning it should only take a few minutes
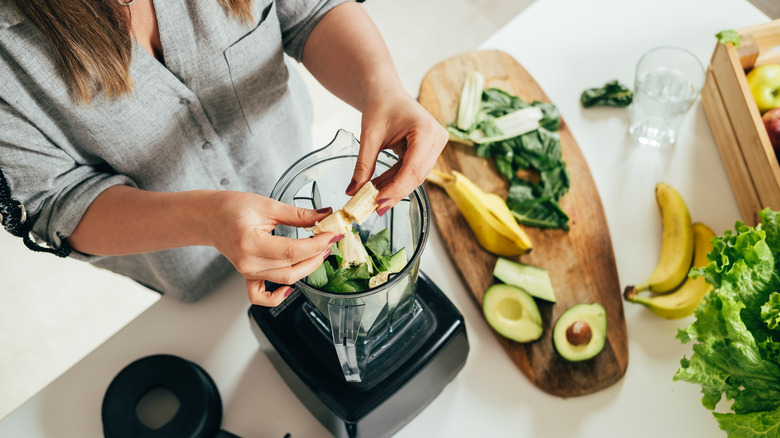
There's some good news and there's some bad news. Your usual blender hand-wash routine is not as fast and efficient as it could be. Try this. Immediately after the blender is emptied and free of any obviously large pieces of unblended food leftovers, which those with low-powered blenders know the pain of, fill the blender canister a third of the way with warm water. Don't worry about precision here. If you go over a third of the way, that's fine. Avoid adding hot water to the blender for safety reasons related to steam pushing the blender top off. Stick with warm. Add a few drops of whatever dish soap you have within arm's reach. Pop the lid on the canister and place it back on the base, then blend that soapy slurry for at least 30 seconds. Voila! The blender is cleaning itself.
You should find the job done before you hit the two-minute mark. Turn the blender off, pour the sudsy water into the sink, and rinse the canister and top. Park those pieces on your drying rack and you're all done. Even peanut butter comes off with this trick, as long as you move quickly and don't let any food dry on the canister before cleaning.
Now for the not so-great-news.
Daily deep clean
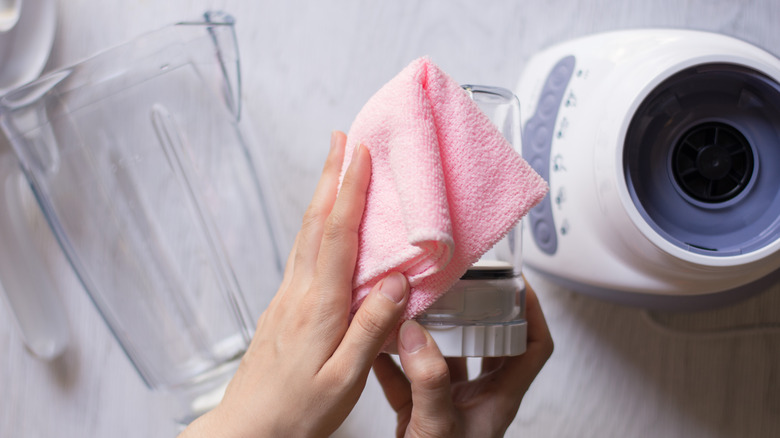
Blenders are one of the most bacteria-laden kitchen tools, according to the National Sanitation Foundation (NSF) based in Ann Arbor, Michigan. It's the gasket, also known as the round rubber seal that sits between the canister and the piece the blades rotate from. NSFs test of germiest kitchen items put the blender gaskets near the top of their lists. "Salmonella, E. coli, yeast and mold were all found on blender gaskets," they report. Yikes!
One TikToker even found maggots in her blender blades after she only used soap to wash it every now and then.
However, the cleaning process to handle dirty gaskets is more involved than blending soapy water after each use. It involves taking the blender apart, removing the canister from the base, and pulling the gasket off, then washing the blades, gasket, and canister separately, and letting each part dry completely before reassembling.
The jury is out on whether blending bubbles get to the root of your gasket issue, but for those with enough time for the next best thing, spin away.