How To Craft A Makeshift Sous Vide Out Of Your Old Beer Cooler

"Sous vide" is a cooking term that hasn't really caught on with most home cooks. Its popularity is growing quickly. Global sales have climbed from $180 million in 2017 to a whopping projected $1.28 billion this year (per Statista). Despite that exponential growth, most home cooks probably wonder, what is sous vide?
It's not a complicated concept. Sous vide is French for "under vacuum," according to America's Test Kitchen. Food that's been sealed into an airtight container is submerged into a hot water bath to cook. That water is heated to precise temperatures by an appliance called an immersion circulator. All of that precision means that, for example, a steak is cooked to an exact internal temperature. It'll need to be browned to create a crust, but the interior will be the exact temperature you prefer. That process is slower than traditional cooking methods, but it's mostly passive time for the cook.
An ideal set up for sous vide includes the immersion circulator, a vacuum sealer, the specialized vacuum bags, a large volume cooking vessel, and, often, a specialized lid to keep the hot water bath from evaporating away. Is there another way to sous vide without investing a few hundred dollars?
Beer cooler sous vide isn't as makeshift as it sounds
The answer is yes and no. For a purist, there's no way to replicate the precision those kitchen tools and appliances create. However, according to ChefSteps, as long as the water stays at the proper temperature for a few hours, you really just need a thermometer, some zipper lock bags, and a beer cooler. That's certainly a better option than your washing machine for sous vide.
They suggest adding portions of food into a zipper lock bag, and seal while removing as much air as possible, otherwise, the food will float. Then, fill the cooler with water heated to the desired temperature. In some cases, water from the faucet might be hot enough. If not, add boiling water. To compensate for the temperature loss when food is added, heat the water an extra six degrees Fahrenheit than recommended in their guide. Close the lid and wait.
It's a good idea to check the water temperature every half hour, or so. If it's fallen too low, just add more hot water. Be careful to not leave the cooler lid off for too long, though. That will allow the water to cool quickly. Once the prescribed time has elapsed, check the internal temperature of the food. If that temperature is high enough, it's ready to eat. If not, just place the food back into the bag and into the cooler for more time.
Beer cooler sous vide still needs a sear
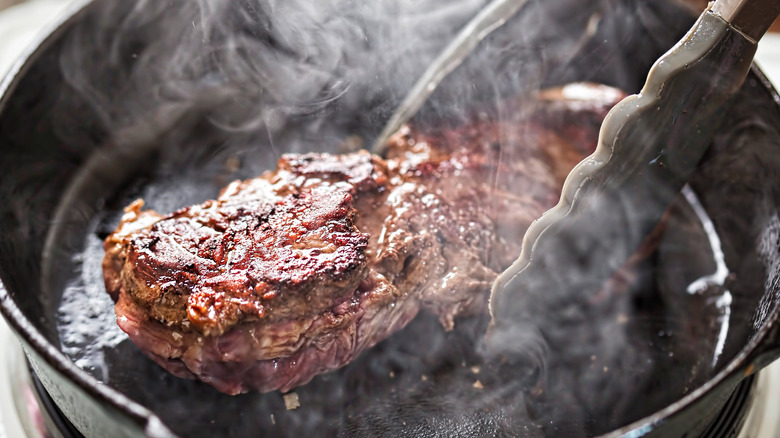
Because sous vide cooking happens at such low temperatures, the food will be perfectly cooked but pale and without brown crust. For something like poached shrimp, this doesn't apply. Most everything else will need to be seared. Anova, a maker of immersion circulators, has a guide for the various ways to make your post beer cooler sous vide searing.
Searing is all about adding surface color and a crust for appearance sake and to maximize flavor. To start, the food needs to be dried off. Surface moisture from the bag won't allow for the best sear. Because the food is already cooked perfectly, the searing step runs a risk of overcooking. So, this needs to happen as fast as possible. No more than 45 to 90 seconds per side, depending on the thickness.
Follow those rules and you can sear with anything from a grill, the broiler, a blowtorch, counter-top grills, or a panini press. If using a pan, be sure to use a high stainless steel, or cast iron pan. Be sure to never cook over high heat in a nonstick pan. Finally, don't crowd the food. Close quarters can trap steam, which is the enemy of a crispy crust.