Why You Need To Be Careful When Cooking Up A Sweet Ham Glaze
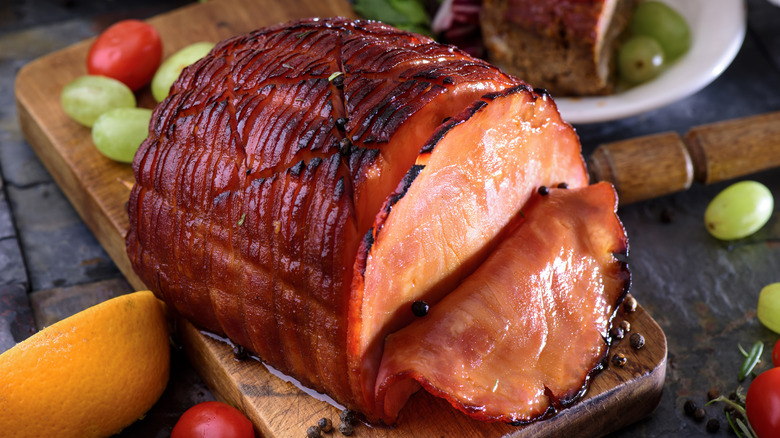
Glazed ham is a show-stopper no matter how you slice it. Flavorful, full of depth, and with that enviable gloss, it often finds itself central to the warmth of traditional family holidays and restaurant brunches alike. Whether you use boneless spiral-cut for convenience and easy slicing, or bone-in for its robust flavor and juicy texture, it's no secret that a delicious, sweet glaze can elevate your ham to a game-changing culinary experience. The sweetness of a delicious brown sugar glaze provides just the right contrast to the pork's smoky, salty flavor profile, in a masterful flavor-layering move that brings it all home.
But making an appetizing glazed ham is not light on dedicated intention. Keeping your glaze from burning while your ham is baking is paramount. Knowing exactly when to glaze that beauty and how closely to watch it in the oven can be the difference between a delectable caramelized outer layer and an unpleasantly burnt crust. A watchful eye is the best way to achieve that perfectly glazed ham you can brag about.
Making a delectable ham glaze
The key to a great ham glaze is achieving a good flavor balance. As the sweetness of brown sugar (and sometimes maple syrup, honey, or even jam) is central, you'll want to counter it with the slight tang of orange juice or pineapple juice to enhance your ham. But what is perhaps the most important consideration for a perfectly glazed ham is the timing of applying your glaze. Glaze can burn quite easily, so be sure not to spread it over your ham until 30 minutes from when your ham is done.
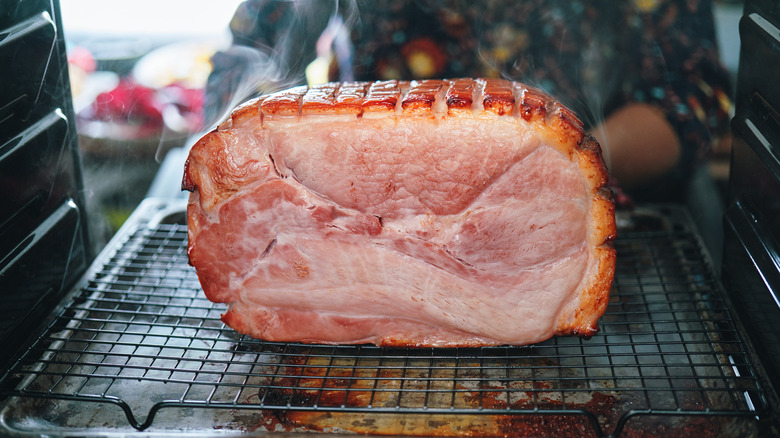
Additionally, because of your glaze's susceptibility to speedy charring, consider lowering your oven temperature and baking at a temperature no higher than about 320 degrees Fahrenheit. Got a few errands to run while your ham bakes? Not so fast. Keep a close eye on that ham, as its sticky-sweet outer crust can go from browning beautifully to burning quicker than you realize.
If all else fails, providing an even surface for your ham (by propping the handle on the side of your baking pan) is an excellent way to promote even browning, ensuring that the heat is distributed evenly. But be sure to cover any portions of your ham that are cooking too fast with foil to control the heat exposure. After your ham is finished baking, let it rest for about 20 minutes so your glaze can thicken and do what glaze does — add a sweet layer of delectability and provide that picture-perfect glow.
An unexpected way to store your glazed ham
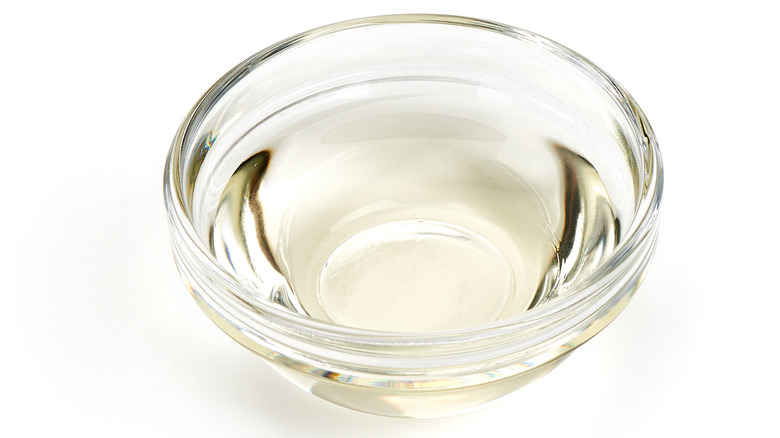
Storing your baked, glazed ham is stress-free and utilizes a household item you have but may not have seen coming: A pillowcase. That's right, your cotton pillowcase is the unsung hero of ham storage and will ensure you can enjoy those leftovers for days. But don't just take it off your pillow and throw some ham inside — it's important to prep your pillowcase first by soaking it in about four cups of water with one cup of white vinegar for about 15 minutes. Wring out your pillowcase, then it's ready for use.
You can keep your ham stored inside for about one week in the coolest part of your refrigerator, as long as you remember to re-soak once your pillowcase dries out — after about three days or so – or you can freeze successfully for up to four weeks. But be sure to thaw your ham for a few days in the fridge before eating it. Alternatively, you can use a ham bag or tea towel and utilize the same soaking process — of course, you'll have a slightly less cool story to tell, but your ham will store just as beautifully and taste just as fresh when you're ready to consume those leftovers.