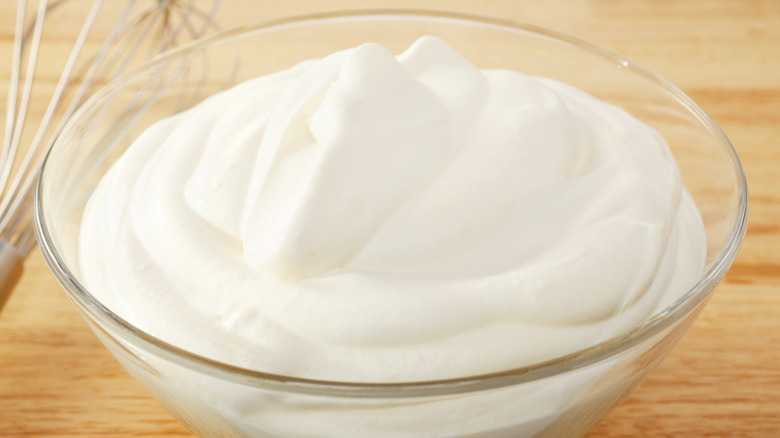
12 Mistakes Everyone Makes With Homemade Whipped Cream
Making whipped cream may seem like an easy task, but even the simplest of projects have their challenges. For example, if you choose the wrong ingredients, you may end up with whipped cream that doesn't hold its shape as it should. And if you aren't familiar with the proper mixing techniques, you might accidentally end up with butter. From preparation to mixing, flavoring, and storing your whipped cream, many things can go wrong.
But we're not trying to discourage you from making homemade whipped cream. It is certainly achievable for anyone, even if you're new to making things from scratch. However, before you start, take note of these common mistakes you should avoid; they'll point you in the right direction so your whipped cream can be perfectly fluffy and flavorful. We guarantee it will be better than anything you can ever get in a can, and you'll likely never resort to using the canned stuff again. Then, once you get the basics down, you can even experiment and take your whipped cream to the next level.
1. Not considering the milk fat percentage
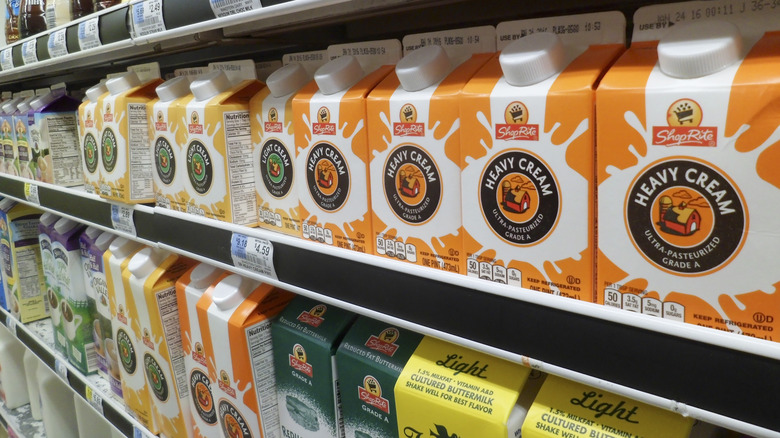
When you purchase ingredients for your whipped cream, you might not look too closely at the label because cream is just cream, right? Not exactly. Different types are distinguished by their milk fat percentage, which plays a massive role in how your whipped cream will turn out. The higher the milk fat amount, the more structure the final product has. To be precise, the FDA states that heavy cream (also known as heavy whipping cream) has 36% or more milk fat, while whipping cream (or light whipping cream) has between 30% and 36%.
So, what does this mean for you? Well, if you plan on making an extraordinarily detailed dessert with whipped cream as decoration, using light whipping cream might set you up for a disaster. Instead of pretty piped rosettes, you'll have thick whipped puddles on your hands, as light cream won't be able to hold such a complex structure. Light whipping cream is best for things like peaches and cream, where you can eat it by the spoonful. It's incredibly silky, creamy, and soft after you whip it.
If you're unsure of the best option for your situation, think about whether the whipped cream is critical to the food's presentation, if you'll be eating it right away, and what kind of texture you prefer. All of these factors are important to consider.
2. Using room temperature cream and equipment
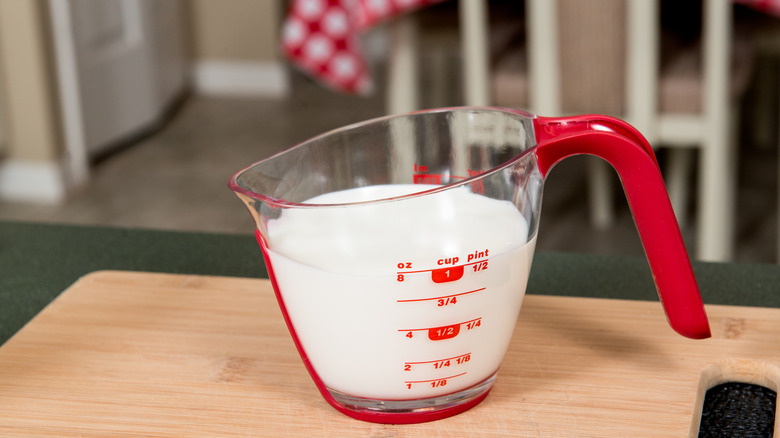
Temperature certainly matters when you make whipped cream. Although you might be accustomed to using room-temperature ingredients for certain recipes, it's a mistake to do so in this case. Yes, it might still whip up if you use heavy cream that's been sitting out for a while, but it's not nearly as voluminous as if you use it fresh from the refrigerator. Another benefit is that chilled cream expands faster, making it less of a physical struggle to whip, especially if you are whisking the mixture by hand.
Lastly, when you keep its temperature in mind, you'll end up with whipped cream that is sturdier, which is better in the long run. For instance, if you plan to frost a cake with it, your cream will hold up much better if it's kept cool throughout the process. If your kitchen is warm, it's also wise to chill the equipment you plan to use. Place the whisk and bowl in the refrigerator or freezer for 15 minutes to thoroughly chill them before you begin your project. This way, the temperature of the cream is preserved while it is being whipped.
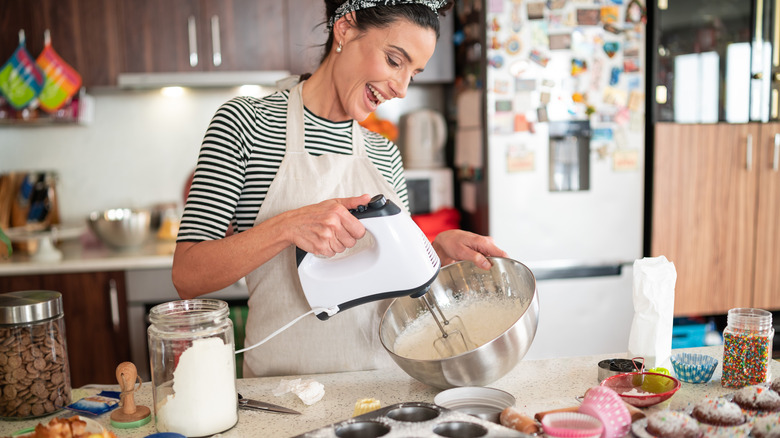
3. Thinking that you need an appliance to make it
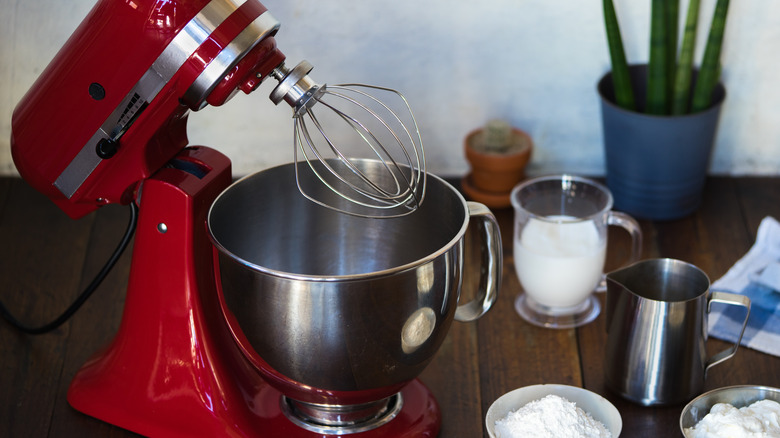
Of course, the easiest way to make whipped cream is to let an electric mixer do the work for you. However, not everyone has such an appliance, or maybe you only need to make a small amount, and getting the mixer out of the cupboard just feels like overkill. Whatever the case, you have options other than the electric mixer.
With a little elbow grease, you can make your whipped cream by hand. All you need is a bowl and a whisk to do so. Use a bowl large enough for the cream to mix and double in size. Beat the cold cream until you notice soft peaks form. Then, you can add the sugar and any other flavorings and keep mixing until it reaches the consistency you want.
But that's not the only way to make whipped cream without a machine — there is another more creative way. Cocktail shakers are an unexpected tool that can help you make whipped cream. To try this approach, grab a cocktail shaker and a Hawthorne strainer. Chill the shaker beforehand, fill it halfway with cream, and then place the spring from the strainer inside. After properly closing it, you can shake it for 30 seconds or however long it takes for the cream to fully thicken.
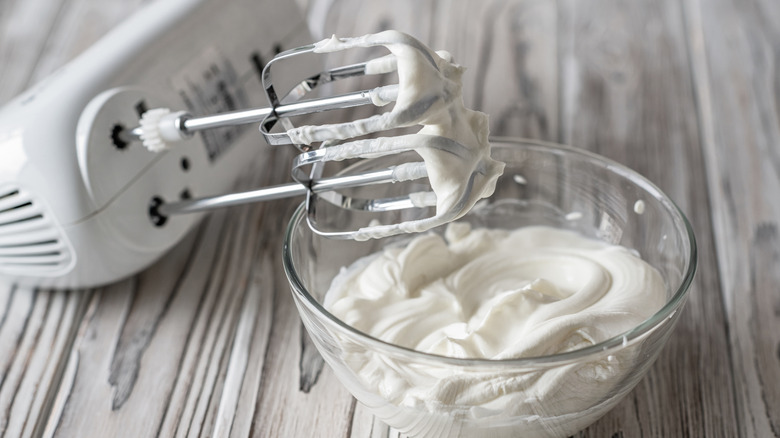
4. Under or over-whipping it

One of the biggest mistakes you can make with whipped cream is mixing it to the wrong consistency. Unfortunately, if you don't know what to look out for, it can be easy to accidentally under or over-whip the cream.
If it is under-whipped, it is loose in texture, making it hard to pipe because of how soupy it is. On the other hand, over-whipped cream might look broken or curdled. When it separates into chunks and liquid, that is the butterfat and buttermilk, meaning that you are on the way to making butter. So, what's the science behind what makes cream curdle? Well, in this case, cream curdles because of the fat content that it contains. When you continuously beat the cream, the beads of fat clump together, and once it's gone too far, they begin to solidify, separating from the buttermilk.
To avoid both under and over-whipped cream, you must watch the cream closely while mixing it to observe its changes. It's crucial because it's such a short window between when soft peaks form and when stiff peaks form. To check on what stage your cream is at, remove your whisk from the mixture. At the end of the tool, there should be a peak. If you want soft peaks, the mixture should hold its shape but slightly fold over. Meanwhile, stiff peaks will hold their shape without drooping. At this point, continuing to mix it would only make it grainy and ruin all of your hard work.
5. Making it too far in advance
Since whipped cream is delicate, it's a bad idea to make it several days before you use it. Over time, the fluffy topping loses quality. Its volume decreases, and it can become watery and unusable, even if it still tastes good. Canned whipped cream is an option if you want to have it on hand for a spontaneous dessert night, but if you want to make high-quality cream at home, the best thing you can do is make it on the same day that you plan to eat it.
The good news is that it only takes a few minutes to whip up, so even if you're making it for an event, it won't take too much time away from your hosting duties. And, if it's part of a larger recipe, you can always work on other aspects of the recipe in the days leading up to your event. That way, adding the whipped cream can be the quick final touch to your dish rather than just another step in your long list of dinner prep.
However, if you don't have time to make it the day of, the earliest we suggest is the night before. In this case, adding a stabilizer can give it more structure and prevent it from deflating.
6. Neglecting to add a stabilizer
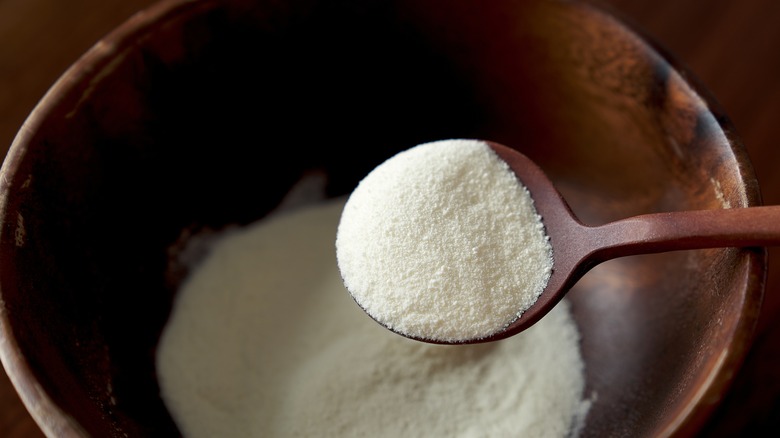
Depending on what you make your whipped cream for, it can be a mistake not to add something like pudding mix, meringue powder, or milk powder to your recipe. These ingredients function as stabilizers, which can be beneficial in many circumstances. Namely, if you need to pipe a border on a pie or use whipped cream between cake layers, leaving out a stabilizer might lead to a less-than-favorable presentation.
With these types of uses, you need whipped cream with plenty of structure. So, how do you go about adding these secret ingredients? Well, it's quite easy. For milk powder, you need 2 to 3 teaspoons for every 1 cup of cream. For meringue powder, you don't need quite as much — just 1 teaspoon for every 2 cups of liquid. Add either of these options when you mix in the sugar (or if you're not adding sugar, wait until the cream reaches soft peaks).
Lastly, there's a pudding mix hack for sweetening and stabilizing whipped cream. Unlike the other two mentioned, if you use pudding mix, you can impart delicious flavors into the topping while making it stiffer. Experiment by using French vanilla, chocolate, or berry-flavored pudding. The trick is to use instant pudding and first mix it into the sugar so it evenly distributes. Then, you can beat it into the cream. Start with 1 tablespoon per cup of cream for this add-in, but include more if you desire.
7. Thinking you need to add sugar
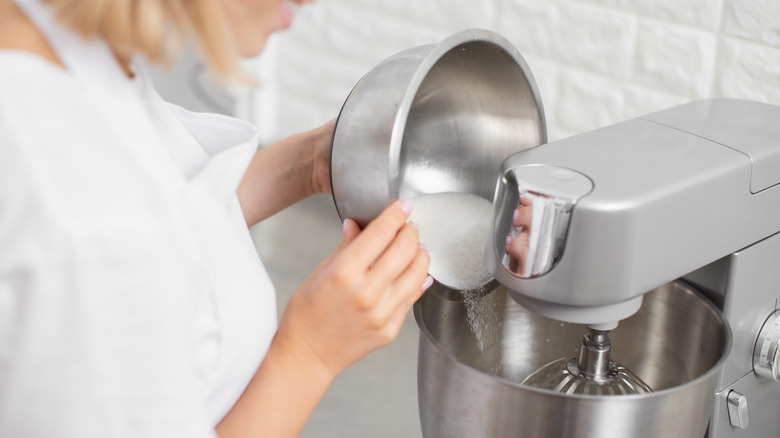
You might assume that all whipped cream has sugar or that sugar is mandatory for it to whip up correctly. However, that's not the case at all. Sure, people usually add sugar to the topping, but it's really an optional mix-in. So, if you plan to make an incredibly rich treat with whipped cream as the garnish, you might actually mess it up by including a sweetener. You don't want the dessert to be so overpoweringly sweet that you can't enjoy it.
Sometimes, it's just best to make the whipped cream plain so other components of the dish can shine. If you feel that your recipe would benefit from some sugar, start with a small amount, and you can always add more to taste. For every cup of cream, start with 1 to 2 tablespoons. Ultimately, try to avoid adding more than ¼ cup, though.
8. Not experimenting with unique flavors
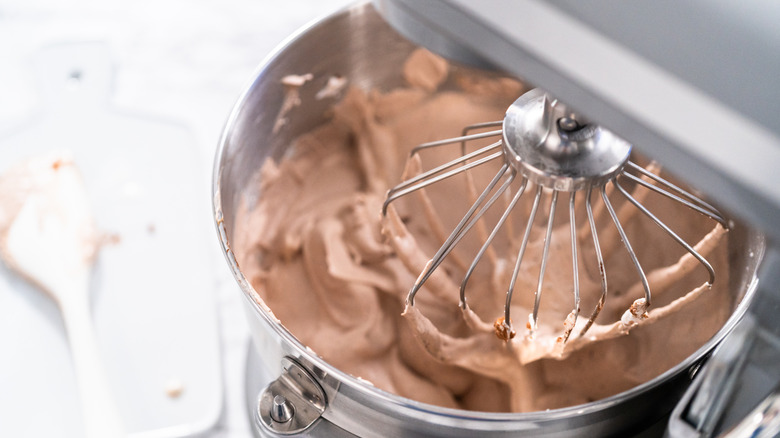
Whipped cream can be used as a simple foundation for you to build upon, so it's a mistake to exclusively flavor it with sugar or vanilla extract. For example, make it chocolate, caramel, or coffee flavored. Usually, you don't need to measure the mix-ins but just eyeball them and slightly adjust them to reach the desired taste and consistency. For example, you can easily make a chocolate whipped cream by adding a small amount of cocoa powder. If it appears to be too thick, you can thin it out with chocolate syrup, further deepening the chocolate flavor.
You can also add caramel sauce to the whipped cream while it whips to give it a luxurious flavor. This addition produces a looser whipped cream, but adding more stabilizers can help stiffen it. For coffee whipped cream, include instant espresso powder or instant coffee. And finally, if you want an easy way to bestow your whipped cream with a robust flavor, you can simply swap the usual vanilla extract for another type. Feeling citrusy? Use lemon or orange extract. Want something nutty? Use almond extract. How about fruity? Try raspberry or banana. Using flavored whipped cream for your dishes can instantly elevate them to something more impressive.
9. Throwing out a batch before trying to fix it

If you think you've messed up while making whipped cream, don't be so quick to throw it out. Although it might feel discouraging, there might be ways to fix it. For example, you might not think there is a way to revitalize your cream when you overwhip it, but there is. You can try to rescue it first by adding 1 tablespoon of new cream to the bowl. Slowly whisk the mixture; if it doesn't instantly come together, add another tablespoon or two until it does. You'll be amazed by how such a small amount of cream can restore it.
Secondly, if you make the mistake of adding too much sugar, it isn't the end of the world either. Grab a spoonful of sour cream and gently fold it into the whipped cream. Perform a taste test to see if you need to add more. Ideally, the sour cream's tanginess balances the sugar's sweetness, helping to tone down the saccharine taste. Of course, it is best to avoid making these mistakes in the first place, so you don't have to try and revive the whipped cream. But, if you've already made the error, tossing it into the garbage and starting over isn't always necessary.
10. Only using it for desserts

Although people commonly use whipped cream for desserts, you miss out if you don't use it in other ways. For instance, you can also use it for beverages like cocktails, smoothies, milkshakes, or coffee. Either mix it into the drinks or use it as a topping. Another way to use it is in savory dishes. We're not talking about sugary whipped cream, but rather plain whipped cream or a batch with savory add-ins.
If you need an example, think of crispy, fried veggie spring rolls. This food type can benefit from being dipped into a light and airy mixture, such as whipped cream. You can add fresh chopped herbs, such as parsley, or some seasonings to complement the flavors. A less experimental option would be to add a serving of whipped cream to your chicken and waffles, a dish that already utilizes a "sweet and savory" flavor contrast. In this instance, choose a plain whipped cream with no add-ins — its taste will add an extra buttery touch to your meal as well as give the dish an additional textural element.
But don't stop there. Whipped cream isn't only a topping or dip. You can fold it into foods like risotto or chicken salad. The whipped cream adds richness and also makes the dish incredibly creamy.
11. Leaving it at room temperature between uses
Leaving whipped cream out on the counter is a mistake for multiple reasons. Firstly, it requires a cold environment to maintain its shape and volume. Even if you add a stabilizer, it will still soften when exposed to warm air for extended periods.
Hence, even when you serve desserts containing whipped cream, it is best to keep them in the refrigerator until service to preserve their texture and presentation. Usually, all it takes is about an hour, or sometimes even less, for the desserts to be sitting out before you notice the whipped cream softening.
Secondly, leaving it at room temperature for longer periods is actually dangerous. Food Safety reports that you must throw out dairy-based products like cream or cream-filled pastries after they've been out for two hours or more. So, keeping it in the refrigerator is not only for quality purposes but also for your safety. The last thing you want is for someone to get sick.
12. Not freezing leftovers for later use

The general consensus is that dairy products don't freeze well because their texture might be funky when you thaw them. However, this doesn't apply here — whipped cream can be frozen for later use. So, next time you accidentally make too much, you can utilize your freezer to extend its shelf life rather than tossing it. There are many ways you can freeze it, but the most important thing is that you don't leave it exposed to the cold air because that will cause freezer burn. Instead, some good ideas are to use a container with a tight-fitting lid or a resealable plastic bag.
To thaw it, transfer it to the refrigerator so it can slowly soften. Another idea is, if you want to turn it into smaller portions, to fill large ice cube trays with the whipped cream. Ideally, use the silicone kind, so you can pop the whipped cream cube out whenever you need an individual-sized portion of it, say for a mug cake or hot chocolate. With these scenarios, the heat makes the whipped cream soften anyway, so there's no need to thaw it. Use the whipped cream within six months of putting it in the freezer for best results. Although it is technically safe to eat after that point, its quality just won't be the same.