15 Mistakes Everyone Makes When Baking Hot Cross Buns
Along with Easter comes many delicious treats, from colorful dyed eggs to decadent chocolate bunnies and sugary Peeps marshmallows. But another Easter tradition is the hot cross bun, filled with pleasant spices and chewy dried fruits and marked with a cross on top. This baked good has much to offer and holds religious meaning to many. For Christians, the cross on the bun symbolizes the crucifixion and resurrection of Jesus Christ. However, history shows that this treat has Pagan roots. In the medieval era, Pagan Saxons baked buns and celebrated the goddess Eostre during springtime. In their version of hot cross buns, the four sections of the cross stood for the seasons of the year and quarters of the moon.
Despite its long history, making hot cross buns can be tricky. Although the process is similar to making other types of dough, there are common mistakes that people often make that can harm or prevent success. Home bakers can benefit from learning essential tips from experienced chefs who have faced the challenges of perfecting a hot cross bun. That's why I'm here to assist you. My experience as a professional baker has taught me the most significant mistakes you should avoid while making this treat. And I'm more than happy to share my insight. Without further ado, let's delve into these tips to make your baking experience a joy rather than a disaster.
1. Sticking with the same old recipe
You can prepare hot cross buns in various ways, so there's no need to stick to a specific recipe if you don't like some of its required ingredients. It's a mistake not to use your creativity and adjust the recipe to your liking. For instance, you can bake the cross traditionally or add it later with icing. You can also experiment with the level of spices or use different fruit mix-ins to give it a unique twist.
So, if you're not a fan of sultanas, raisins, or currants, often in classic versions of the baked good, you can use cranberries, dates, apricots, or other fruits. With larger fruit, chop them into smaller pieces first. The same applies to candied citrus peel. You can use fresh zest instead or omit the citrus entirely; it doesn't make your hot cross buns any less authentic or delicious.
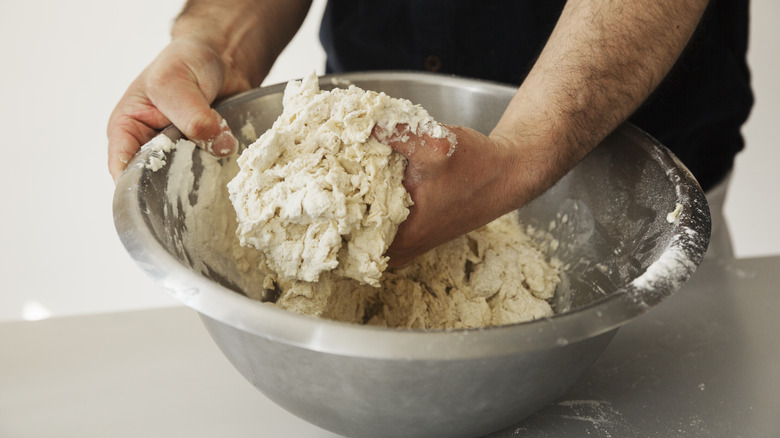
2. Using too much flour in the dough
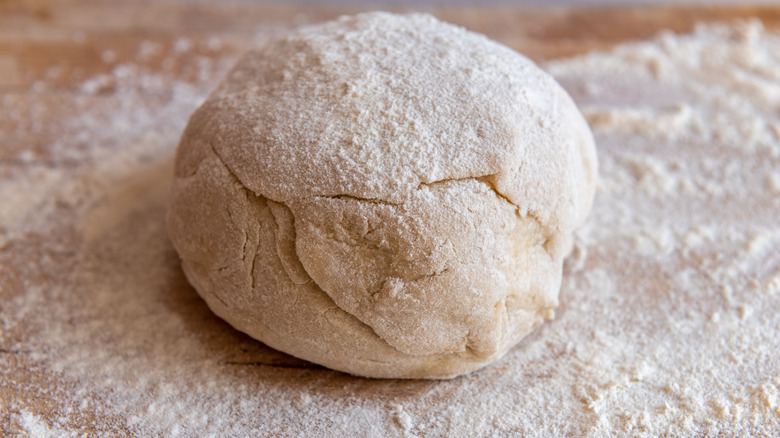
One mistake people often make is that they keep adding more flour to the dough. For instance, maybe they follow the recipe initially, but when it comes time to knead it, they realize it's a bit sticky. So, they add more dry ingredients, thinking it's impossible to knead it the way it is. Well, hot cross bun dough is supposed to be slightly loose and tacky. Since it is an enriched dough, you can compare its consistency to a cinnamon roll or brioche dough.
When you add unnecessary amounts of dry ingredients, it becomes crumbly or hard to shape. If you pass the proofing and shaping stage and bake the buns, they turn out unpleasantly dry and dense. Thus, you're better off following the recipe, and if its consistency is far too wet, add 1 to 2 tablespoons of flour. Knead it in the bowl instead of on the table until it has less slack. You'll be surprised how much the texture improves just from kneading it.
3. Killing the yeast
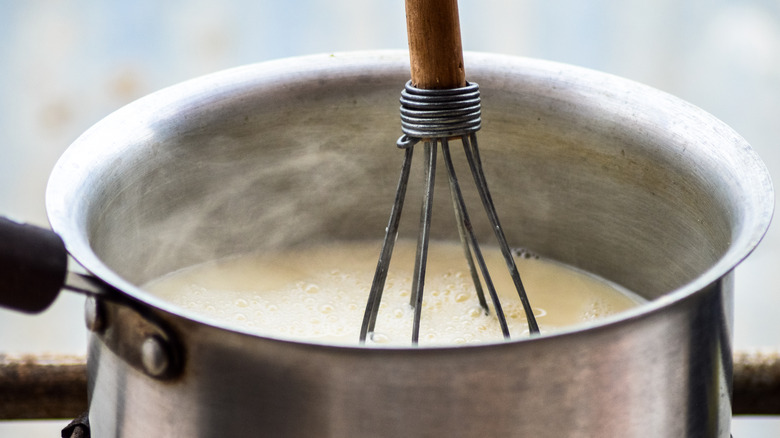
Beginner bakers new to working with dry yeast might be unaware of its temperature sensitivity. You must consider its limits in recipes like hot cross buns, where the yeast is mixed with warm milk. If you take it too far when you heat the liquid, it kills the yeast instead of proofing it. What does this mean for your buns? Well, if the yeast isn't active, the dough won't rise, and you'll have to start over. Luckily, it's easy to prevent this by keeping the milk between 105 to 115 degrees F.
You can use a cooking thermometer to be safe on the safe side. But generally, if you stick your finger in the liquid, it should feel warm and not feel like it's close to burning you. If it is uncomfortable to place your finger in the liquid, there's a good chance you need to let it slightly cool first. Using a microwave to heat the milk instead of the stovetop can give you more control over its temperature since you can heat it in increments.
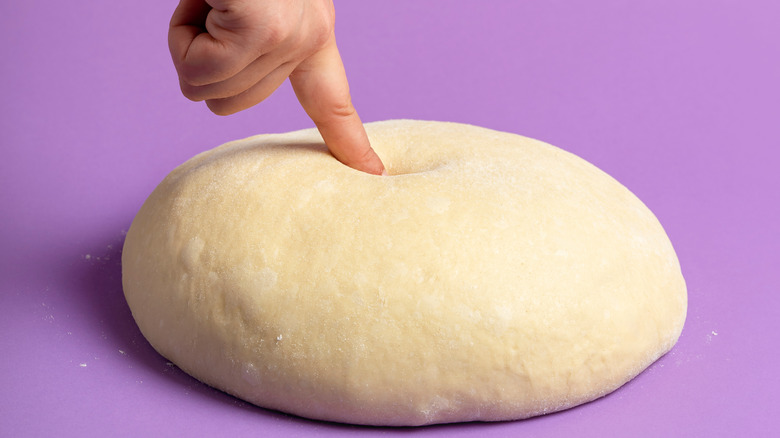
4. Under-kneading the dough
Over-kneading dough is a common warning to bakers since it can ruin its texture. However, being too cautious can lead to under-kneading, which is just as bad. When this happens, the dough doesn't have the proper structure it needs. As a result, the final product is dense or crumbly rather than fluffy. This is a frequent issue with enriched doughs since they differ from lean doughs (such as French bread or sourdough) and require longer mixing and kneading times.
Remember that there are various types of pastry dough. Enriched doughs contain more fat and sugar, which inhibits gluten development. These ingredients surround the gluten proteins, so it takes longer for the dough to develop its structure. You can achieve the right consistency, but it just takes more work.
Fortunately, if you don't want to put the elbow grease in, you can use an electric mixer with a dough hook, so long as you give the dough breaks to examine its consistency. You can even use a bread machine for hot cross buns, but ensure the recipe was developed with the appliance in mind. When kneading the dough, it is ready once it feels smooth, easily releases from the bowl, and springs back when you poke it with a finger.
5. Only proofing the dough once
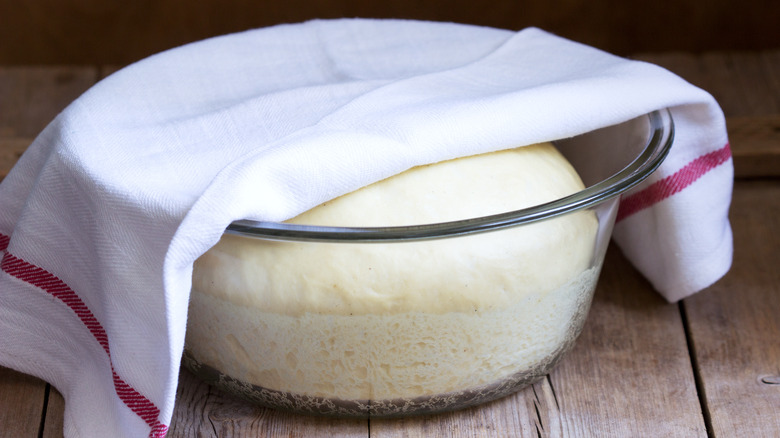
One common downfall of home bakers is only proofing the dough once when making hot cross buns. People who don't have much experience with bread might give the dough its first proof, or bulk fermentation, as some call it, but neglect to let it rise again after they shape the buns. Unfortunately, when you do this, the rolls don't rise as much, leading to a suboptimal texture and presentation. Although it takes more patience when allowing it to rise twice, it is undoubtedly worth every minute because the buns turn out nice and airy.
Both steps of the proofing process are simple. When you proof the entire dough ball, it must double in size. Meanwhile, when you proof the shaped buns, they don't necessarily need to become twice as large. Placing them in a pan with some space in between makes it easy to tell when they're ready. Over time, the space closes, and the buns touch while becoming visibly light and puffy. This is when you'll know they're ready.
6. Not accounting for factors that affect fermentation
Several factors can affect how efficiently the dough rises; if you don't take them into consideration you're hot cross buns might suffer. First, weather and humidity play a part in how long it takes the dough to ferment. Yeast needs a warm environment to grow, preferably with some moisture. However, depending on where you live, the weather might still be chilly. Although your hot cross buns recipe might claim that you'll need to ferment the dough for an hour, it might take longer if your kitchen is cold. The solution here is to simply let the dough rise for longer or move it to a warmer environment, and don't try to rush it.
Additionally, another mistake you might make is not taking your ingredients into account. Cinnamon is a common spice used in hot cross bun dough. This spice can cause yeast to work slower, leading to longer rising times. This is especially true if you use too much. Try not to use more than ½ teaspoon of cinnamon for every 1 ½ cups of flour. Following the visual and texture cues is better than sticking to a strict timeline.
7. Adding the fruit too soon
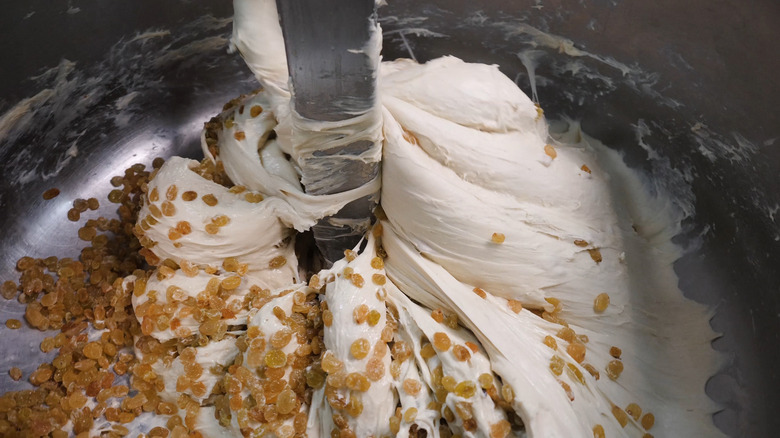
Adding the inclusions too early is another practice that can negatively affect your hot cross buns. No matter which dried fruits you add, it's best to add them after bulk fermentation. Many novice bakers might add them when they mix the ingredients to form a dough; some recipes may even direct people to do so. However, with this practice, there's a possibility the fruit becomes squished or torn during the kneading process.
More importantly, the fruit may be a physical blockage for gluten development because it can break the proteins (this is true with other yeasted dough, too, such as sourdough). Therefore, for best results, wait until after the dough's first rise. Take the dough and stretch it into a rectangle. Sprinkle the fruit pieces onto it, then roll it into a log and fold it over itself. Make a few more folds and gently work the pieces in until they look evenly distributed throughout.
8. Proofing the dough in an ungreased bowl
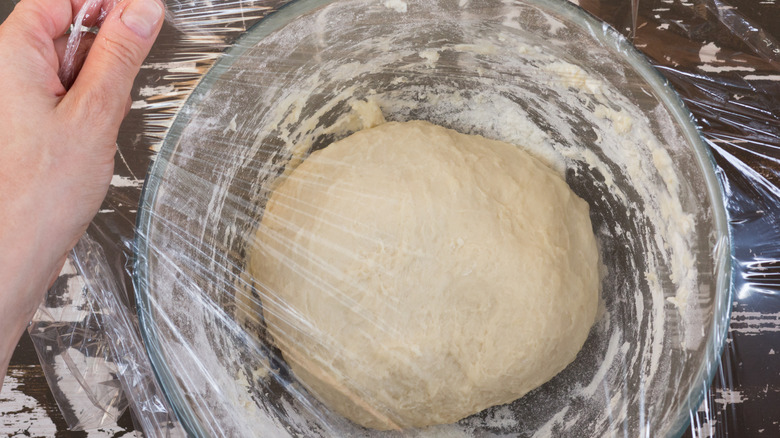
No matter which recipe you use, odds are that it directs you to place the dough in a greased bowl for its first rise. Unfortunately, people tend to overlook this or think it's less critical than it is. Then, when it's time to remove it from the bowl, the dough is stuck to the sides and doesn't release. Or, it just isn't as airy as it should be because it can't rise.
To be successful, grease the bottom and sides of the bowl with cooking spray or oil. Don't use too much, though, or extra grease will pool on the bottom. Place the dough ball inside, then flip it over so the exposed side is greased.
As a result, the oil retains the dough's moisture while it ferments, and you don't have to worry about removing a hard, crusty layer from its surface later on. Meanwhile, the bowl is slippery, allowing the dough to effortlessly slide up the sides when it rises.
9. Not weighing the dough balls

If you want your hot cross buns to look as pretty as possible, avoid estimating the size of the dough balls. For instance, with a recipe making 12 buns, you might be tempted to cut the dough in half and then cut each of those portions into six rolls. However, with a method like this, it's easy to miscalculate. Although the rolls might look the same size before they bake, they come out of the oven looking sloppy and uneven.
The best course of action is to use a kitchen scale. You can weigh the entire dough and divide its weight by how many buns you want, which gives you the necessary measurement for each. If you want to be incredibly precise, use grams instead of ounces because the unit of measurement is smaller. Then, you can be confident that the buns will be uniform.
10. Improperly shaping the buns
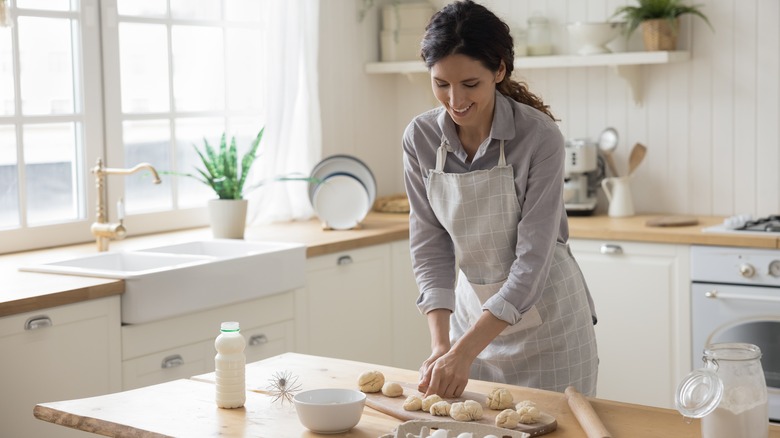
After dividing the dough and weighing it into smaller portions, it is important to shape the buns correctly. Unfortunately, if you don't form them into spheres or tuck the seams under, all the flaws become more apparent when you bake them. Luckily, with some practice, you can make perfectly rounded rolls.
There are several ways to achieve this, but here's a straightforward method: First, grab a piece of dough and form it into a ball by stretching the underside of the dough over the top and toward the center. You can stretch it onto itself three or four times, and it naturally turns rounder, leaving you with a seam on top. From here, use your fingers to pinch the seam, then flip the ball upside down.
To further perfect its shape, take one hand and cup it around the dough on the table. Work in a circular motion, rolling the dough lightly with your fingers. After a few seconds, you'll have a nicely shaped bun, which you can put in the pan with the seam side down.
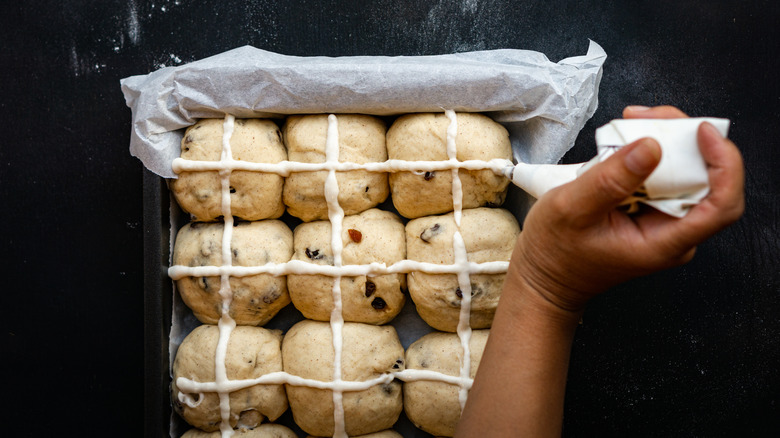
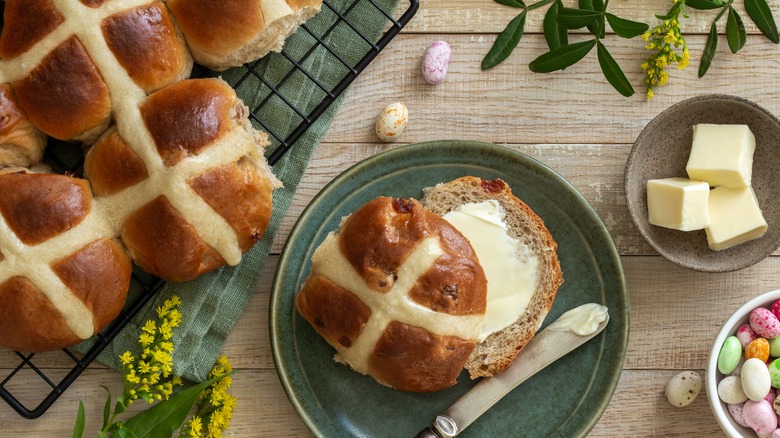
11. Making the flour paste too thin or thick
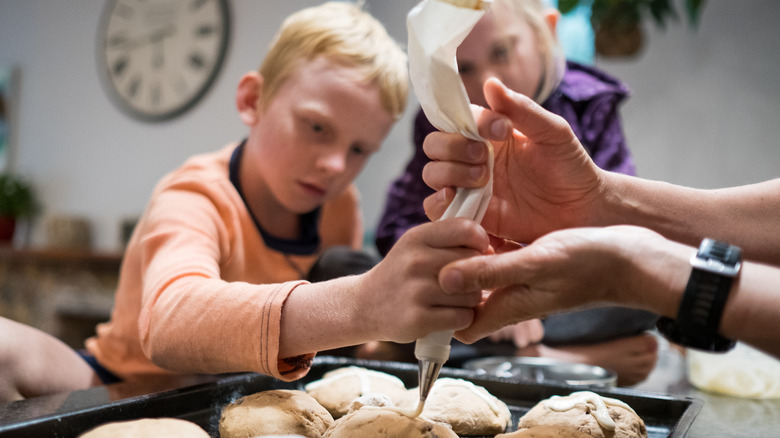
If your recipe calls for piping a flour paste on the buns, apply the mixture only once it is the right consistency. If it is too thin, it spreads while the rolls bake and doesn't look like crosses on the top. This is a major disappointment since the crosses are a big part of the baked good's charm and appeal. On the other hand, it's possible to make the paste too thick. When this happens, you might not be able to pipe it comfortably, or it might even make a disposable piping bag break.
If you apply it anyway, it becomes overly hard when you bake the bread. So, whatever you do, follow the recipe as closely as possible and test the mixture beforehand. You can practice by piping it onto a piece of parchment paper. The paste must be lump-free and thick enough to hold its shape when you pipe it. It also should smoothly flow out of the bag without having to use an incredible amount of force on the bag.
12. Overbaking them
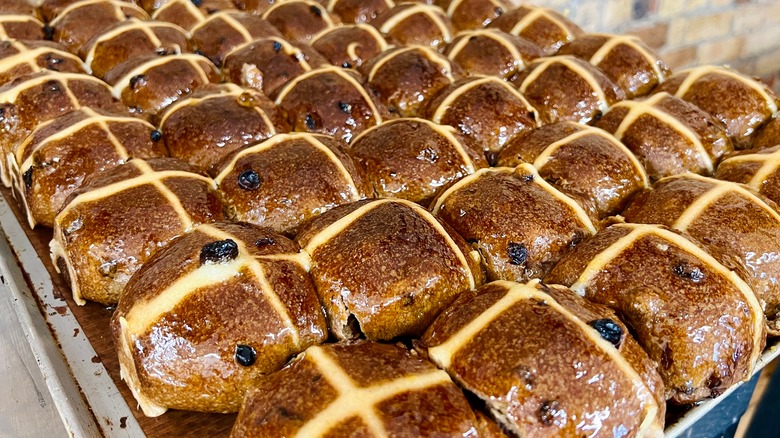
It's a shame to spoil a delicious hot cross bun by overbaking it. Unfortunately, this common mistake occurs when people forget to set the oven timer or overcompensate for fear of underbaking the buns. As a result, the rolls have a dry texture, and their presentation suffers. The good news is that there are several ways to determine when the bread is ready to come out of the oven.
First, it's always wise to use the recipe's suggested baking time as a guideline. Secondly, the appearance, texture, and temperature can also clue you in. The hot cross buns should have a beautiful golden-brown color. If you turn one upside down and tap on the bottom of it, the roll should feel hollow rather than heavy. Of course, if you want to bake the buns close together so people can pull them apart, you might not want to disturb them by checking the underside.
This scenario is when a cooking thermometer can come in handy. Insert a thermometer into the rolls and examine their internal temperature. If they reach or exceed 190 degrees F, they are ready. Continuing to bake them at this point only ruins them.
13. Not allowing them to cool before applying icing
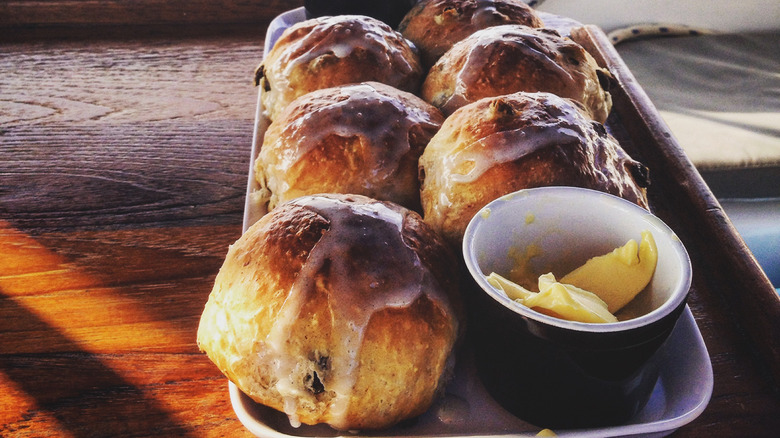
Some versions of hot cross buns suggest piping icing to create a cross rather than making a flour paste that is baked on. The method you use depends on personal preference, and neither approach is right or wrong. However, if you plan to take the icing route, you can't be impatient regarding decorating the buns. The icing melts easily since it is made with powdered sugar, water, or milk (and sometimes even cream cheese). So, it turns into a soupy mess if you draw the design on the rolls while they're still hot.
To achieve a desirable presentation, you must allow them to fully cool first. After about five minutes of resting in the pan, you can transfer the buns to a cooling rack to speed up the process. During this time, you can glaze them to give them some shine, and before you know it, it'll be time to apply the recognizable cross pattern.
14. Not glazing them
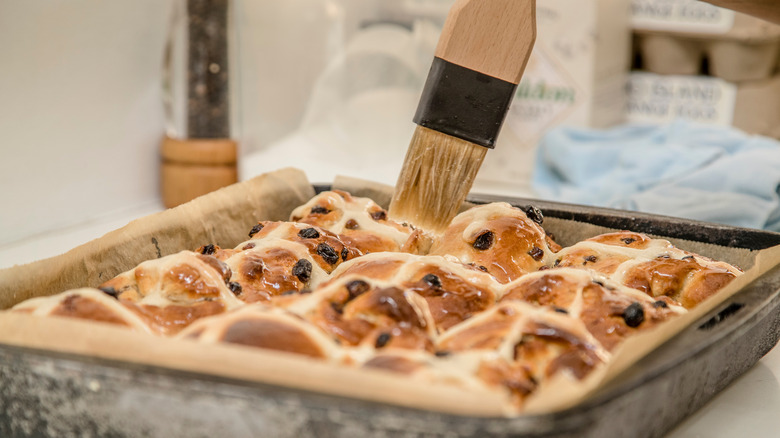
Glazing hot cross buns is optional, but it's a missed opportunity if you skip it. While the buns may look okay when served plain, they lack the shine and extra flavor that a glaze provides. They just don't have that extra pizzazz. It's important not to confuse glaze with icing, as they differ. When you glaze the buns, you brush a syrupy mixture onto the warm rolls, coating their entire surface. This doesn't change their color but enhances their natural look.
For instance, you can make a simple syrup with equal parts water and sugar until the granules dissolve and the mixture simmers. Also, one of the best ways to use golden syrup is to use it as a finish for hot cross buns. It's a fantastic option since it is sweet and buttery; you just need to gently heat it first. Or, use warmed apricot jam or orange marmalade to cover the rolls for a fruity option. If it is still thick after you heat it, you might need to add water, making it thin enough to brush on.
15. Incorrectly storing or serving them
You'd think that after all the hard work that goes into making hot cross buns, people would adequately store them. Unfortunately, this isn't always the case. For example, some people might loosely wrap the buns, exposing them to air and drying them out. To retain the moisture in them, keep them in an airtight container. You can take it further by tightly wrapping the buns in plastic wrap beforehand. You don't need to refrigerate them unless they have perishable ingredients in the icing, like milk or cream cheese.
Another mistake people make is eating the buns while they're cold. This type of bun definitely tastes best when it is slathered in butter and served warm. So, if you can't enjoy them fresh out of the oven, reheat them for the best experience possible. You can quickly toast or microwave them if you don't have time to reheat them slowly in the oven.