12 Mistakes To Avoid When Making Caramel Apples
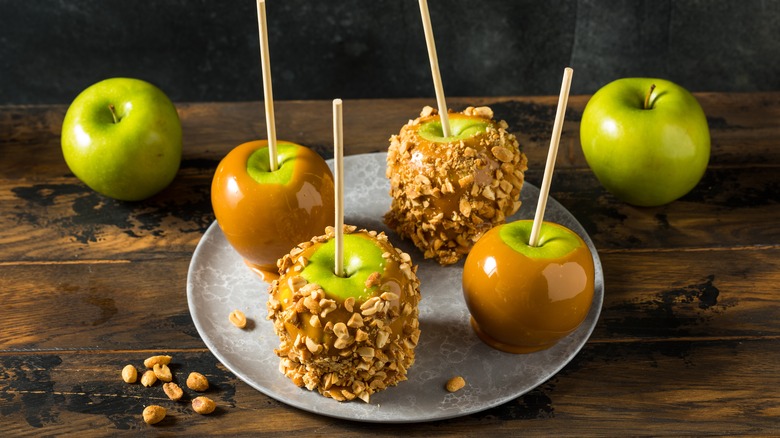
Perhaps caramel apples embody autumn because they're ideal for making during apple-picking season when you have a basket from your local orchard. Alternatively, it might be because caramel has warm, nutty undertones that help create the ultimate comfort food for snuggling up and getting cozy.
After all, the treat was invented with leftover Halloween candy, so there's no wonder why people typically associate it with the latter part of the year. The treat was born in the 1950s when Dan Walker, a man who worked at Kraft Foods, melted caramel candy chews into a liquid state before he used it as a glaze for the fruit.
Whether you want to use the same method or be adventurous and make caramel from scratch, it's more than achievable. But with homemade treats come different challenges and mishaps, especially for people making the dessert for the first time. The good news is that you don't have to be a pro in the kitchen to nail down the proper techniques. Learn from these common mistakes, and you'll never need to purchase packaged caramel apples again.
1. Choosing the wrong apples
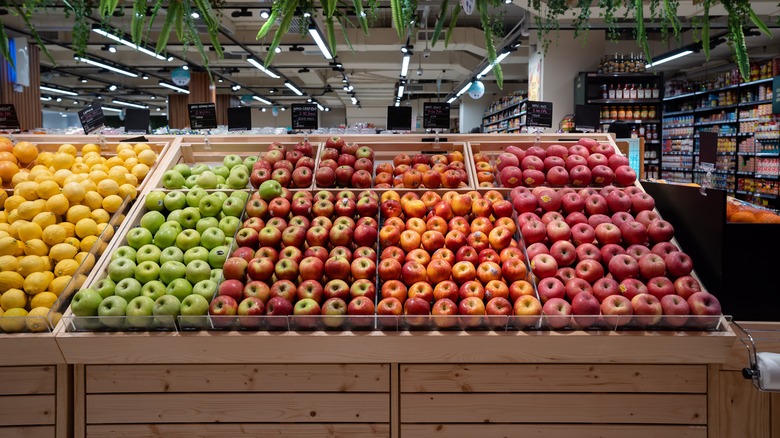
Unfortunately, not every apple works for this sweet treat, so you need to consider the variety, size, taste, and texture of the fruit you plan to use. For instance, softer apples aren't suitable because they need to hold the weight of the coating and toppings. Crisp apples are best because they create a textural contrast against the soft, chewy caramel. When you observe different types, it's clear that Granny Smith, Honeycrisp, Braeburn, or Pink Lady are some of the best choices. They have a good structure and slightly puckery taste (naturally sweet fruit can make the treat overly saccharine).
On the other hand, options like Red Delicious or McIntosh apples can have a mealy consistency that you want to stay away from. Furthermore, avoid choosing large fruit. Although this quality might be beneficial in most circumstances, an ultra-heavy apple is difficult to dip and can fall off the dowel — plus, the caramel-to-fruit ratio is less splendid. In terms of shape, examine their base and pick apples that aren't crooked or wobbly when you place them on a surface.
2. Leaving the wax on

If you have fresh orchard apples, you likely don't need to worry about how companies put an artificial waxy overlay on the fruit, which gives them that appetizing, shiny look. Aside from presentation purposes, it serves another purpose, too: preservation so that the fruit can last longer in transportation and on store shelves.
Nevertheless, the wax is your enemy when you make this sweet treat. When you think about it, since the wax is slick, it acts as a shield between the caramel and the apple, meaning the sugary topping has nothing to latch on to. Don't fret because there are several ways to remove it from the fruit so your sweet project can go smoothly.
First, place hot tap water in a bowl and add some vinegar, mixing it so it evenly distributes. Then, dunk the apples in the solution for up to five minutes and gently scrub the wax off afterward. You can also simply run them under hot water for a few seconds, then use a towel dampened with vinegar to remove the wax (followed by another rinse in cold water). Lastly, if you don't have an acidic ingredient like vinegar, bring a pot of water to a light simmer and individually submerge each apple in the water for a few seconds. Of course, the tap water trick for making caramel apples is the easiest route, but the near-boil method works just as effectively.
3. Not drying and chilling the apples

Once you remove the wax from the apple, you're on the right path, but that doesn't mean you can go straight into dipping them. If you don't take the time to dry them, the caramel slides right off the fruit after you dip it because it doesn't have the apple's texture to cling onto. This is extremely disheartening, especially when you need to make them for an event, and usually, people don't even realize what caused the caramel to slide like that. Fortunately, all you need to do is take a paper towel or linen and wipe off any excess water so that they are dry to the touch.
Furthermore, it's wise to cool the apples in the refrigerator before you start your project because the trick to a perfect caramel apple is all in the temperature. A room-temperature apple isn't necessarily a bad thing, but it doesn't do anything to help you. On the other hand, if the caramel is warm and it touches the chilled apples, it has an easier time firming up. This practice prevents the coating from dripping down the apple immediately when you set it on the tray. At a minimum, allow the apples to reside in the cooler for a few hours. If you want to go all out, work a day in advance and refrigerate them overnight, which guarantees they don't return to room temperature as soon as you take them out.
4. Not preparing the sheet pan
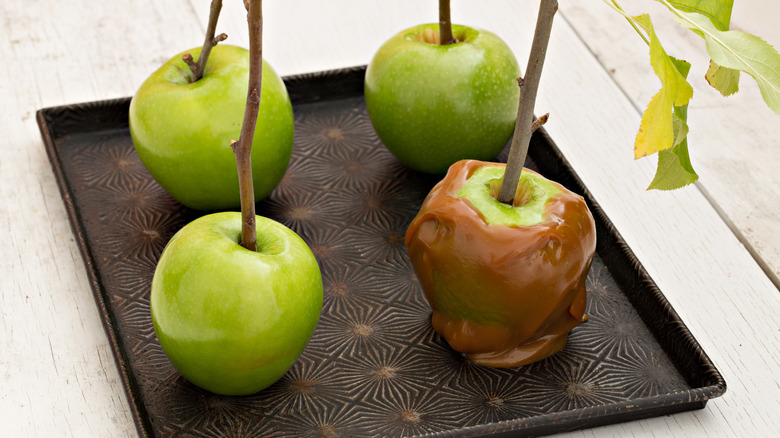
There are a couple of ways you can mess up when you prepare your workstation for caramel apples. First, try not to work with warm equipment, but rather, chill the sheet pan in the freezer beforehand so it aids the dessert's base in hardening faster. More importantly, the worst mistake is not lining the pan because the caramel is very tacky when you make the treats. If you put it straight onto metal or another material, a portion of the caramel sticks to the pan when you lift the apple, which ultimately destroys the lovely presentation and is hard to fix once it's been done.
Luckily, parchment paper preserves your hard work by preventing the candy from sticking to the pan. By the way, wax paper differs from parchment, which you must avoid because it doesn't hold up to heat as well (yes, hot caramel counts). However, silicone mats are the top-tier way to line the pan because manufacturers design them for candies and toffee due to their powerful non-stick abilities. And unlike the parchment, they are heavier and don't move around or fold up on the edges. You can even place the silicone mat on the tray before you place it in the freezer. And hey, they're reusable, too, so you also create less waste.
5. Improperly placing the sticks
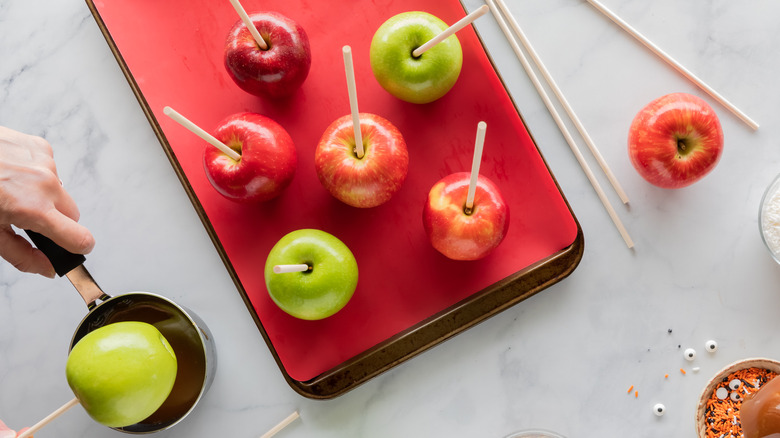
Trying to insert the stick while the fruit is in your hand makes the process much more challenging. Unfortunately, when you do it this way, the sticks look severely crooked because they might go through sideways instead of straight down. To combat this, simply hold your apple down on a surface and put the dowel into it so it is vertical. You can use whichever side of the apple you prefer; just make sure that the flat side is on the bottom so it has a secure base. Remove any stems beforehand and go slightly off-center if it's too challenging to go straight through the core (once you garnish the apples, you can't even tell that it's not exactly in the middle).
Additionally, there are multiple different types of skewers that you can use for this, but thin skewers that you would use for something like s'mores are not strong enough to hold the weight of the fruit. Use hefty dowels, like popsicle sticks, thick bamboo sticks, or chopsticks. Many craft and grocery stores sell products labeled "apple sticks" specifically for this treat. Lastly, when you push the dowel into the fruit, some fruit juice comes to the surface. Be cautious and wipe away the fluid because any excess moisture affects how the caramel sticks. You might not think a small bead or two of juice is that impactful, but it is.
6. Making caramel in the wrong cookware
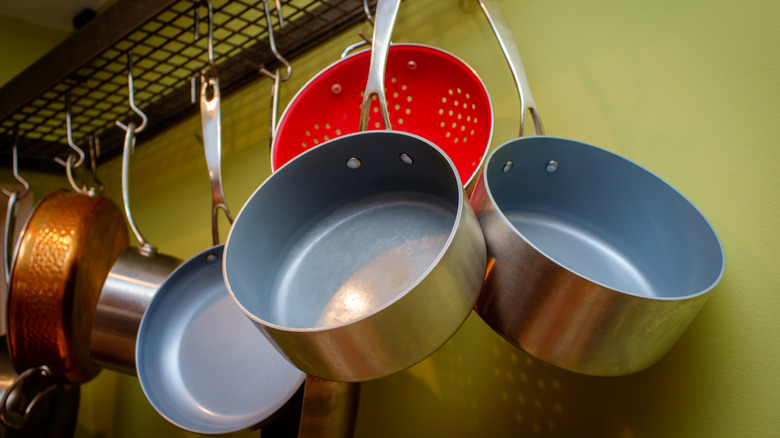
What type of cookware you use can be a make-or-break decision for your tasty treat. Since you must cook the caramel to such high temperatures, there's no room for cheaply made or thin-bottomed pots and pans. If the material isn't thick enough, the caramel burns and ends up with an unpleasant taste. Thus, you must use a heavy-duty saucepan to distribute the heat evenly throughout the sugar instead of having hot spots. Stainless steel or copper works wonderfully, and if you can use a pan with a light-colored interior, it is easier to examine how far along the caramel is since its color is a huge indicator.
Another quality you need is a tall pan with straight sides, which allows the caramel to bubble up high without spilling over. Conversely, if you only need to melt store-bought caramel chews instead of making the sauce homemade, it is best to use indirect heat. Boil water in a saucepan and put a well-fitted, heat-proof bowl on top so the steam heats the bowl. As a result, when you put the caramel in the bowl, it gently melts without the risk of burning.
7. Overstirring the caramel
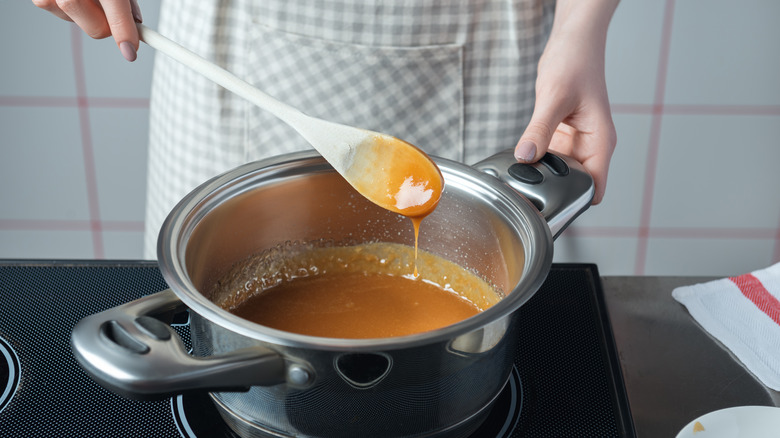
Even though you might habitually stir chocolate or other sauces when you cook them, the same doesn't apply to caramel. You can't agitate it too much if you want the mixture to have the right texture. The sugar needs time to melt, bubble, and cook without touching the sides of the pan prematurely. But what exactly is the science behind why you shouldn't stir your homemade caramel? Well, when you insert a spoon or whisk into the mix, any sugar that comes in contact with the colder sides of the pot can crystallize once the water evaporates.
Then, when you keep stirring, those crystals mix with the other parts of the caramel, further spreading the crystallization. Unfortunately, this creates a gritty consistency and funky look. Using this mixture for caramel apples is impossible once it crystallizes too much because it worsens as it cools. A better idea is to gently pick up the pot and swirl it if you have trouble seeing what color the caramel is underneath all the bubbles. If you worry about crystallization, you can always pour a dash of lemon juice into your ingredients before you turn on the heat since the acid puts a stop to any forming crystals.
8. Failing to use a candy thermometer

Don't try to guess when your caramel is ready based on looks alone because you might end up with under or overcooked caramel. Since sugar can be finicky to work with, you might remove it from the heat prematurely, then when you go to coat the fruit, it never sets. Contrarily, caramel burns quickly once it reaches very high temperatures. If you overcook it, it can turn out more like a hard candy, which makes it difficult to bite into the apple and gives it a bitter taste. To avoid this, examine the mixture's temperature with a candy thermometer while it cooks.
The sweet spot to look for is approximately 245 degrees Fahrenheit, which is when you can remove it from the heat. However, the general safe window is between 240 to 249 degrees Fahrenheit when the caramel transitions into the firm-ball stage. The reason behind its name is that when you take a small amount of the cooking caramel and put it in a glass of cold water, it turns into a firm little bead that you can manipulate with your fingers. Meanwhile, the next stage is called hardball, which means it's less pliable, and you need to immediately remove it from the heat before it cooks any further.
9. Not being careful when dipping
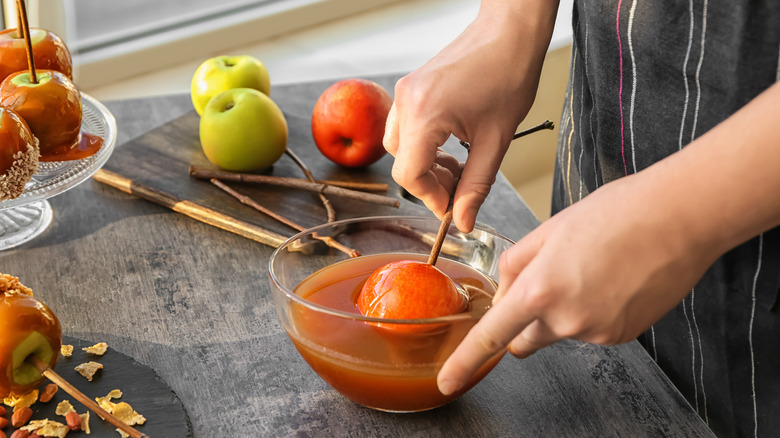
If you want your homemade caramel apples to catch everyone's eye, you must avoid that pesky candy foot when you dip your Halloween treats. You know what we are talking about: the pool of caramel at the bottom of your apple after you set it on the tray. Of course, you can always cut the excess off afterward, but it still messes up the presentation because it's noticeable when you lift the apple to eat it. One vital step is to allow between five to 15 minutes for the caramel to cool before you dunk any fruit. This time window enables it to thicken, which results in a better presentation.
If you chomp at the bit and immediately submerge your apple, it ends up thin and runny, so you can see the apple's color peeking through as it's not a solid layer. Waiting for the right consistency also guarantees you don't need to double-dip. A single solid coat is more than enough, but any more than that ruins the look because it creates lines and uneven layers (plus, it makes it harder to chew). Lastly, to prevent that candy foot from forming, scrape or shake off excess before you transfer the apple to the tray. Too much caramel weighs down on itself, which leads it to flow down the sides of the fruit and onto the base.
10. Being too slow to add toppings
When you make this type of dessert, you have to work against the clock since you want the caramel to solidify fast for a nice presentation. It is especially a quick process if you follow the proper steps, like chilling the apples and sheet pan ahead of time. A big mistake that affects your sweet treats presentation is if you neglect to add the garnishes promptly. Consequently, the ingredients either don't stick to the caramel or simply fall off after a short period, leaving the treat messy. Yes, you can still serve caramel apples if their sprinkles fall off, but the caramel has blemishes and indents this way, so it doesn't look as pristine.
Many people might think it is more effective to dip a dozen apples and then go back and add toppings. However, it's better to work in batches. Dip a few apples, then sprinkle on or dunk them in the garnishes before you go back and start the process over. It's certainly possible to do it yourself, but if you have some help in the kitchen, you can create an assembly line. Have one person apply the caramel and another person work on the toppings.
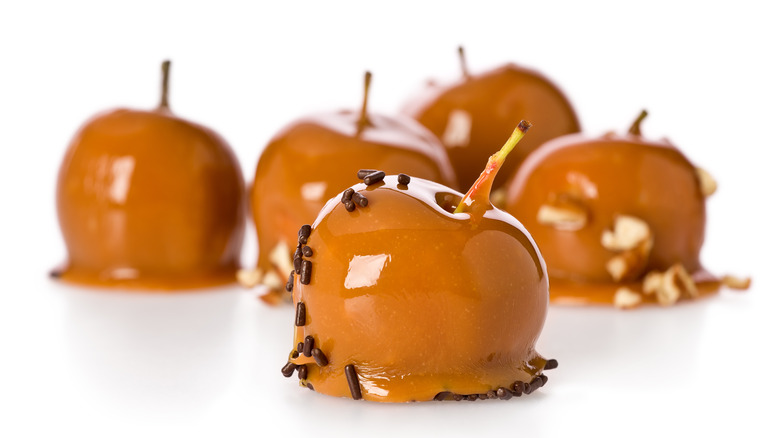
11. Not experimenting with decorations
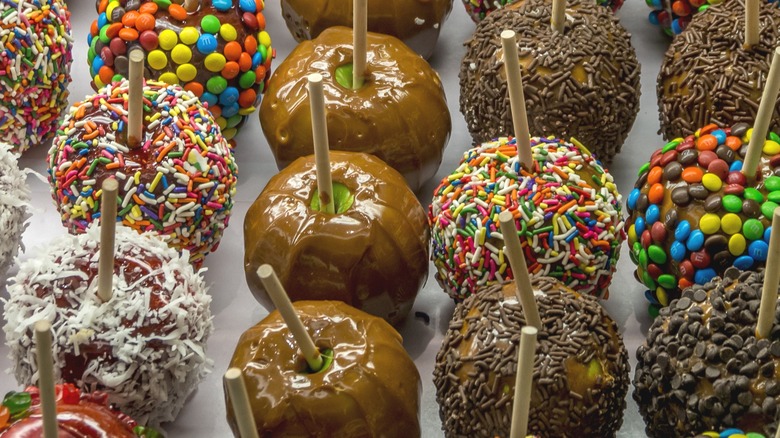
It's a mistake to make plain caramel apples with no additional decorations because the caramel acts as the perfect blank canvas for experimentation. Typical toppings for this sweet treat include chopped nuts or sprinkles. However, you can take it up a notch above that by playing off the sweet and sour flavors of the treat. For example, include a savory component such as chopped bacon bits since the meat and caramel complement each other due to their sweet and smoky undertones. Another great idea is to crush pretzels into smaller pieces and apply them. The saltiness of the pretzels offsets the sugary taste and adds a nice crunchy texture.
Sea salt also provides a similar flavor outcome — who doesn't love salted caramel? You can also melt some white or dark chocolate and use a pastry bag to draw lines and different designs on the caramel, which is an easy way to make them festive for the holidays. Namely, you can color the chocolate to make candy corn caramel apples. Other fun toppings include M&M's, Fruity Pebbles, shredded coconut, toasted sesame seeds, or trail mix.
12. Incorrectly storing them
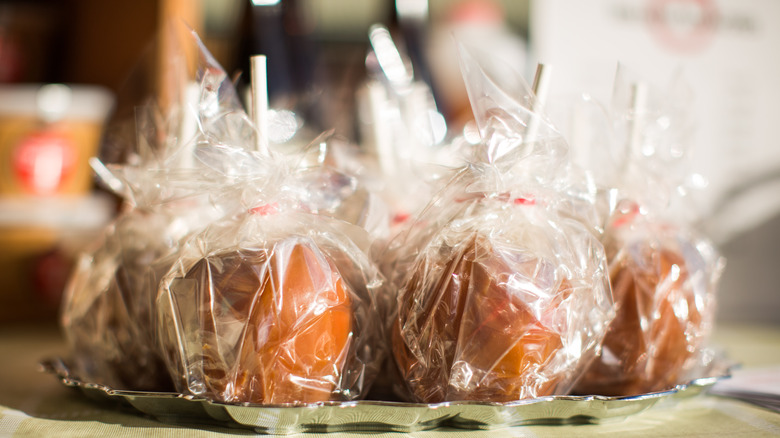
Once you finish decorating the caramel apples, don't just leave them out on the counter. Not only does it take longer for the caramel to stiffen, but if you leave them out overnight, it's not necessarily the best practice. Although it's much easier to chew the caramel at room temperature than cold from the fridge, it's not worth it to take chances. When the desserts remain at room temperature for extended amounts of time, it increases the chance of foodborne illnesses like listeria infections, according to Nationwide Children's Hospital.
Unfortunately, if you aren't careful when you insert the wooden stick into the apple, it gives bacteria an easy environment to grow due to the moisture. Especially if you don't carefully rinse the apples before, bacteria outside the fruit can't transfer inside with the dowel. It's undoubtedly best to make these treats the same day you plan to enjoy them. If you make them in advance, individually wrap each apple and return them to the refrigerator for storage until you serve them. To keep it safe, try to enjoy the homemade caramel apples within a week of when you make them.