How To Poach An Egg The Right Way
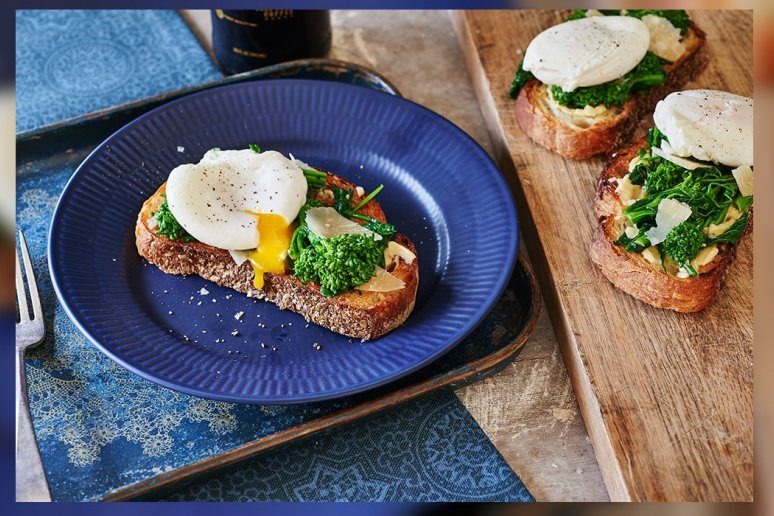
Many foods can benefit from the addition of a poached egg. It can provide a luscious richness to dishes that even the best over-easy fried eggs just can't do. Unfortunately, something as simple as cooking an egg in water is not as easy as it seems; poached eggs are fickle and dangerously delicate.
Don't worry just yet, this article contains step-by-step instructions, throwing in helpful tips and tricks along the way, to help you to become a poached-egg master.
Step 1: Fill a Big Pot Full of Water
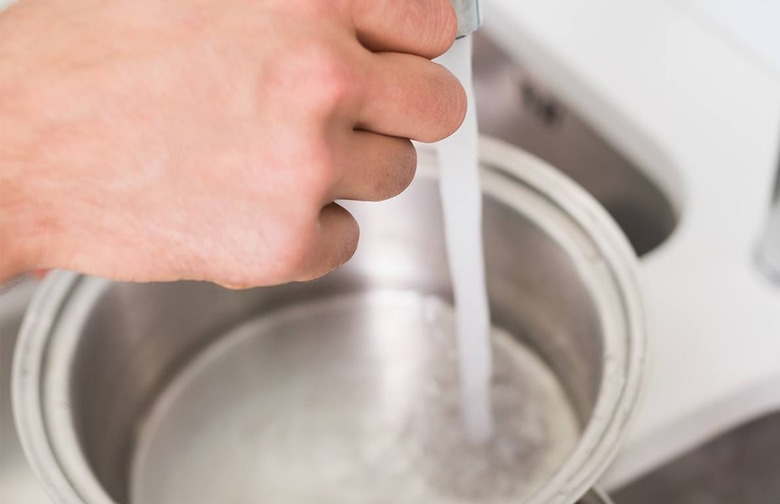
You can certainly cook an egg in a shallow pool of water; it will work. However, the deeper the pot, the better the final shape of the egg.
Imagine this: if you slide an egg into shallow water to poach, the egg will simply sit at the bottom of the pot as it cooks. This egg will be very distinctly flat – just like a fried but egg without the crispy edges. But if the egg is dropped into a deep pot of water, it begins to cook as it falls, using the time gravity allows it to cook round.
Step 2: Add a Touch of White Vinegar
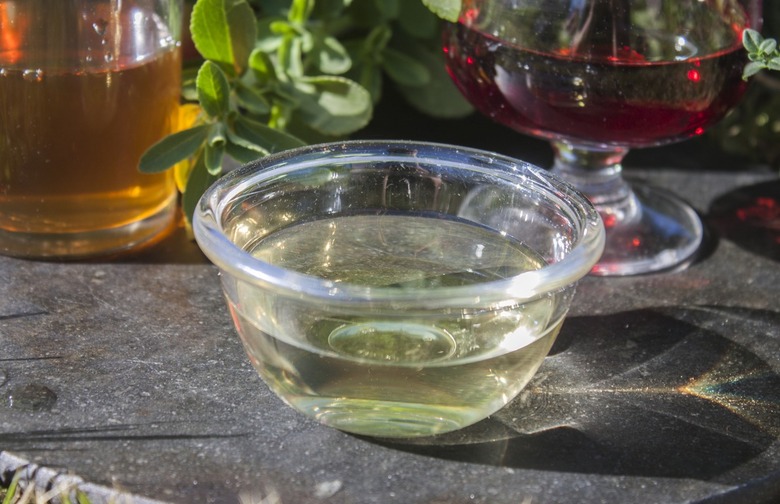
White vinegar helps egg whites coagulate; this means that the vinegar in the water will help the whites set faster. However, be wary: add too much and the eggs will taste like vinegar.
Step 3: Heat the Water
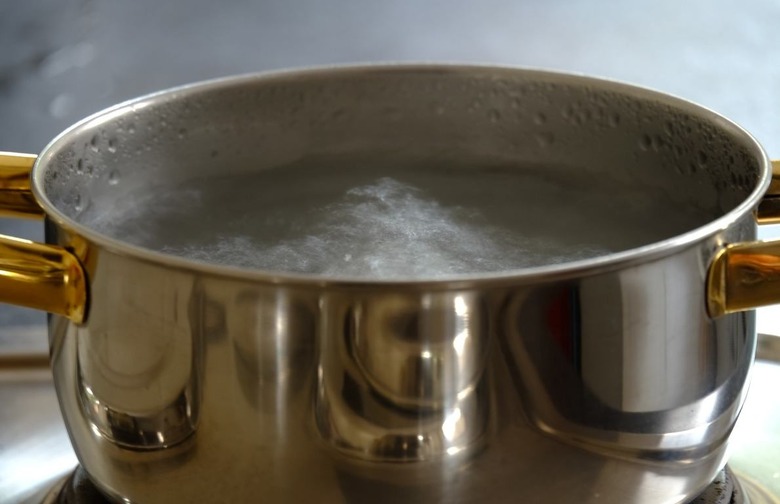
Water boils at 212 degrees F, simmers at 200, and the perfect temperature to poach an egg at is 180. Egg-poaching temperature sits just below a simmer, meaning the water is still, absent of bubbling heat. Any bubbles in the water will disrupt the delicate egg, potentially ruining the shape and making it harder to time doneness. A thermometer is the best way to gauge the temperature of the water.
Step 4: Prep the Eggs
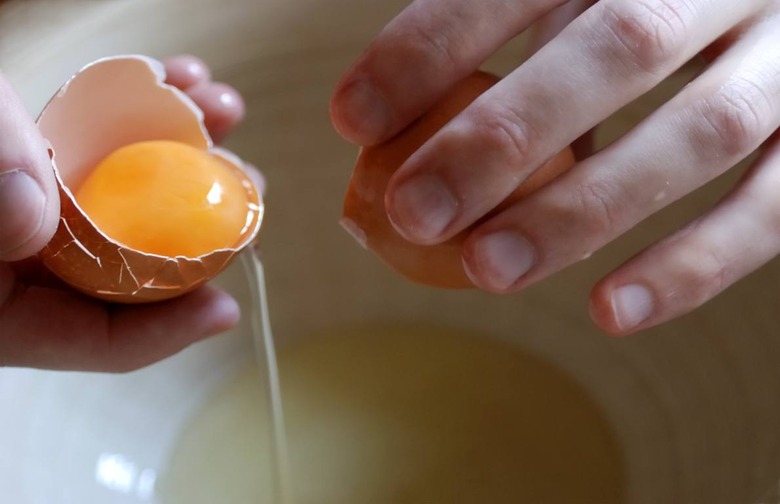
Crack the eggs into individualized dishes ahead of time. Eggs are fragile and getting the perfect poached egg shape isn't easy. You don't want to crack the egg directly into the water, plus if you are planning on cooking multiple eggs, having them all cracked and ready to go will help you move faster and be able to more efficiently monitor the cooking time. When you're ready, you can slowly tip each individual egg as gently as possible into the water.
Step 5: The Stir and Swirl
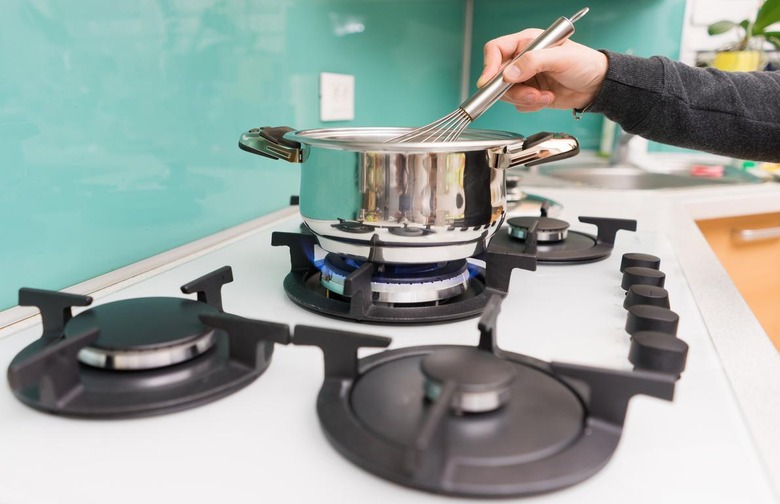
Poached eggs often have wispy white arms that set independently of the yolk, but a good solid stir of the water with a spoon just before you drop your egg can help to wrap these wisps around the yolk, creating one cohesive (and beautiful) egg mass. It can get tricky here, too, though; if you stir too hard the egg will spiral quickly around in the pot leaving a trail of white behind the yolk – i.e. you've just made yourself an egg comet.
Another trick of the trade instructs cooks to place a cracked egg into a ladle and to slowly lower the egg into the water – maybe even pausing to fill the ladle slightly with warmed water, helping to set the shape before completely releasing it into the pot.
Step 6: Time Your Egg
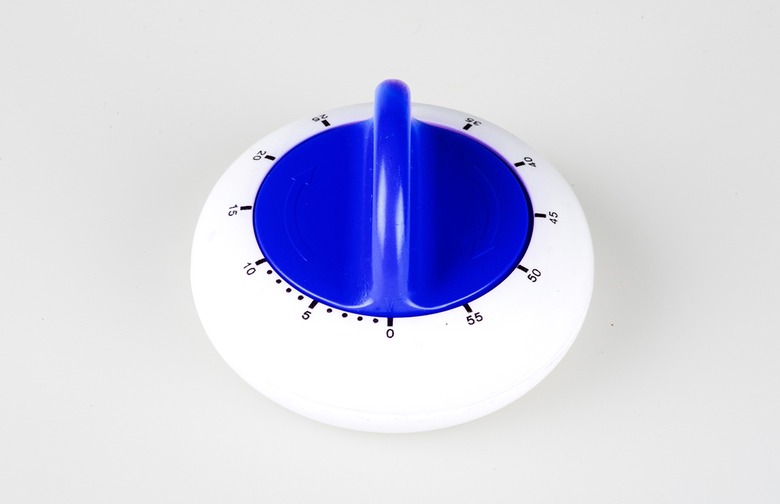
Depending on your water temperature and how you like your eggs, timing can vary. Nevertheless, if water is at a perfect 180 degrees F, and you like your white just set to maximize the yolk explosion, then three minutes is the magic number.
Step 7: Make a Lot of Eggs
If you are making many poached eggs for a crowd, you'll have your guests waiting if you try to make all the eggs all at once. But did you know you can make poached eggs in advance?
When the timer is up (reduce time to 2–2 ½ minutes in this case) carefully lift the eggs out of the hot water and lower into an ice bath to halt the cooking process. The fully cooked eggs can hang there until you are ready to serve. Then, you can simply warm the eggs in hot water (still not boiling).
Step 8: Plating a Perfectly Round, Perfectly Poached Egg

Nobody like eggs with a side of egg water. Be mindful of placing water from the cooking process onto the plate. Always use a slotted spoon to transport cooked eggs and have a few paper towels handy to blot off excess water.