13 Common Mistakes That Ruin Your Homemade Pies, According To A Baker
Whether you want to be a hero at the next potluck or develop new baking skills in your free time, making a pie from scratch can be a fantastic choice. It is certainly more involved than making cookies or brownies, though. From choosing the right type of pan to making a soft, pliable dough and thick filling, there are many moving parts to baking a pie.
While it's possible to overcome some slip-ups that may happen along the way, preventing them in the first place is best. Other errors are more detrimental and must be avoided if you want to make a delicious and stunning pie. In fact, you might have unknowingly made one or more of these mistakes in the past and wondered why your dessert didn't turn out so great.
Fortunately, as a professional baker, I have years of experience and can help you recognize where you might be going wrong. From obtaining a culinary degree to working in bakeries and fine dining, I've made plenty of pies in my day. So, here's my inside scoop on common pie-making pitfalls and how to prevent them so that you can make the most fabulous pie of your life.
1. Not devising a plan
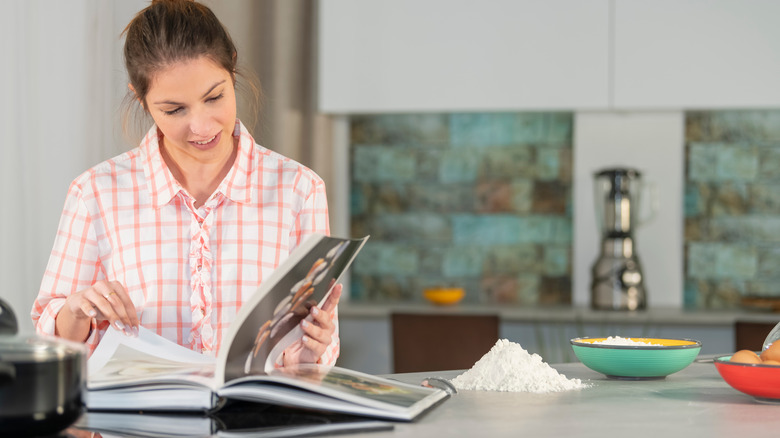
The more you plan, the more likely you'll succeed. The first thing to consider is what recipe you are going to use for your pie. Unfortunately, if you don't think about this until the last minute, you might end up with a bad recipe that hasn't been tested. This can happen with the ones you find online; make sure to check the recipe's reviews or use one from a cookbook. Baked goods in general, but especially homemade filling or dough, require precise ratios of ingredients to turn out right.
Another mistake that negatively affects your pies is trying to rush the process. The pie-making journey has several steps and isn't something you can do quickly. In fact, it's recommended to split it into a two-day project. On the first day, make the dough and prep the filling ingredients (or even make the filling). Then, on the second day, you can roll the dough, fill the pie shell, and bake it. This way, you have an organized plan, and the project isn't overwhelming.
2. Taking ingredient shortcuts
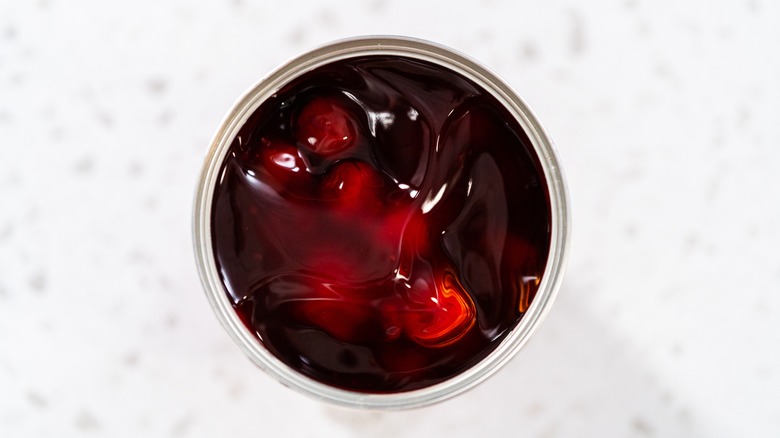
Sometimes, you might want to make a pie for a holiday or event, but you'd rather not make it entirely from scratch. Perhaps you make the filling but use a premade crust, or vice versa. Taking shortcuts by using canned or packaged components might seem convenient, but it can also be the reason why the dessert doesn't turn out how you'd expected. Some canned fillings might have food coloring and additives or have an artificial taste. Moreover, with fruit fillings, sometimes the premade stuff has more of a syrupy mixture than actual fruit pieces. On the other hand, when you make your own recipe, you have more control over these types of details.
As for store-bought crusts, even the best don't have the same buttery taste or flaky texture as homemade versions. This remains true whether you buy a prebaked one or purchase raw dough that needs to be baked. Premade pie crusts tend to be very fragile and might even have cracks before you remove them from the packaging, which can be a pain to fix. Making an excellent homemade graham crust or traditional pie dough is possible even if you're new to baking, so don't doubt your abilities. And when you make the crust yourself, it is a much more fulfilling experience!
3. Choosing the wrong pie pan
It's easy to overlook the importance of the right pie dish when you're focused on finding the right recipe and executing it perfectly, but the bakeware's material is just as significant as the pie's ingredients. Disposable pans are a popular choice, likely because of their convenience. You can give away the tin without worrying about whether it's returned, and it also means fewer dirty dishes. That said, these pans are pretty flimsy and can't hold the weight of a good pie. It can be especially challenging to transport them from the oven when they're hot. If you must use a disposable option, try to find the most durable one possible.
Of course, non-disposable options exist, such as ceramic, metal, or glass. Ceramic pans tend to conduct heat slowly, leaving the crust pale or extending the baking time. Meanwhile, on the other end of the spectrum, dark metal pans can cause excessive browning. If you're a visual learner, glass pans can be helpful because you can see the color of the pie's crust as it bakes. Of the various pie dish options, glass comes out on top because it gently heats up. You just have to be careful because glass pans can break if you quickly move them from a cold environment to the oven. Ultimately, though, you can successfully make a pie with any of these options — taking time to consider possible drawbacks will help you make the right choice for your pie.
4. Not being careful when making the dough
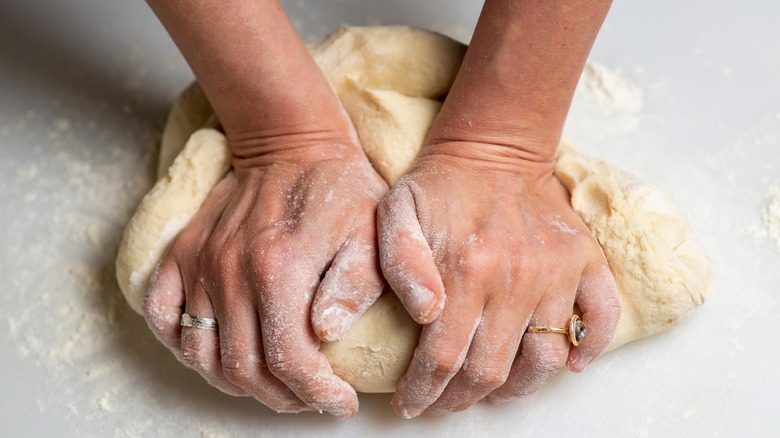
Pie dough can be quite sensitive, and different issues can prevent it from turning out flaky. For example, if your liquid or fat is too warm, the ingredients don't create steam when the pie bakes — the steam is what creates the light crust layers. A traditional dough needs cold water or milk and small, chilled butter chunks so that the final outcome doesn't have a tough texture. In other words, don't pull the ingredients from the refrigerator too far in advance.
Overmixing the dough or folding it too roughly is another issue. When you work the dough too much, the gluten strands tighten, making it harder to roll it and line the pan. It also gives the finished crust an overly chewy mouthfeel. Of the many pro tips for a perfect pie crust, one of the most helpful is to work with the dough by hand rather than making it in an electric mixer. This way, the gluten is less agitated.
For graham cracker crusts, you don't necessarily need to worry about overworking them, but ingredient ratios are crucial. If it's too dry, the crust falls apart when you slice into it, making it difficult to serve. And if it's too wet, well, it's just downright mushy. When you make it, the ingredient mixture should be the consistency of sand, and a ball should form when you squeeze a portion in the palm of your hand.
5. Rolling out warm dough
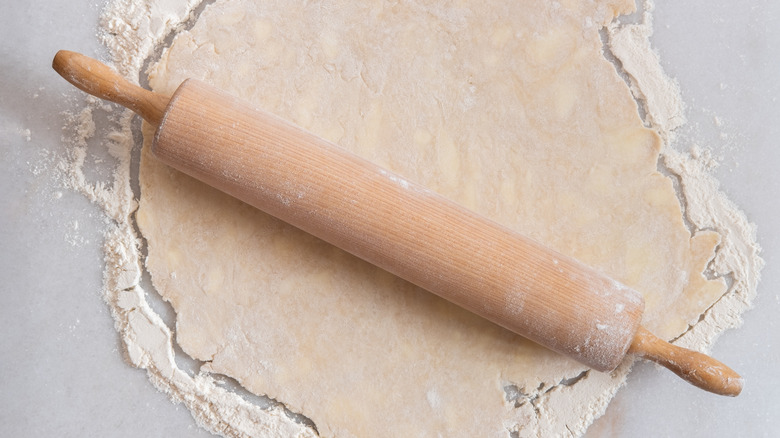
Save yourself some trouble and allow your dough to rest in the cooler before you roll it. If you don't wait long enough, one of two things can happen. First, it might keep shrinking when you roll it. This problem occurs because the gluten needs time to relax. No matter how gentle you are during the mixing process, the dough still benefits from being left alone for a while afterward. Secondly, even if you start with cold butter, it warms up over time from being at room temperature, and you can still lose your perfect flakes.
So, it's best to place the dough in the refrigerator for at least 30 minutes to an hour — it can also rest overnight if you wish. Before you refrigerate it, form the raw dough into a circular shape and partially flatten it. Doing so makes it easier for you to roll it when it's firmer.
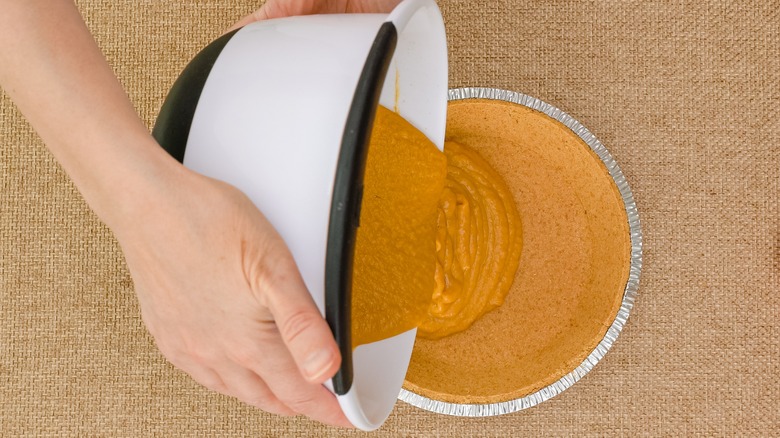
6. Putting hot filling onto the raw dough
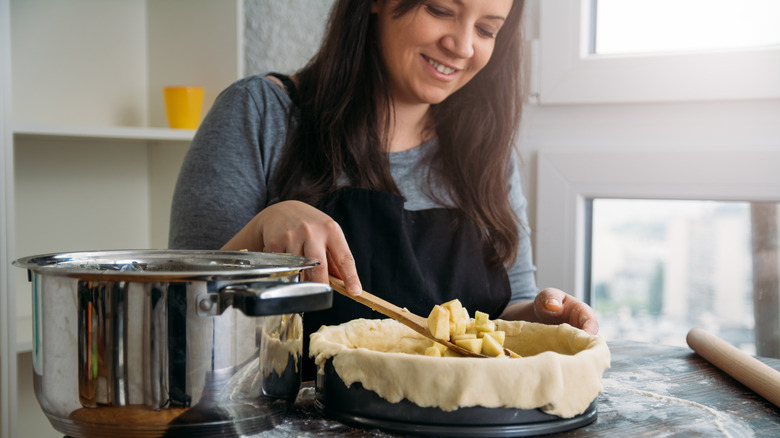
It's understandable to feel eager to get a pie in the oven and see the final product. Once you roll the dough and perfectly press it into the pan, you might immediately follow it with the filling, which is okay to do only in certain circumstances. If the filling is uncooked or you cooked it the day before, you can do so. However, if you plan to pour piping-hot filling onto delicate raw dough, you're in for some trouble.
This is, yet again, an action that warms the butter, preventing the dough from turning into a flaky crust. And, even if you par-bake the crust, the overly warm filling can still affect the pie because it makes the bottom soggy. Therefore, with stovetop fillings, you must either chill them or wait until they cool to room temperature before use. If you're feeling impatient, you can put a bowl of filling over an ice bath and occasionally stir it to reduce its temperature enough that it doesn't affect the dough.
7. Blind-baking or par-baking incorrectly
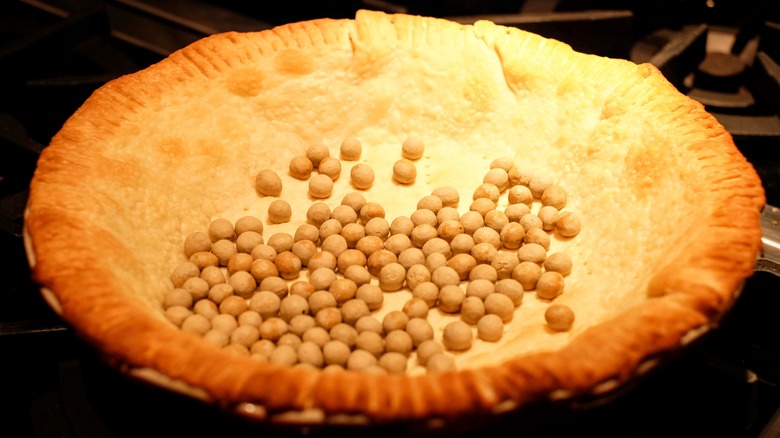
Depending on the pie, you might be required to blind-bake or par-bake the crust. One example of blind-baking is when you make a no-bake pie, where the filling doesn't receive any oven time. Therefore, you need to bake the crust entirely before adding the filling. Alternatively, some pies have thinner fillings, such as buttermilk pie, that can seep into the dough when it bakes. These pies require you to partially bake the crust so its surface acts as a seal against the filling. As a result, you prevent the bottom from turning mushy. For par-baking, remove it from the oven when it feels dry to the touch and has the slightest golden color. Don't bake it for too long since it will return to the oven.
If you determine that you need to partially or completely bake the crust before adding the filling, there are some things to watch out for. Often, people don't correctly use pie weights, or they skip out on them. However, this can ruin the crust's presentation. Without them, you might get significant shrinkage on the sides or bubbles on the bottom because the dough needs the weight to stay in place. You can use dried rice, beans, or even ceramic weights; make sure to first line the crust with parchment paper and then fill it to the top for the weights to work effectively. (Underfilling the crust is a major mistake people make with pie weights.)
8. Not adding enough thickener to the filling
If you've ever baked a pie with a runny filling, it is likely you didn't use enough thickener. This can be quite frustrating when you've spent so much time making the pie, only to find that the consistency is off. Incorrectly measuring the thickener is a common mistake that makes a significant difference. When you measure the cornstarch (or whatever you're using) for the recipe, be as precise as possible. To play it safe, you can always use a kitchen scale to ensure accuracy.
Another thing to consider is that certain factors might require you to add more thickener than usual. For example, if you're making a pie with frozen fruit or ingredients with high water content, you need to account for that extra moisture with more thickener. For frozen fruit, you can add 1 extra teaspoon of flour or cornstarch per 1 cup of fruit. If you neglect to do so, it results in an extremely watery pie, and no amount of baking or resting can fix it.
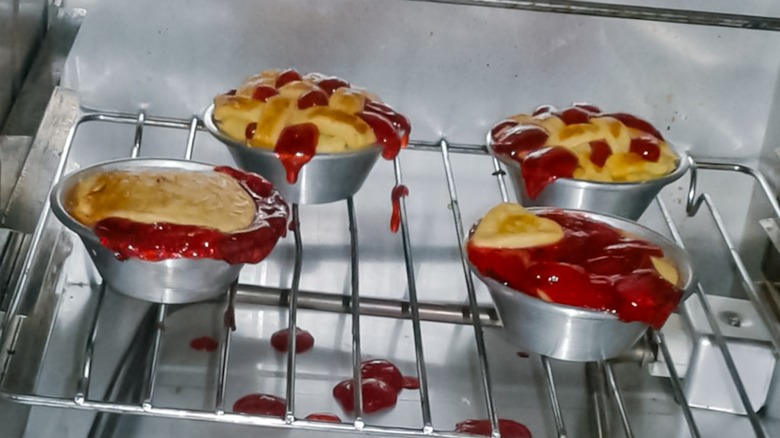
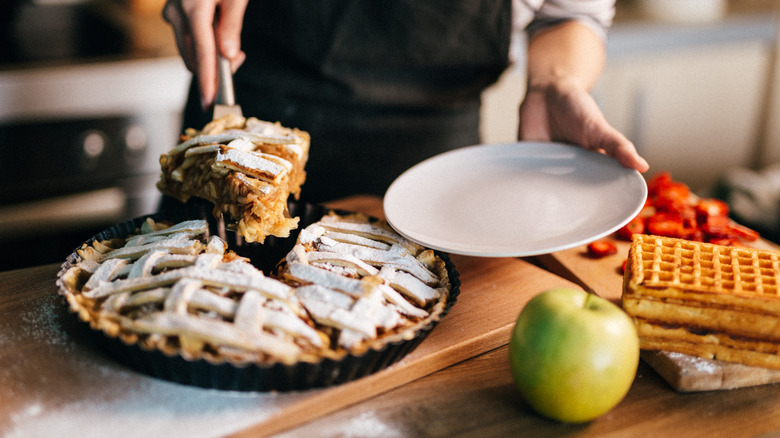
9. Under- or overfilling the pie dish
Not knowing how high to fill the dish will undoubtedly wreak havoc on the presentation of your pies. Under- and overfilling them are each bad in their own way. Underfilled pies might not look too lousy initially, especially if you can hide the extra space with whipped cream or a garnish, but when you slice and serve the pieces, they're noticeably flat. Most folks approve of having a thick crust, but that doesn't mean there should be more crust than filling.
On the flip side of things, overfilled pies can be quite messy and even dangerous. Depending on your filling, it might overflow. This not only looks sloppy and hides the pie's beautiful edges, but it might cause hot sugar to bake in your oven, ruining the racks or the bottom of the chamber. More importantly, the hot filling might burn your hands or wrists when you remove the pie from the oven.
Consider what type of pie you're making to prevent a disaster like this. For instance, key lime pie doesn't rise much, so you can fill it higher, up to the lip. On the contrary, something like blackberry pie needs some wiggle room just in case it decides to bubble up. Another word of advice: Bake the pie on a sheet pan so that if you have some slight spillage, you only need to clean the pan instead of the oven.
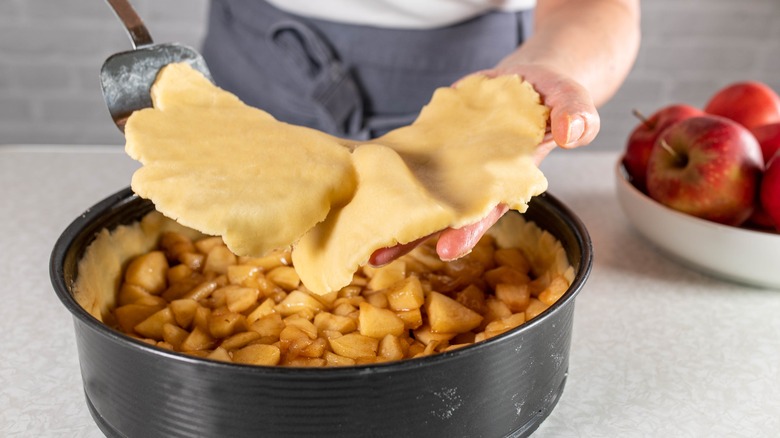
10. Incorrectly preparing the top crust for baking
Whether you make a lattice or double crust, you can't neglect to seal it to the sides of the pie, or it shrinks away from the edges and separates from the rim. To correctly do so for a lattice topping, create the design with the strips over the edges. Trim the overhang and then fasten it by lightly pressing your thumb where each strip meets the rim. Once you do this around the whole circumference, you can crimp the edges to make a wavy lip.
With a double-crust pie, carefully roll the dough large enough to cover the whole pie and then remove any overhang and pinch the seams of the bottom and top crusts. Then, you can roll the edges over or under, depending on the type of look you're going for. Another step you can't forget is cutting vent slits in these types of pies. There needs to be somewhere for steam to escape while the pie bakes. Cut the slits in a decorative fashion since they're still noticeable after it bakes.
And lastly, you can't forget to egg-wash the crust. Although it might seem insignificant, it gives the finished baked good a gorgeous, shiny look and a golden-brown color. You should brush your pie with a mixture of beaten eggs and milk (or water) before transferring it to the oven.
11. Baking it incorrectly
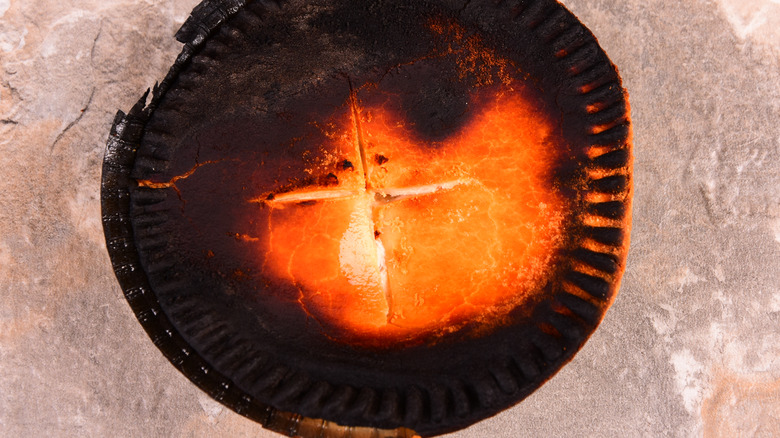
Plenty of things can go wrong during baking if you're not cautious. One big blunder you might accidentally make is placing the pie on the wrong oven rack. If you place it high up instead of on the bottom rack, it's difficult for the heat to cook the pie's underside and center. As a result, the upper portion bakes while the rest is far behind in progress.
Another possible issue is cooking the pie at too high of a temperature. This is especially harmful with custard pies, which are very delicate, or pies where you didn't cook the filling on the stovetop first. Either situation is unpleasant because you end up with coagulated custard or a pie where the crust is done but the filling is underbaked.
This leads to the next issue: under- or overbaking. It's a good idea to know what your specific pie's appearance and texture should be when it's ready. The crust shouldn't be pale or super dark but rather a golden color between the two extremes. Egg-based fillings can slightly jiggle in the center but need to be firm around the edges. For other types, like blueberry or even savory pies like chicken pot pie, the filling should be nice and bubbly. You can also use an internal temperature chart to determine your pie's recommended temperature. It's helpful for novice bakers who don't yet have experience recognizing the visual cues of readiness.
12. Only making sweet pies
When you think of pie, you may automatically picture a thick apple pie slice with a scoop of ice cream or a zesty lemon meringue pie with a cloud-like topping. However, sticking to only saccharine pies means you miss many opportunities. If you feel comfortable making dessert pies, you assuredly have the skills to successfully make other types. Savory pies have a similar procedure: Make the crust, fill it, and bake it. Plus, they can function as a main course to feed an entire family.
Your go-to pie crust recipe might work with both sweet and savory fillings, but the odds are that it has a fair amount of sweetener. Fortunately, there are numerous savory pie dough recipes suitable for umami fillings due to their lack of sugar. You can also add appropriate herbs or cheese to make the dough more fitting for your exact filling. If you don't know where to start, try making a from-scratch chicken pot pie or a hearty steak pie. Breakfast pie with eggs, veggies, and meat in the filling is always a crowd-pleaser, too.
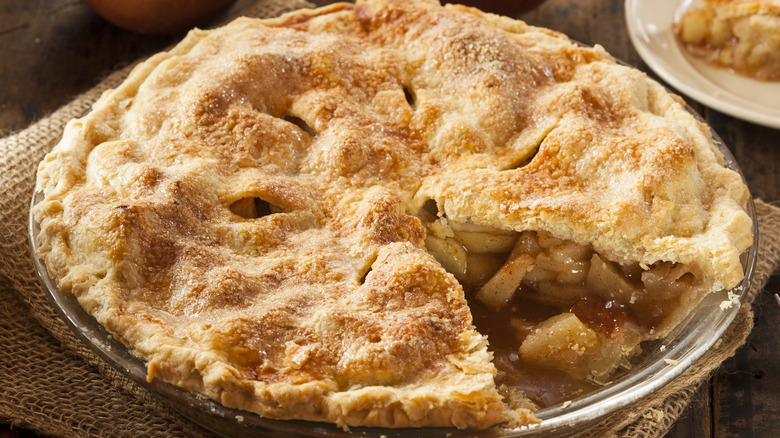
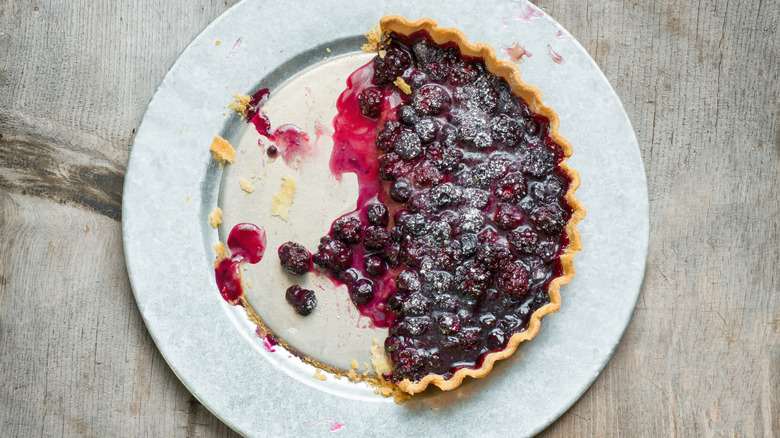
13. Not letting the pie rest before serving
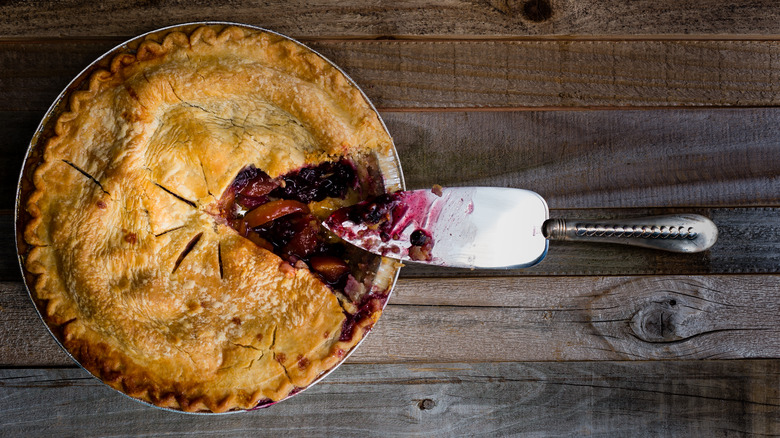
Have you ever been tempted to slice into a hot pie fresh out of the oven? You're not alone. While the pie may look extremely enticing and have a delicious aroma, it's not a good idea. The important step you can't skip with fruit pies, or any pie, really, is allowing it to rest when it comes out of the oven. Why, you ask? The filling doesn't thicken until it cools. Dig in before that, and you'll end up with a super runny slice that won't be enjoyable to eat because of its scalding temperature.
The recommended resting time varies depending on what exactly you make. Some pies, such as fruity ones, need a few hours, while others, such as custard-based ones, are better off when you allow them to thicken overnight in the fridge. Then, there are no-bake pies, which also need time to firm up after you spread the mixture into the pie shell (these can go directly in the refrigerator, while hot pies must cool to room temperature before transferring to the cooler). As you can see, each recipe is unique and requires special attention, so it is crucial to follow the recipe.