The Most Important Tool You Need When Making Glazed Bacon
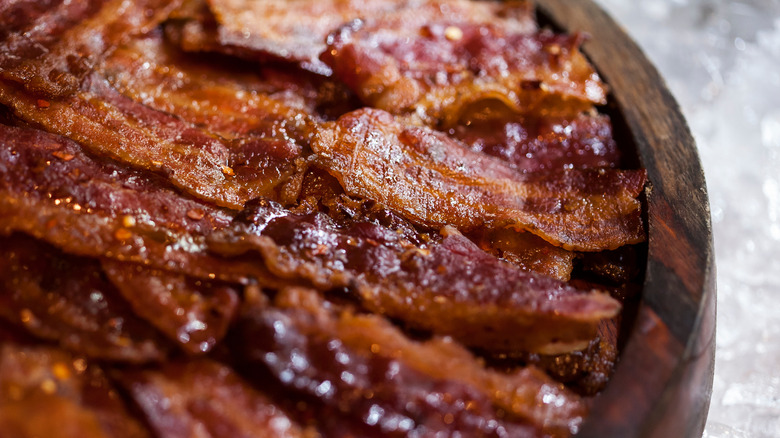
By now, we've learned that there is one simple step for ridiculously good bacon, and that's to glaze it. The result of this easy process is crisp and chewy, salty and sweet, a study in flavors and textures, and can be a delicious snack all on its own. Glazed bacon also makes for an addictive addition to everything from a broccoli and bacon salad to whiskey bacon cookies with pecans and maple sugar. And the beauty is that you need very little beyond a package of store-bought bacon and a simple glaze to make this magic happen.
That said, there is a single tool that is critical to getting that flawless glaze on your strips. Fortunately, it's a pretty common household item that you probably already have on hand if you do any baking — and that's a wire rack. This is the platform your bacon needs in order to properly cook and produce the multidimensional culinary masterpiece that is candied bacon.
Why your wire rack works for better glazed bacon
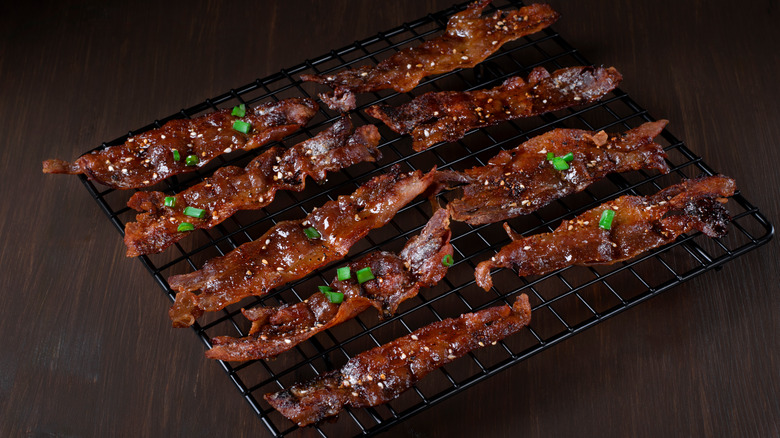
Technically, you can make candied or glazed bacon on the stovetop in a skillet, but your success rate for the most consistently crisp texture will be much higher if you go for an oven-baked version with your wire rack involved. The reason for this has to do with how much surface area of your bacon is exposed to heat, and the ability to keep it separate from liquid fat.
If you lay your bacon directly on a baking sheet, you may be able to get some sticky, gooey caramelization on one side, but if your strips are sitting in the glaze — along with the bacon's natural fats, which will render during cooking – you won't be able to get them to crisp up properly.
By giving them a chance to hover above the surface of the pan on a rack, you allow some space for drainage, and ensure that your oven's heat will be able to evenly reach all sides. This gives you the most textural bang for your buck, bite after bite.
More tips for glazed bacon goodness
When making glazed bacon, make sure there is space between the slices. If you wind up with overlap, not only will you prevent some of those areas of contact from getting crispy, but they may end up sticking together and creating a bacon-y mess.
When applying your glaze, a pastry brush is a helpful tool, although you can also use a spoon to drizzle the glaze and then spread it evenly with the back of the spoon or an offset spatula. Alternately, you can pour your glaze in a shallow dish and dip your bacon slices — just be sure to drain off any excess, and try to keep the amount of glaze as even as possible from slice to slice so that your cooking time will be consistent. Lining the pan with parchment or foil will also help with cleanup.
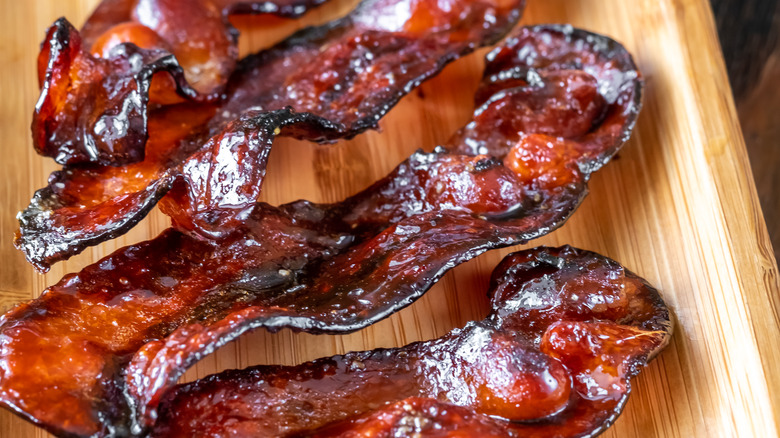
After baking, resist temptation to move your bacon right away; give it a few minutes to cool down so that the glaze can set. And definitely don't place it on paper towels (as you might after frying plain bacon); the glaze will cause the paper to stick to your slices like glue, and that is a lot less delicious. Given how simple it is to make glazed bacon with this one single tool, you'll have plenty of motivation to perfect your glazing process.