How To Make A Better Cupcake Slideshow
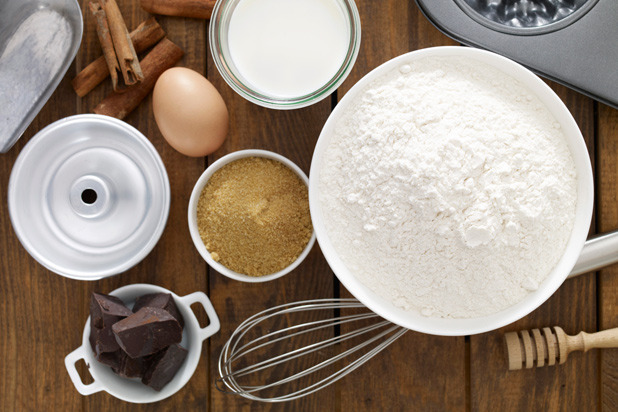
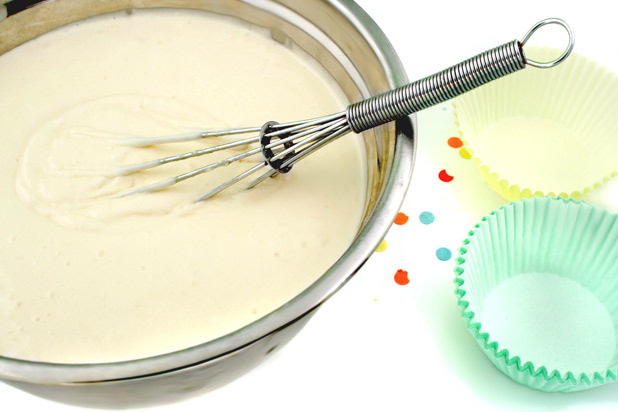
Goodness, not another fancy French cooking term. Do we really need to know this one? Yes, we do, actually, because it can mean the difference between success and failure, not just when baking cupcakes, but for cooking in general. Mise en place, or one's "meez" as it is affectionately referred to in professional kitchens, roughly translates to "putting things in their place" or "everything in its place." This means measuring all of the ingredients out, such as the butter, flour, and sugar, cracking the eggs into small, individual bowls, and making sure all the tools needed for the recipe are out, assembled (if applicable), and ready to go, before starting the recipe.
Bobbie says: When measuring out dry ingredients like flour and sugar, she likes to do so on top of paper towels, because no matter how carefully you try to do it, there's always some sort of slop or spillover. This way, everything ends up on the paper towel, which means less cleanup later on.
2. Read the Recipe
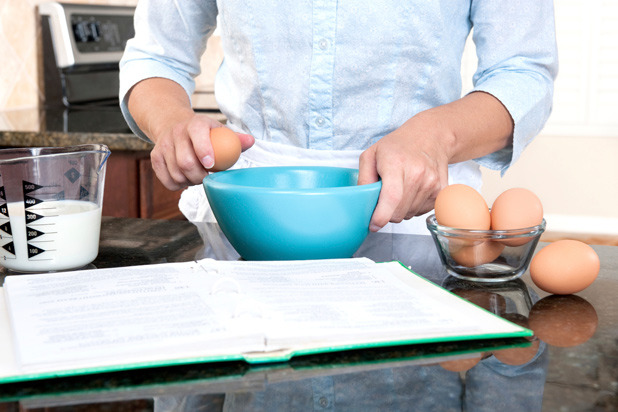
Know what you're going to do before you do it. It may sound a little crazy, but reading the recipe from beginning to end, walking through and visualizing the steps in your mind, and perhaps, even memorizing it before you start, will ensure that things go smoothly down the road. More specifically, many recipes will ask you to cream the butter until smooth, add sugar and beat until fluffy, and then add eggs one at a time, followed by the dry ingredients in three parts. And each of these steps, in a good recipe, is usually accompanied by a speed (for the mixer) and a specific amount of time in minutes. Imagine not being ready with the eggs, say, after beating the sugar and butter for exactly three minutes, or the dry ingredients after the eggs. Bad batter equals bad cupcakes.
Bobbie says: A good recipe will have all of the ingredients listed in the same order they are used in the directions. Line them up in the same order in your workspace and life will be much easier. (And it'll serve as a reminder of what goes in when.)
3. Kitchen Timer
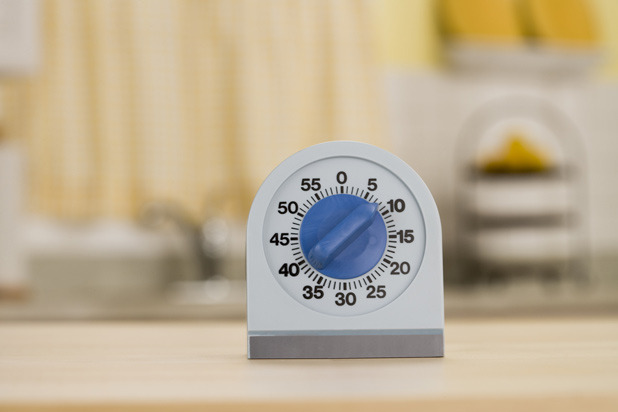
As mentioned in the previous slide, timing is everything when it comes to baking. A kitchen timer is a must. Purchasing one outright isn't necessary, per se, since microwaves or cellphones will have them. The point is, just make sure to use one. Bobbie likes to set her phone to a barking dog. (We assume she doesn't have dogs in her house.) But use whatever works for you.
4. Butter, Out

Bring butter to room temperature before creaming it. Cold butter won't work well since it doesn't have the proper leavening power needed for good cupcakes, and on the other end of the spectrum, neither will melted butter. The butter should just indent to the touch, but your finger shouldn't sink straight into it.
Bobbie says: Touch your pinky to the hard part of the base of your thumb. That is what butter straight from the refrigerator feels like. Now, touch your middle finger to the base of your thumb (further down, of course). That's what room temperature butter should feel like. If the butter looks shiny, it's too soft. Back in the fridge!
Here's a shortcut: Place a stick of butter, unwrapped, in the microwave for 10 seconds on defrost mode. If it's still not quite soft enough, repeat in five-second increments.
5. Oven Thermometer
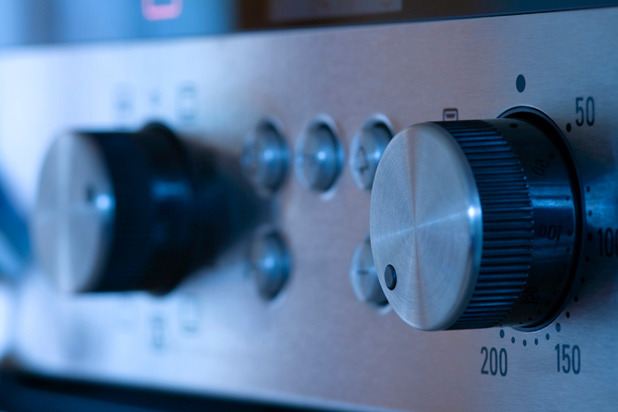
Oven temperatures can vary widely, especially for gas ovens, which can have hot spots or inaccurate internal thermometers. (Bobbie said she once lived in an apartment where her oven was off by 75 degrees Fahrenheit!) So spend a few bucks on one. It will make all the difference.
Bobbie says: Gas ovens are often too hot at the top for the tops of the cupcakes, and too hot at the bottom for the bottoms of the cupcakes. Always bake in the middle rack, and if doing a batch of more than one dozen (the standard size for cupcake pans), bake them one at a time, not all at once, so they can all cook evenly in the middle rack.
6. Don't Overmix
Don't overmix. The consistency won't be right. As a rule of thumb, when adding dry ingredients to wet, you'll want to mix just until incorporated, but again, we cannot stress this enough, it will depend on the recipe, so read the recipe!
7. Don't Overfill
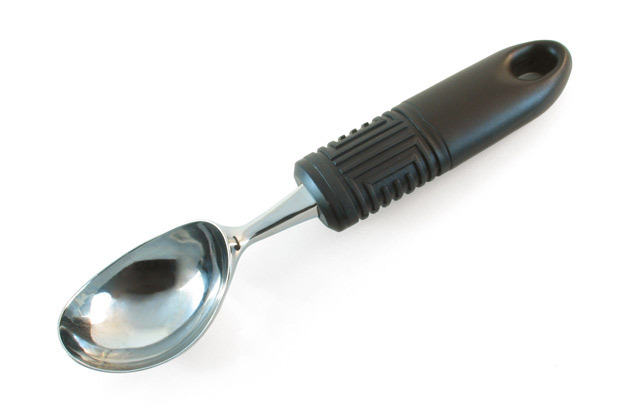
Don't overfill. Just two-thirds of the way up is perfect. Cupcakes expand when baked, and if the cupcake pans are filled any higher, the batter will spill over when baked. Any less than two-thirds, and the cupcake won't "dome." For a quick and consistent filling process, use an ice cream scooper.
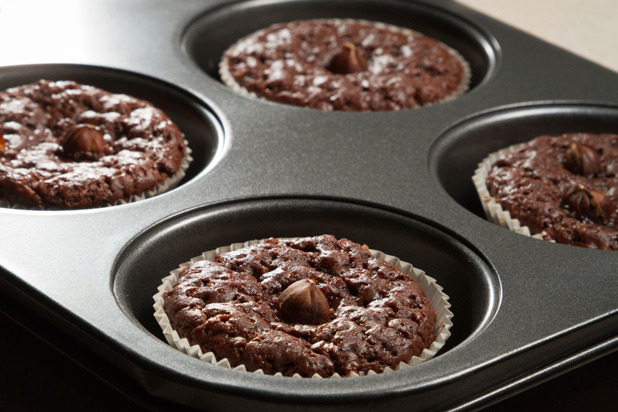
8. Don't Overcook

Don't overcook. It's better to err on the side of slightly undercooking the cupcakes (rather than overcooking, in which case there's no rescue). That's because cupcakes will continue to cook slightly when removed from the oven.
Bobbie says: Cupcakes are just about ready when they start to smell like cake, shrink from the sides of the pan, form an indentation when tapped gently with a finger, or a toothpick inserted into the center comes out clean.
9. Stuck/Gummy Cupcakes
It cannot be stressed enough — thoroughly butter and flour the cupcake pans. Or just use cupcake liners. If they get stuck anyway, there are a couple of things that might work.
Bobbie says: If the cupcakes have already cooled and are stuck, put the oven on a low setting and try putting them back in for about 10 minutes, or just until the pan heats up and the cake is soft, but not warmed itself. Then, carefully turn it upside down on a wire rack and rub — don't whack or tap. Show it some love.
Or, if you didn't try the oven thing, you could always turn it upside down and yes, tap, the bottoms with an offset spatula. Lastly, to avoid gummy cupcakes, make sure to let them cool on a wire rack for not more than 10 minutes, or they'll absorb moisture, become wet on the bottom, and turn gummy.
10. Prettier Frosting
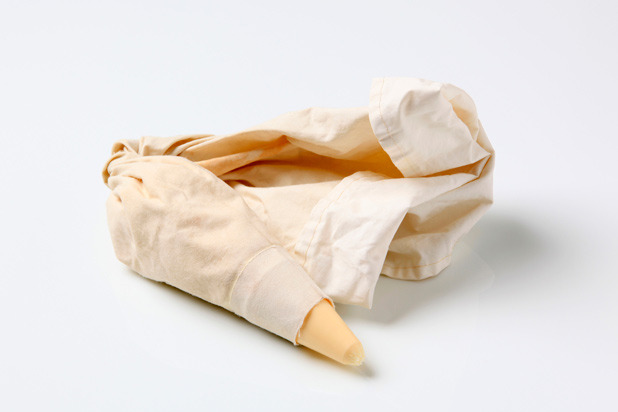
It's easiest to frost the cupcakes after removing them from the pan. For a hand-done look, try using an icing wand, available at many home goods stores. For a cleaner look, try piping the frosting. There's no need to purchase pastry bags a heavyweight freezer bag works just as well.
Bobbie says: Fill the bag with your icing of choice, and snip off about – to -inch from the corner of the bag. Twist it up to make an ice cream cone, hold the tip end of the bag to aim in one hand, and use your other hand to squeeze from the top.
Click here to see the Guide to Alternative Sweeteners Slideshow.