How To Make Your Thanksgiving Pies Picture-Perfect
A scratch-made pie is one of those desserts that can intimidate a lot of home cooks. Will the fruit filling be too juicy and will it bubble over the edges of the pie plate? How do you make the pie crust perfectly flaky and tender? Will the edges of the pie brown before the rest of the pie is cooked? How do you determine whether or not the bottom crust is cooked through? Fortunately, you just need a few expert tips to address those types of concerns and then you can focus on making those delicious pies camera-ready too.
Click here to see the Ways To Make Your Thanksgiving Pies Picture-Perfect (Slideshow)
Though there are many ways to beautifully top a pie, some methods are easier than others. Luckily, you don't need an expert technique or elaborate design to make a beautiful pie. You just need to know a few tips and tricks.
If you're working with an uncooked pie crust (which can be tricky because you need to roll it carefully and keep it chilled for best results) simple tips like dipping your knife, pastry wheel, or cookie cutter into flour to prevent it from sticking to the dough and ruining the shape of your design, or partially baking pie crust cut-outs before applying them to the top of the pie in the final few minutes of baking to prevent them from getting soggy and discolored, can come in handy.
And, if you're working with a crumb topping, the partial pre-baking tip can help your topping stay crisp and crumbly and gorgeously golden-brown; bake it separately on a sheet pan to 90 percent doneness (the topping with be firm and just starting to turn golden-brown), let it cool, and chop it into medium-sized pieces before adding it to the top of a fruit pie during the last few minutes of baking.
Whether you're planning to top your pie with toasted meringue or a festive cut-out leaf pattern, we've got a few tips to make it picture-perfect.
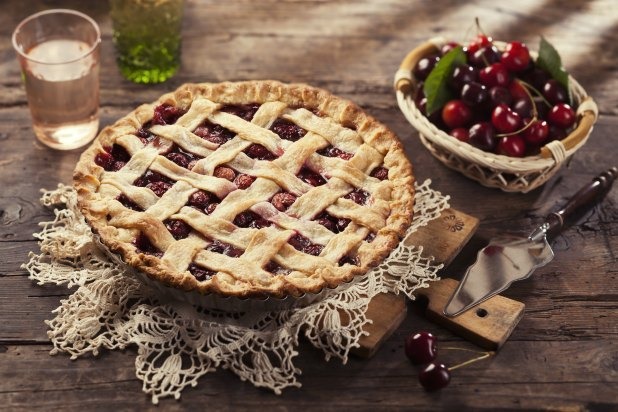
Simple Lattice

(Credit: Shutterstock)
Cut your top pie crust into 10 strips. Evenly space five across an uncooked pie, rotate the pie 45 degrees, and then space the last five strips evenly across the pie for a simple, no-weave lattice design.
Shaved Chocolate
(Credit: Shutterstock)
A few chocolate curls can make a simple pie look extremely elegant. You can buy them at a baking supply store or make your own by softening a block of chocolate in the microwave on half power and then using a vegetable peeler to shave curls from it. Just be sure to store your chocolate curls in the refrigerator if you're not using them right away.
Kristie Collado is The Daily Meal's Cook Editor. Follow her on Twitter @KColladoCook.