Why Pour-Over Coffee Is So Good (And So Popular) And How To Make It Right Slideshow
A Cleaner Cup of Coffee
Comparatively, this method is the cleanest, purest way to make and drink your morning jolt of energy. If performed correctly, there is no residue left in your cup. Any residue is in the filter for quick, easy disposal.
Better Taste and Easier Cleanup
The pour-over coffee method allows for a very robust extraction because the water is pre-heated to the correct temperature, which creates a bold, well extracted mug of coffee in your hands, without the tedious cleanup required with some other coffee-making options.
More Efficient Coffee Making
No need to waste the last quarter cup of joe anymore. As drip brewing is made per cup, ideally, there's nothing left over.
How to Brew Pour-Over Coffee
The chemistry of coffee requires experimentation regardless of brew method. Try these basic steps to making a perfect cup of craft coffee with ease. Adjustments will most likely need to be made as you become more familiar with the process.
What you'll need:
- Fresh coffee (roasted less than two weeks week prior to brewing)
- Coffee grinder
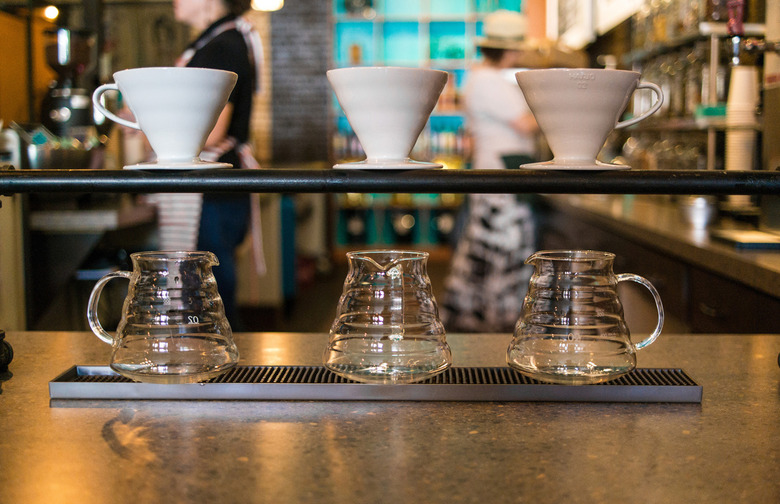
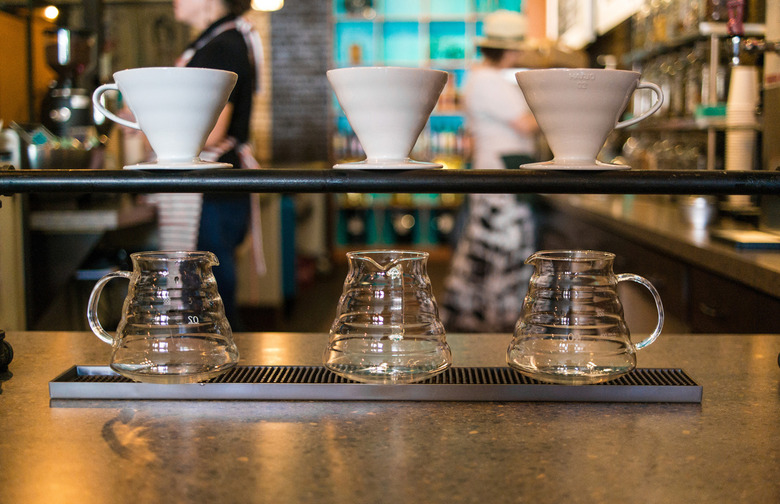
- Single-cup drip coffee cone (ceramic or glass)
- Paper filter to fit
- Kettle with a swan-necked spout (for precision pouring)
- Coffee cup
Step One
Select your beans. Single-origin beans (like Ethiopian or Panamanian), rather than a blend, are preferred with this process because they offer a subtle range of flavors that are region-specific.
Step Two
Heat water and grind coffee to medium-fine ground — finer than auto-drip, but coarser than the size used for an espresso shot, if you are familiar with that process. A good gauge would be to measure 1.5-2 grams of coffee for every fluid ounce you intend to drink.
Step Three
Place the filter in your dripper or cone. If there is excess, you can trim away or fold the edge of the filter. Position the dripper on top of the cup.
Step Four
Pre-wet the filter with water from the kettle at between 195 degrees F and 205 degrees F; the kettle will reach this temperature after 35-40 seconds once it has been removed from the boil. This will prevent a papery taste (never a good thing) as well as preheat the cup. Dump water from cup.
Step Five
Step Six
This is where precision and patience come into play. Begin pouring again very slowly, until the water level reaches halfway up the cone, for optimal "extraction." Continue pouring in a circular motion, starting at the center of the cone and working your way outwards, avoiding pouring directly onto the filter. This process should take 40 to 45 seconds. Pause long enough to let the grounds settle, then begin pouring again until the cup is nearly full.
Step Seven
Wait until the stream slows to a drip, remove the filter, dump the grounds, and enjoy your well-deserved, home-brewed cup of coffee.


