The Perfect Cookie Decorating Party Slideshow
We may receive a commission on purchases made from links.
Have the Right Tools
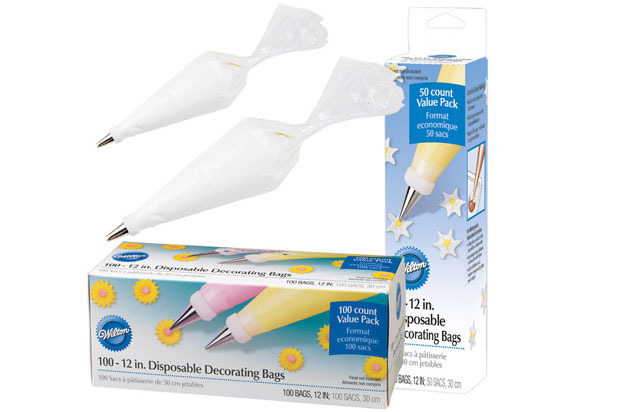
There are a couple of products Gianopulos can't do without when making her whimsical designs: a 4 ½-inch offset spatula for spreading frosting, pastry bags, removable/interchangeable pastry tips, and couplers (which are helpful if you want to use the same tip for many colors).
Don't have pastry bags? You can also use Ziploc baggies for the frosting, cutting off a small tip of the corner for a "tip." And if working with young kids, a rubber band around the top of the pastry bag will help prevent frosting from squirting out the wrong end.
You'll also need plenty of damp towels for cleaning hands (and tips) and some glasses to stand the pastry bags in.
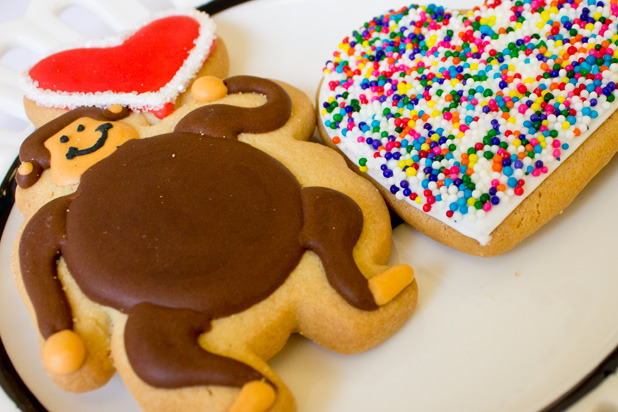
Be Inspired

When thinking of new designs, Gianopulos is always looking to her surroundings for inspiration — maybe it's a flower, a favorite animal, or even a design spotted on a swatch of fabric. Use those colors to dictate how you want the cookie to look.
Bake in Advance

Cookie decorating is a time-intensive activity. Each cookie must be completely cool before being topped with frosting. If you want to add additional layers for a three-dimensional effect, or use different colors when frosting an animal's face or flower, each color must be allowed to dry completely first.
Don't have time to bake? Ask a local bakery to make the plain, undecorated cookies for you.
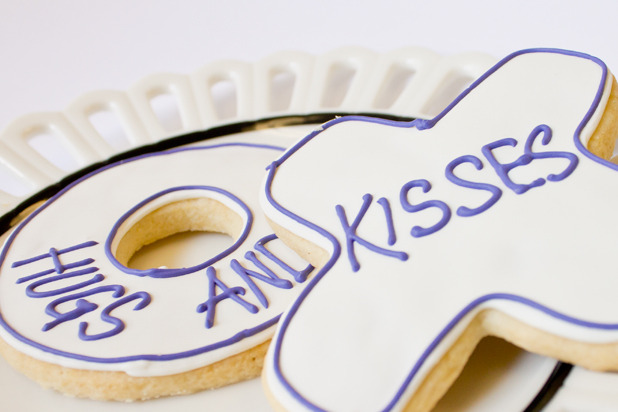
Start with an Outline

To make professional-looking cookies, having the right consistency of frosting is paramount. (Click here for Eleni's recipe.) To ensure nothing bleeds, Gianopulos uses a stiff royal frosting (stiff enough that it won't slowly ooze in a mixing bowl) piped through a very narrow tip (about 1/8-inch, or smaller depending on the cookie size). She carefully squeezes the bag at the top (to keep frosting in) with one hand and guides the tip along the cookie, just above the surface, with the other to create an outline.
Use any food-safe food coloring to tint the frosting, and if it isn't stiff enough to stay in one place, add a little more confectioner's sugar to the bag to make it thicker.
Flood the Middle
The secret to Eleni's super-smooth and glossy frosting? Flooding the inside of the outline with a frosting that is thinner and will naturally smooth over to hide any lumps. All you need to do is add a bit of water to thin it out to a consistency that spreads slowly when spooned onto a cookie. Some use a 10 second rule to determine the right consistency. Just run a knife through the frosting and if it fills up too fast, it's too thin; if it takes longer, it's too thick.
Work in Layers
Many of Gianopulos' designs take many steps to complete, as each neighboring color is applied separately and allowed to dry completely, and can take about 6-8 hours to finish, even up to 24 hours for larger cookies. The same goes for any decorations that are applied on top of a foundation of frosting, like the birthday candles, left.
Have Fun with Accents

You don't need fancy tools to make your cookies truly unique. Dress up a plain white cookie with a bit of gold or pink metallic luster dust mixed with a little bit of lemon juice to create a "paint" that you can brush onto the frosting with a brush.
For a marble effect, paint on stripes of color on a still-wet, white frosted cookie. Using a toothpick, draw the tip downwards through the frosting to create a woven effect. Clean the frosting off the toothpick and repeat again.
For sparkle, pipe additional designs on top of the already-frosted cookie (like you would when glittering a piece of paper). Then sprinkle sanding sugar on top of the still-damp frosting.
Looking for a cleaner way to decorate cookies with youngsters? Purchase a couple of packs of FooDoodlers. They're safe to eat and even the youngest party guests can participate in the activities without making a complete mess.