The Complete Guide To Making Pasta With Your Kids

The Complete Guide to Making Pasta With Your Kids

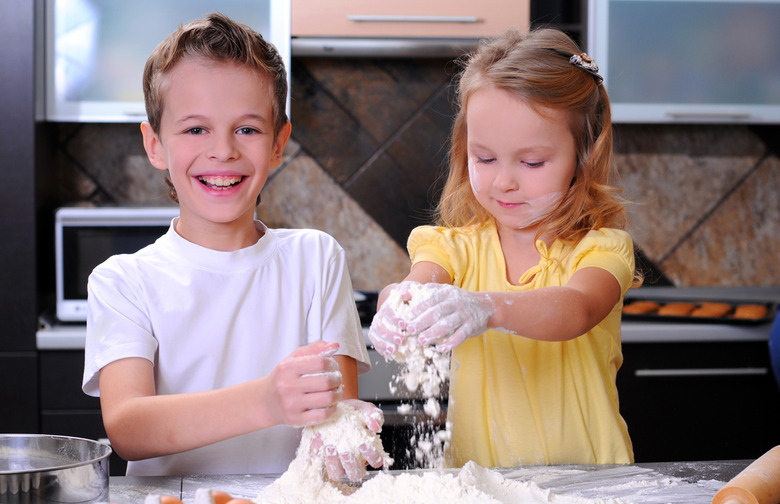
Making pasta with your kids may sound like a recipe for a stressful, messy, and complicated few hours. Maybe you've always been too intimidated to try making pasta yourself — even though years ago you were given that pasta maker, which is still collecting dust at the back of your cupboard — and the thought of trying to learn with kids in tow fills you with dread. But before you get carried away imagining this to be a day of shouts, screams, and chaos, you should know that making pasta is actually a lot simpler than you think. Ignoring the inevitable amount of flour that will end up on the floor and in your hair, making pasta from scratch is the perfect rainy day activity for the whole family to get involved.
This step-by-step guide will take you through the simple stages of how to make pasta: In a couple of hours' time, a beautiful plate of homemade linguine can be all yours. Now, go find the kids, put your aprons on, and get in the kitchen.
Aprons On
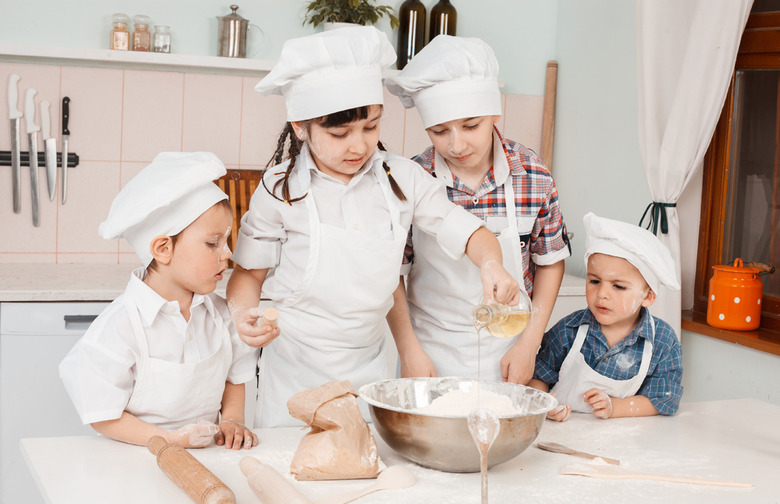
Making pasta is easy, but it is a hands-on task that can become quite messy. Get those aprons on, tie your hair up, and wash your hands. You all need to start in the right mode, like professionals — chef's hats are optional.
Prepare Your Work Surface
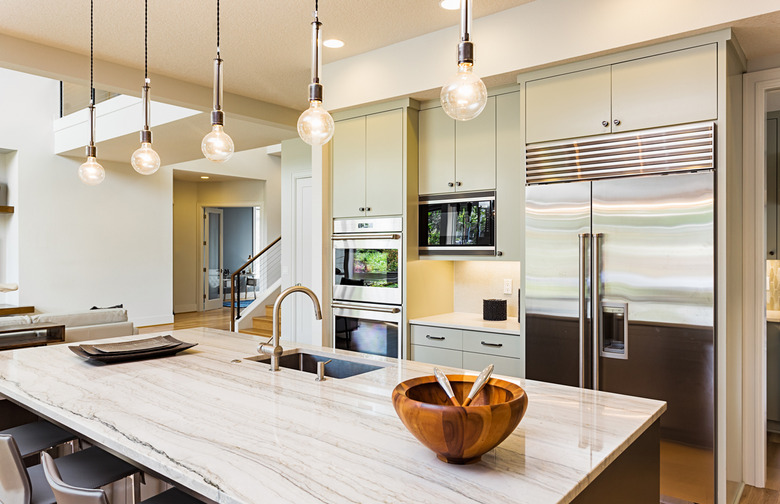
You're going to need a fairly large, clean, flat work surface for this pasta-making project. Either use your kitchen table or clear off your kitchen counters. Wipe everything down and dry the surface well before you get started.
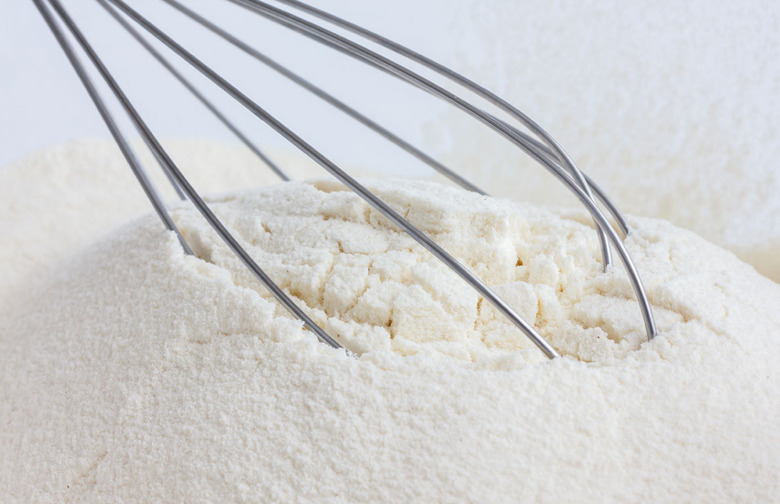
Measure the Flour
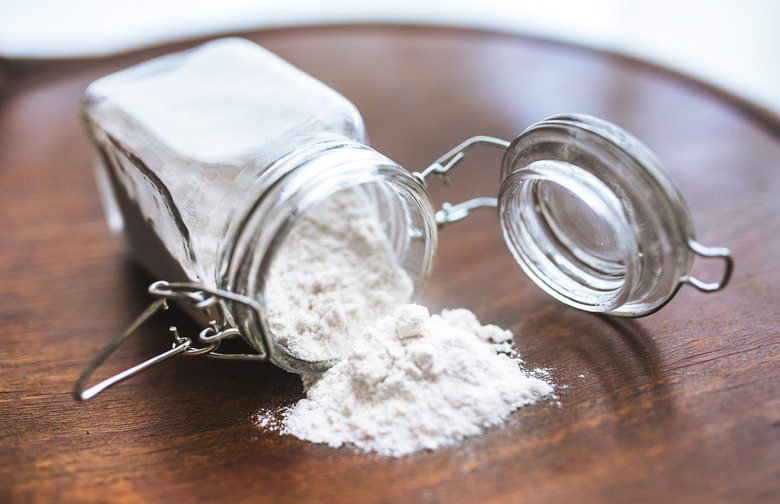
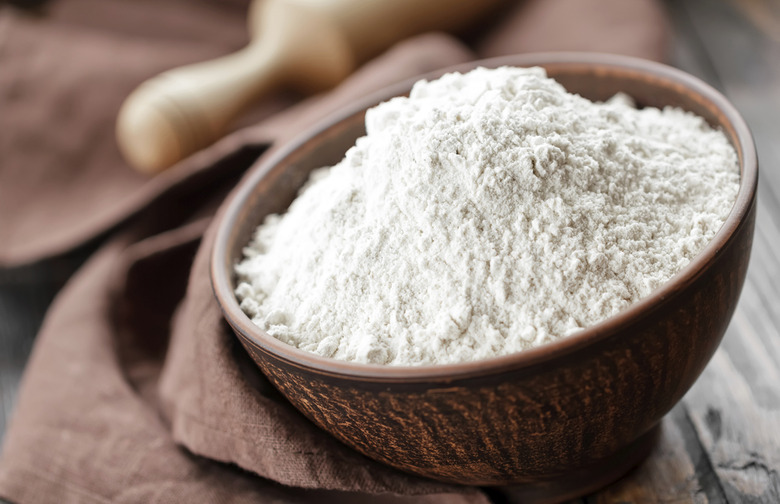
To feed two to three people you're going to need one cup of flour, one whole egg, plus one additional egg yolk. For more people, just multiply these quantities, e.g. for four to six people you'll need two cups of flour, two whole eggs, plus two additional egg yolks. Try and use finely milled "00" flour if you can find it, but if not, all-purpose flour will be fine. Measure out the flour into a mound on the clean work surface.
Make a Well in the Flour
Time to get those hands dirty! Using your fingers, make a deep well in the center of the mound of flour. You need to make sure the walls of flour around the well are high enough so that (spoiler alert!) when you drop the eggs in, they don't spill over the top.
Crack the Eggs

Crack the egg and the egg yolk into the well you just made. Make sure no bits of eggshell find their way in there by mistake — this step may be one for the adults to take control of.
Whisk With a Fork
To start turning these raw eggs and this pile of flour into dough, grab a fork and gently whisk the eggs together. Once they're combined, continue whisking, gradually bringing in the flour from the sides until about half of the flour has been incorporated. Don't rush this part: It might look as though you're just making a mound of runny eggs for a little while, but the more flour you add, the more dough-like it will become.
Combine With Your Hands
Once half the flour has been incorporated into the eggs, use your hands to drag the rest of the flour into the dough. You'll have sticky, wet hands to start with, but don't let this stress any of you! Gently knead and mix the dough until all the flour has been combined.
Knead the Dough
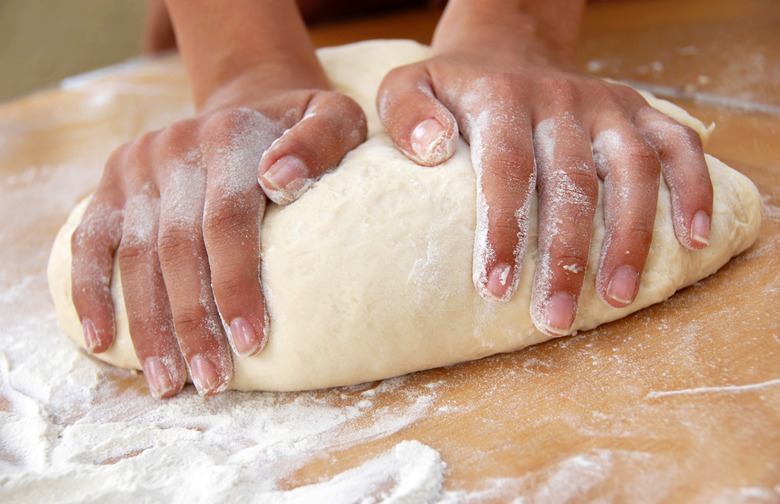
Pull your sleeves up and get going with kneading the dough. As the dough becomes more elastic, you can be more vigorous with it. Doing this with your hands rather than in a food processor means you can really feel the dough transforming as the gluten develops: It's such a fun, hands-on way to cook, and a great skill for the kids to learn. They'll be amazed by how much effort it takes, and what this systematic folding and bashing of dough achieves. You'll want to knead the dough for at least five minutes.
Smash and Stretch the Dough
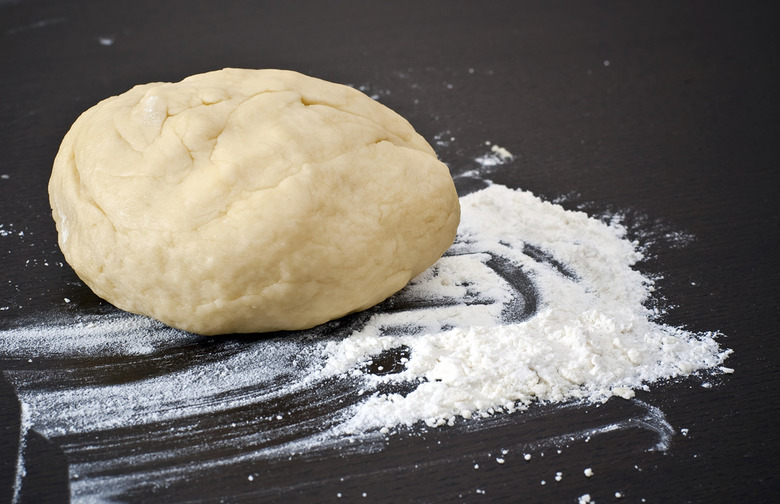
Once the dough is feeling smoother and firmer, you can start to be more aggressive with it. This will almost certainly be the favorite part of pasta-making for every kid. Throw the dough down on to the work surface, stretch it out, knock it around, punch it, play with it, and when it's really firm and smooth, with no visible air bubbles, shape it into a smooth disc.
Rest the Dough

You, the kids, and the dough, will all be in need of a rest after all that kneading. Wrap the dough in plastic wrap and set it aside for 20-30 minutes. In this time, you can either take a break or get ahead and prepare the sauce you want to serve with the pasta.
Rolling Time

Wipe down the work surface, flour it, unwrap the dough, sprinkle some more flour on top, and grab your rolling pin. You'll want to divide your dough in to more manageable portions — in half, at least. This will make it easier to work with, and also means everyone gets his or her own piece to claim. Now, push your sleeves up again and get rolling! Push down on the disk with your hands and then roll it out into a long rectangle shape.
Turn on the Pasta Machine
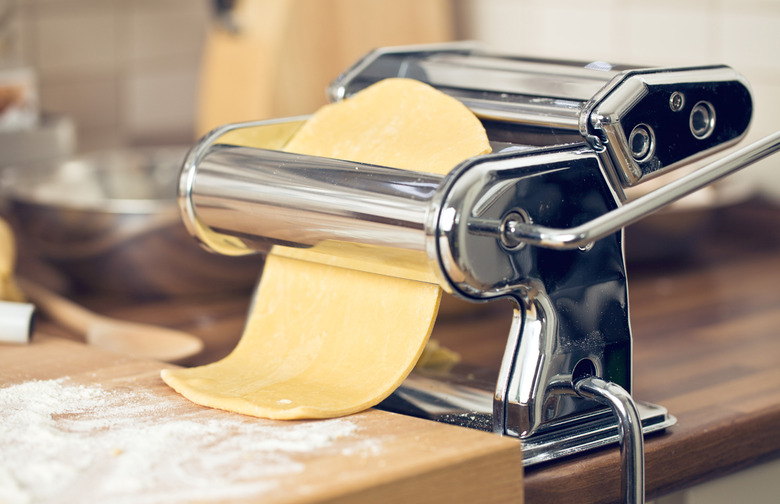
If you have a pasta machine, it's time to learn how it works. Start with the machine on the widest setting and feed the dough through the machine at least twice on each setting. The dough will gradually get thinner and thinner. Remember to keep adding flour to the machine to stop the pasta from sticking. You'll probably want one person feeding the pasta in, one person guiding it out the other side, and if you have even more pasta helpers, one can be on flouring duty too. When you reach the desired level of thinness, lay the sheet of pasta aside, and repeat for the remainder of dough.
If you don't have a pasta machine, you're going to need to use those arm muscles, and to share the rolling duty between all of you. Simply roll the dough, using plenty of flour until the dough is as thin as you can get it. Make sure you keep picking the dough up after every couple of rolls to stop it sticking to the work surface.
Shape Your Pasta
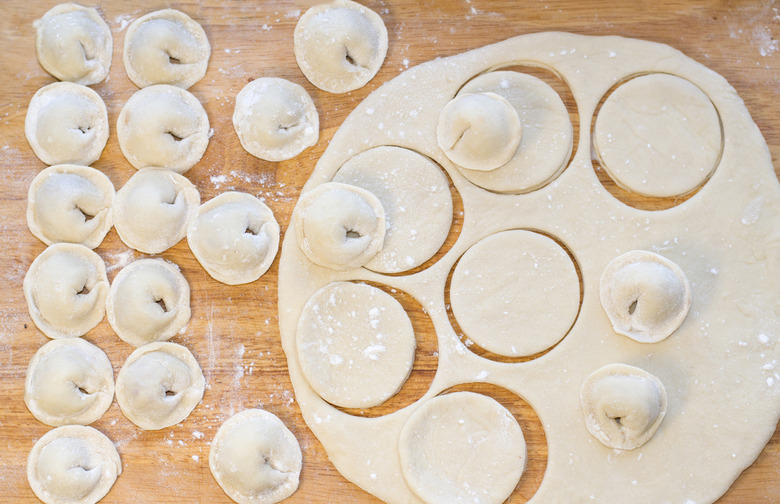
Now, you can let your creative flair shine, and make whichever pasta shape your heart desires. If you're doing lasagna, you can leave the sheets as they are; if you want to make tagliatelle you could simply roll the dough up and cut into thin slices with a pizza cutter; for spaghetti, select the right pasta machine attachment, run the sheet of dough through, and a perfect nest of spaghetti will appear out the other side; for ravioli, leave the sheet whole and follow this recipe to learn the techniques of stuffing, sealing, and crimping.
Cook and Serve
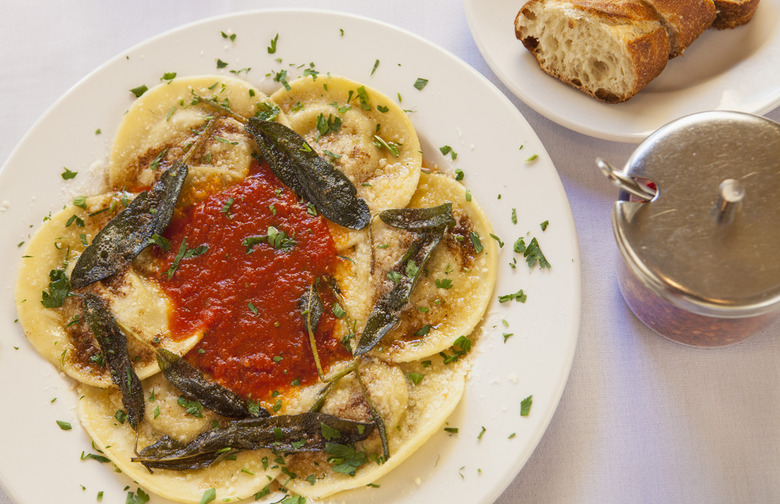
You've made it! You and your team of helpers have succeeded in becoming professional pasta chefs. OK maybe not, but you're now back on familiar ground — cooking pasta and serving it with whatever sauce you're craving. Remember that fresh pasta cooks much faster than dried pasta — it should only take 4-5 minutes. Serving up plates of steaming, freshly made, perfectly al dente pasta will put a smile on the faces of your fellow pasta chefs, and you can be sure they'll claim it's the best meal they've ever had.