How To Spring-Clean Your Kitchen In 10 Easy Steps (Slideshow)

If there's ever one time of year that you can reset your kitchen life and start anew, it's spring. Spring-cleaning your kitchen may seem like a massive undertaking, but it can actually be done in just 10 easy steps. With a little preparation, a pair of big yellow rubber gloves, and a little bit of hard work, your kitchen can be cleaner than ever.
1. Get Ready
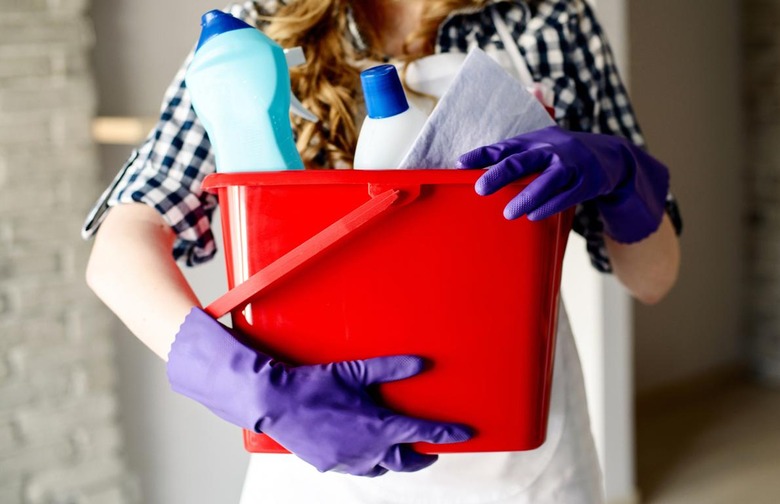
The first step in any major undertaking — which spring-cleaning your kitchen definitely is — is to get organized. First, make a checklist of everything that you will be doing so that not a single spot of your kitchen goes unwashed. Then gather your cleaning supplies in one central place — that means rags, various sprays and powders, paper towels, and protective gloves for your hands. Finally, make yourself a fun cleaning playlist filled with your favorite upbeat pop tunes. No one said this task has to be boring!
2. Countertops
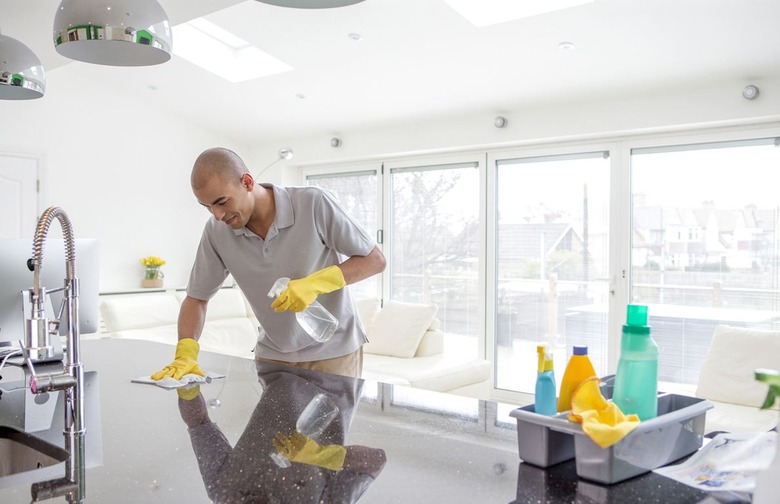
Remove all items from the countertops, such as toasters, utensil holders, coffee makers, knife blocks, and microwaves. Clean those items separately. Then, using a warm, soapy water or a mild bleach solution, wipe down the counters with a fabric cloth or paper towel.
3. Sink/Dishwasher
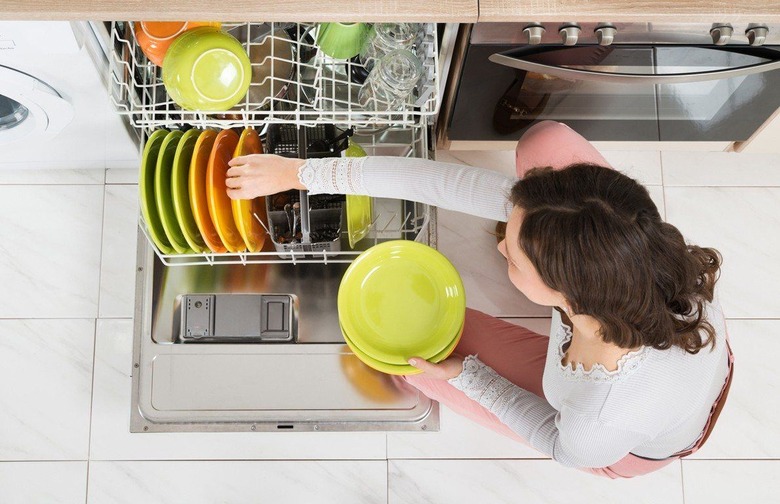
First, wash all of the dishes in your kitchen, either by hand or through a few dishwasher cycles. Once this is completed, wash your sink as if it were a dish itself, using hand-wash-friendly dishwashing liquid and a sponge. To clean your dishwasher, fill a dishwasher-safe cup with white vinegar and place it on the top rack. Then, run a hot cycle of the dishwasher with nothing else in the machine. Next, pour about 1 cup of baking soda across the bottom of the machine and run another hot cycle for a shiny, smell-free dishwasher.
For "The Most Common Places You Forget to Clean in Your Kitchen," click here.
4. Oven/Stove

The easiest way to clean your oven is through its own self-cleaning function. This process, which takes between 2 and 4 hours, sets your oven to an incredibly high temperature and burns off the crud. Though the process is typically perfectly safe, the fumes and heat can be overwhelming, so be sure to be home during the self-cleaning process and open your kitchen windows. If self-cleaning scares you or if your oven doesn't have this function, remove the oven racks, make a paste of baking soda and water, and scrub the interior of your oven. If your oven is particularly grimy, allow the paste to sit overnight before scrubbing.
Cleaning your stovetop will depend on what kind of range you have. What works for a gas stove won't work for an electric-coil stovetop and could totally destroy a glass range. Consult your owner's manual for the best way to clean your stovetop.
5. Refrigerator/Freezer
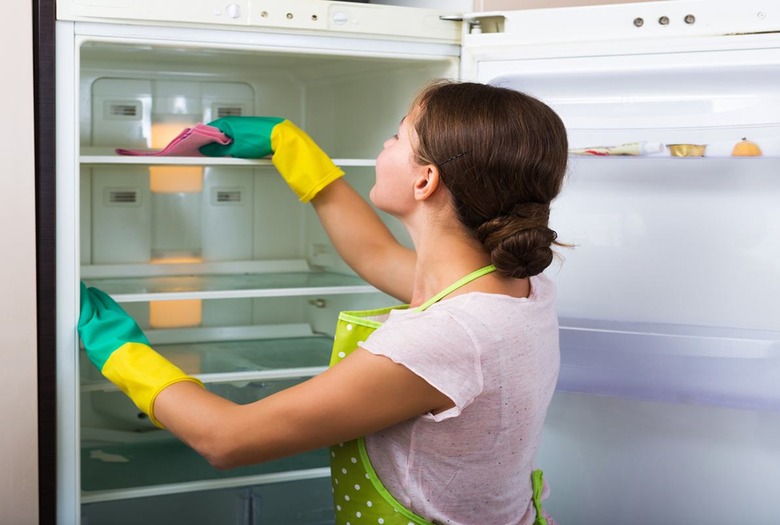
The first step in cleaning out your fridge and freezer is to remove all of the food products. It should go without saying, but toss items that are expired, moldy, or simply too bizarre to ever actually be used. Remove the bins and shelves from the fridge and submerge them in warm, soapy water. Then, use warm, soapy water or dishwashing liquid to clean the crevices of your fridge.
For the freezer, raise the temperature and wipe down the interior with a solution of white vinegar and water.
To learn how to clean your refrigerator in depth, click here.
6. Pantry
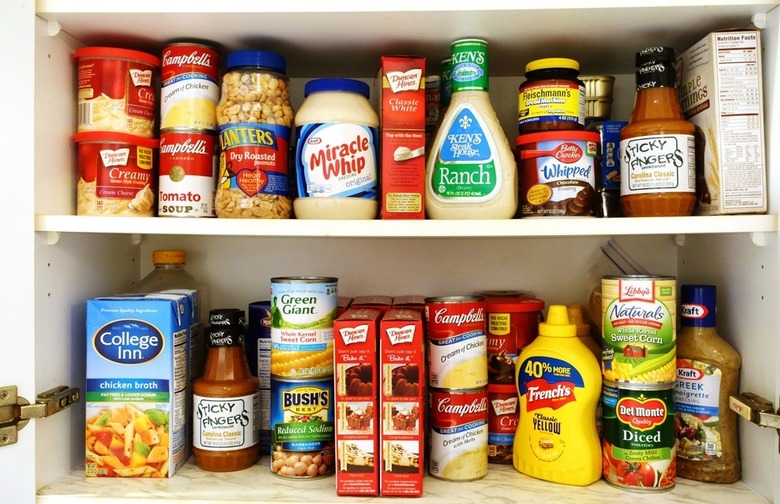
Cleaning a pantry can be incredibly overwhelming. Take a deep breath, take stock of what you have to do, and go one shelf at a time. Empty out all of the products, tossing things that are expired along the way. Then, vacuum up any crumbs or dust that have gathered and wipe down the shelves with mildly soapy water. After doing this, take stock of the items in your pantry and reorganize the shelves as you see fit. If non-food products (such as plastic containers, cleaning products, or grocery bags) have snuck into the pantry, find a new storage are for these items.
7. Drawers
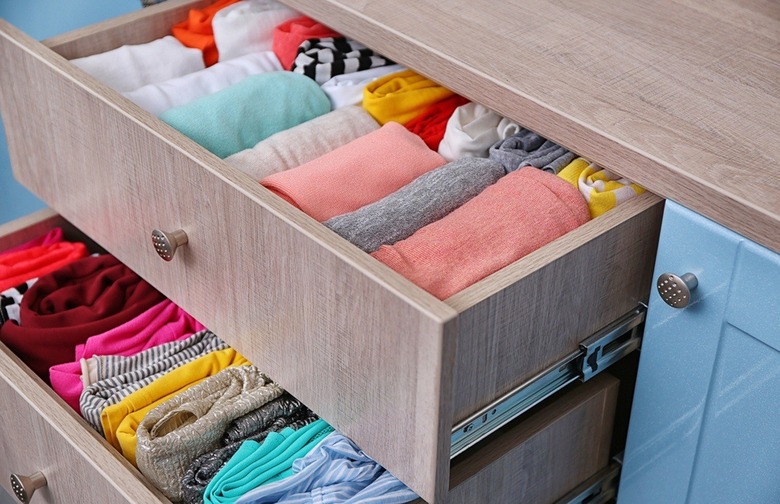
Kitchen drawers can easily turn into a chaotic mess of measuring spoons, various tongs, and leftover chopsticks from Chinese takeout. Take some time to remove your drawers from the shelving unit and clean them, tossing whatever junk you've accumulated over the past year. Then, vacuum out crumbs and dust that have gathered. And though it may be difficult to place all the various items that go in one drawer neatly, in the spirit of Tetris, reorganize your drawer, grouping together like items and keeping them as tidy as possible.
8. Cupboards
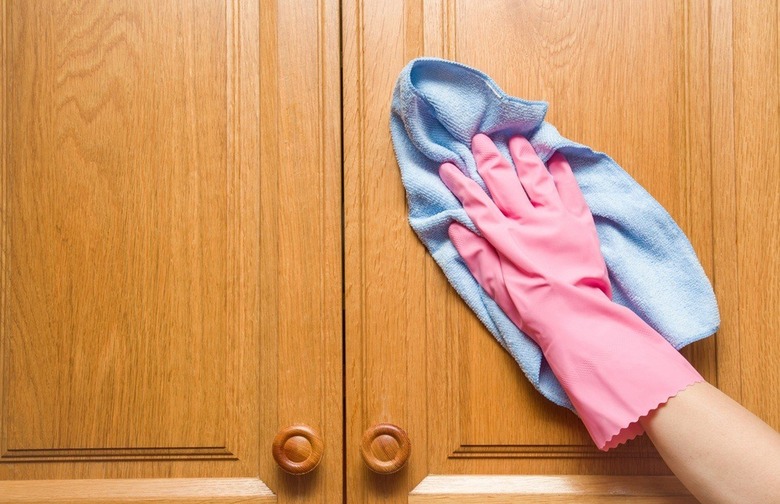
Much like the pantry and drawers, cupboards can become overloaded with free cups, randomly placed bowls, and assorted items that, unfortunately, just have no other home. Remove all of the items from your cupboard and wash anything that has gathered a little dust or grime over the last year. Then, dust off your shelves and clean off the front of the cabinet according to what type of material it is. (Steel, wood, plastic, and glass all have very different ways of being cleaned.) Finally, put all of the items back into the cupboard and reorganize them.
9. Floors
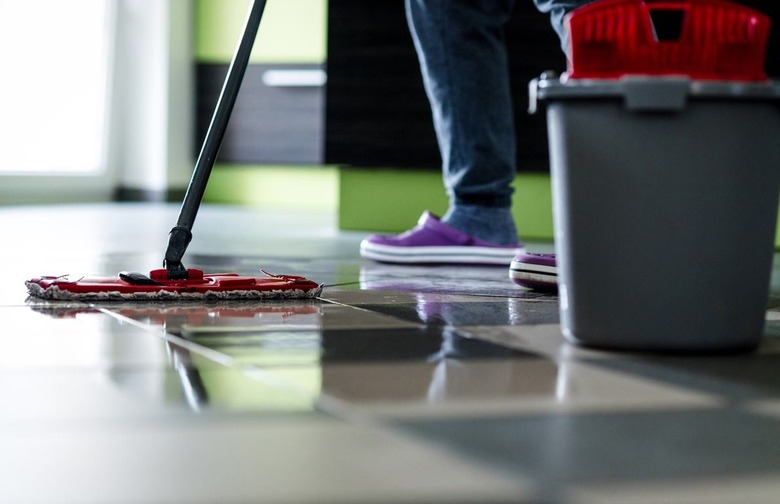
The final thing to clean is your kitchen floor. First things first, sweep the room to gather up any crumbs, pesky onion skins, and dirt. Then, break out the vacuum and get into the corners and under any raised surfaces. Finally, it's time to mop. If you're going old-school, get a bucket and fill it with warm, soapy water. If you're feeling a little more modern, use something like a Swiffer WetJet to really get a deep clean. If you have a kitchen rug, take it outside, bat out the dust, and give it a once-over with the vacuum.
10. Purge Unused Items
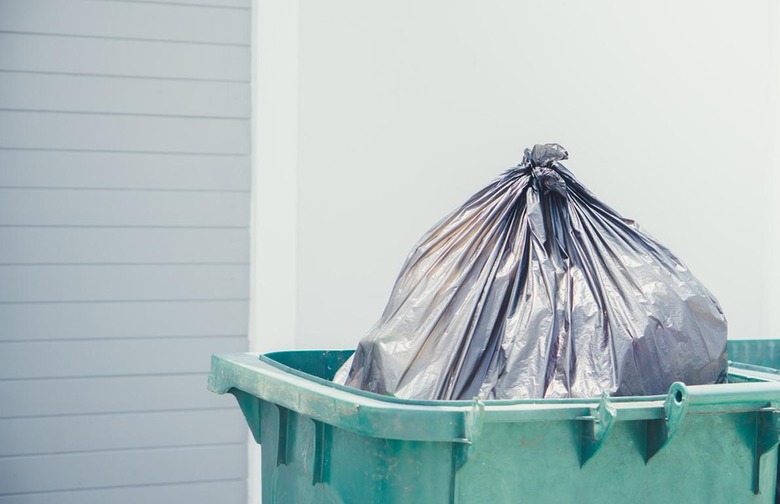
Throughout the cleaning process, it's important that you really take stock of what in your kitchen you truly do use and what you don't. It may seem wasteful, but if there's a rusted old cake pan or a splash guard that's still in its original wrapper, don't be afraid to toss these items, donate them to a secondhand store, or hold a garage sale. A kitchen can easily be overwhelmed with little gadgets and old items, and the fewer things you have in this space, the easier future spring cleanings will be.
To read "Simplify Your Kitchen Life by Tossing Out These 15 Things," click here.